

One never knows how long an adventure will take to complete. That’s why it’s called an adventure, right?
In my case of replicating Belle’s yellow dress from the live-action Beauty and the Beast, this was definitely the truth!
If you read my last post, you’ll see that I’ve finally completed the dress — It might have taken 5 months to do so, but it is actually finished.
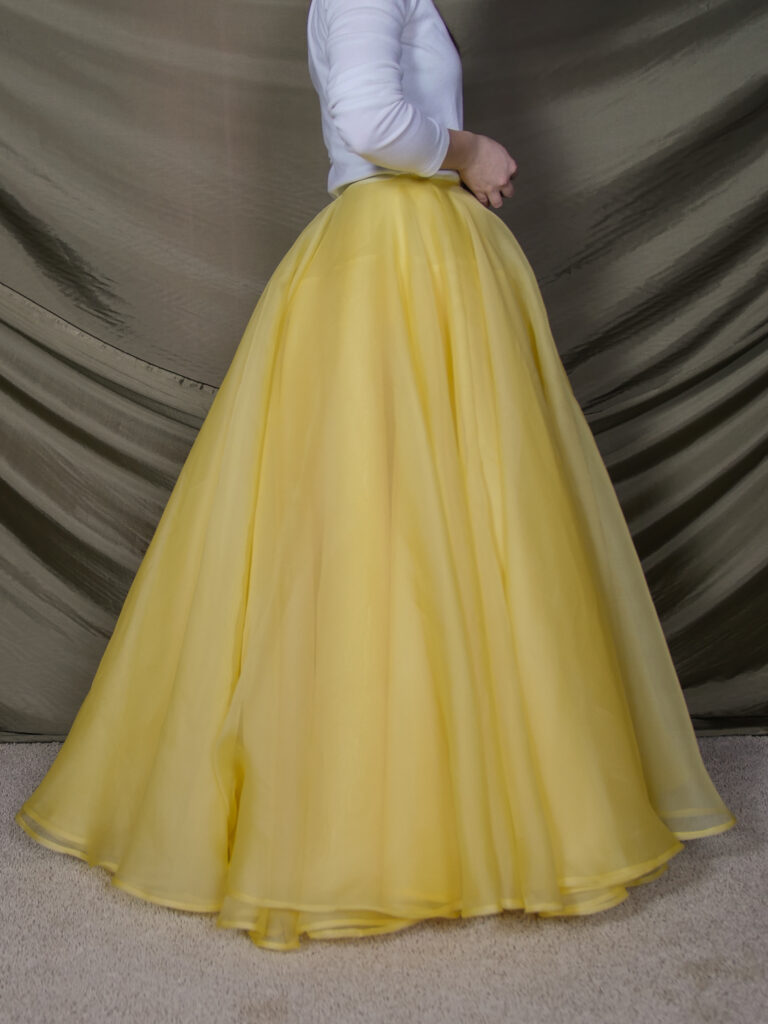
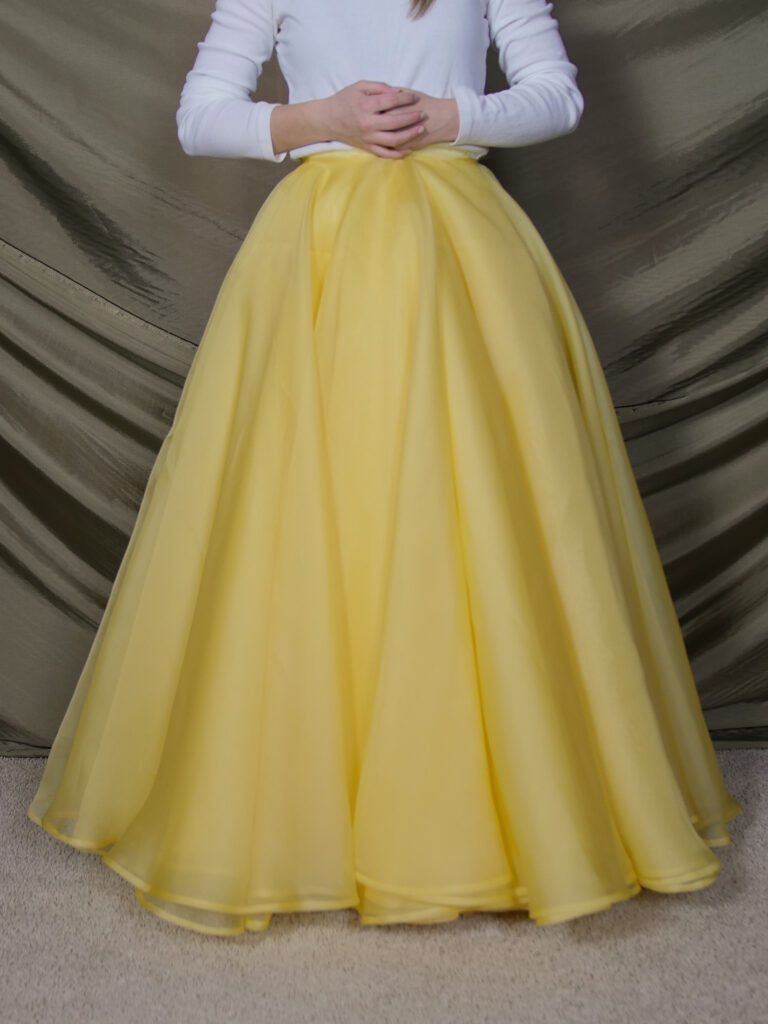
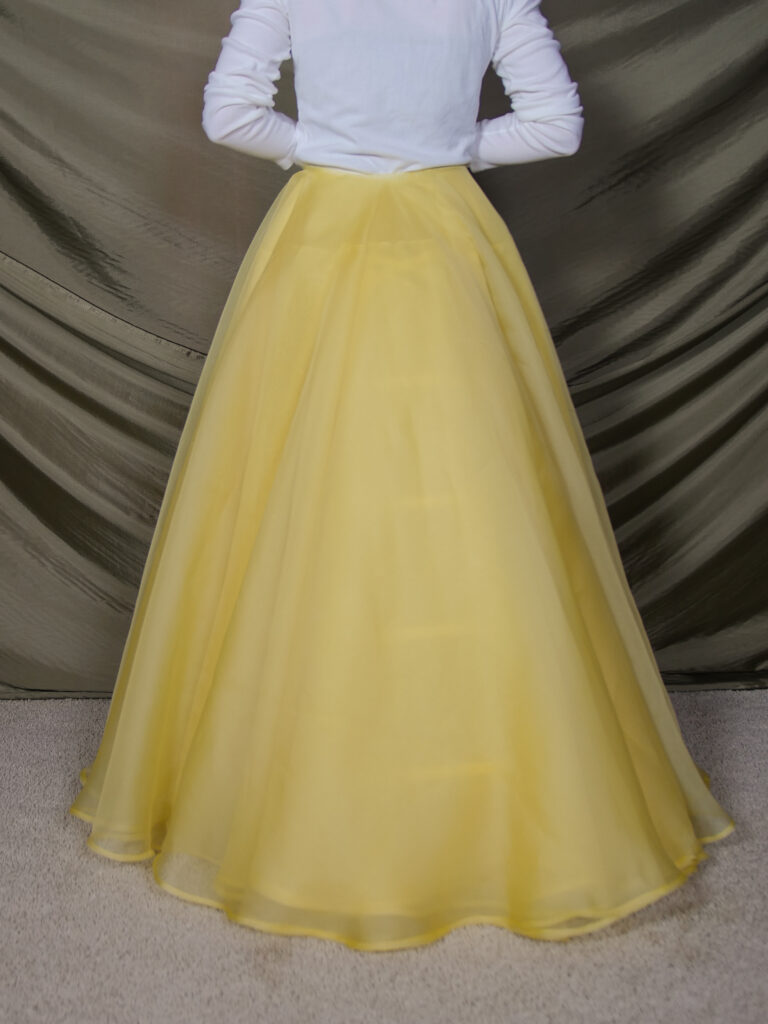
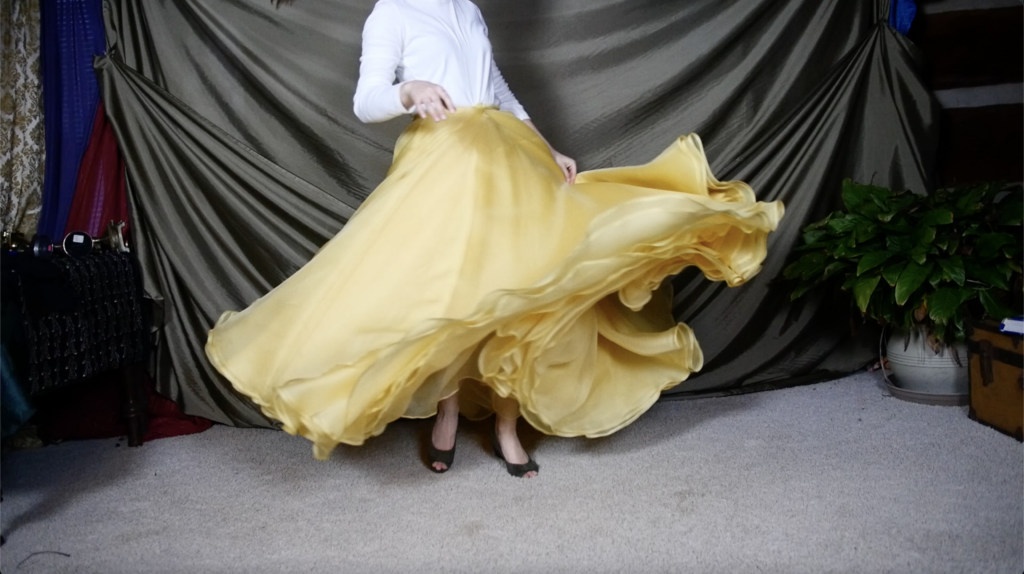
And it’s finally time to share my adventure of turning yards of golden yellow silk into a flowy dress worthy of a princess!
Step 1: Belle’s Undergarments & Underskirts
In February, I shared my process of studying the dress, ordering fabric, etc.
I also shared that I planned to replicate, what seemed to be, Belle’s undergarments. Let’s do a quick detour to look at those!
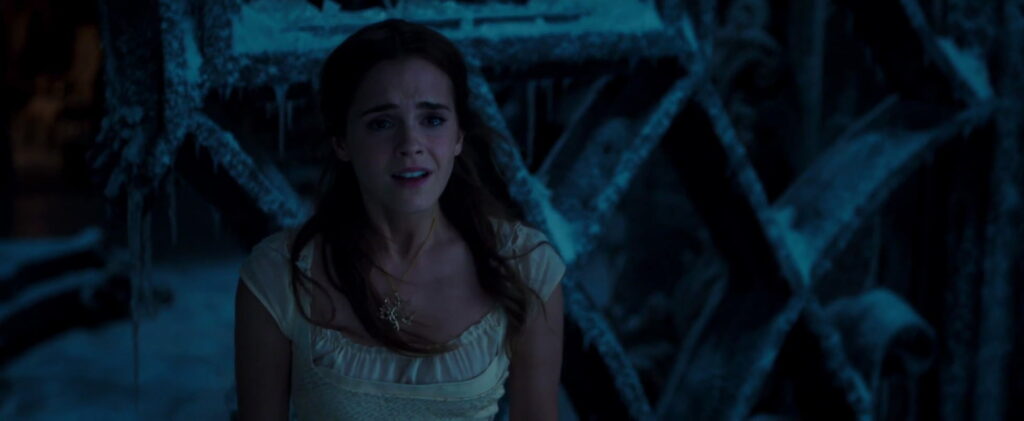
After watching movie — it’s true! As she heads back to the beast, she tears off her yellow dress (while riding on a horse — I’m not so sure how practical that is 😏) and she ends up in a white chemise and “corset”.


More screen caps of what the undergarments look like (I had very few to go off when I made mine — just clips from the trailer.) I love the texture and gold accents you see on the bodice front and the skirt. Also, it appears as if the skirt is a sheer fabric — maybe silk organza?


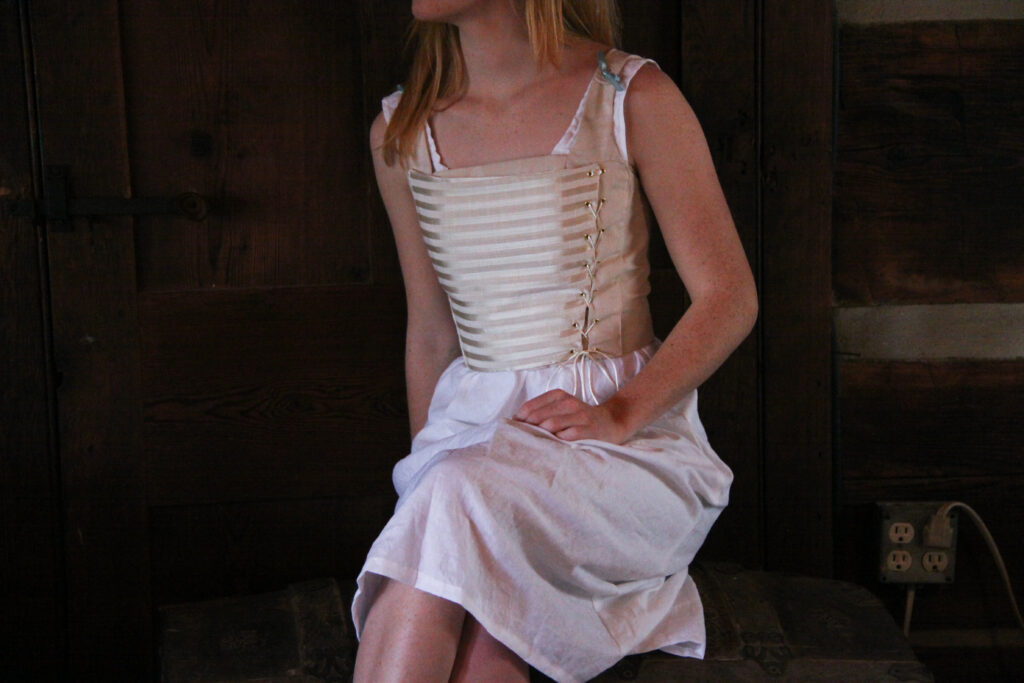
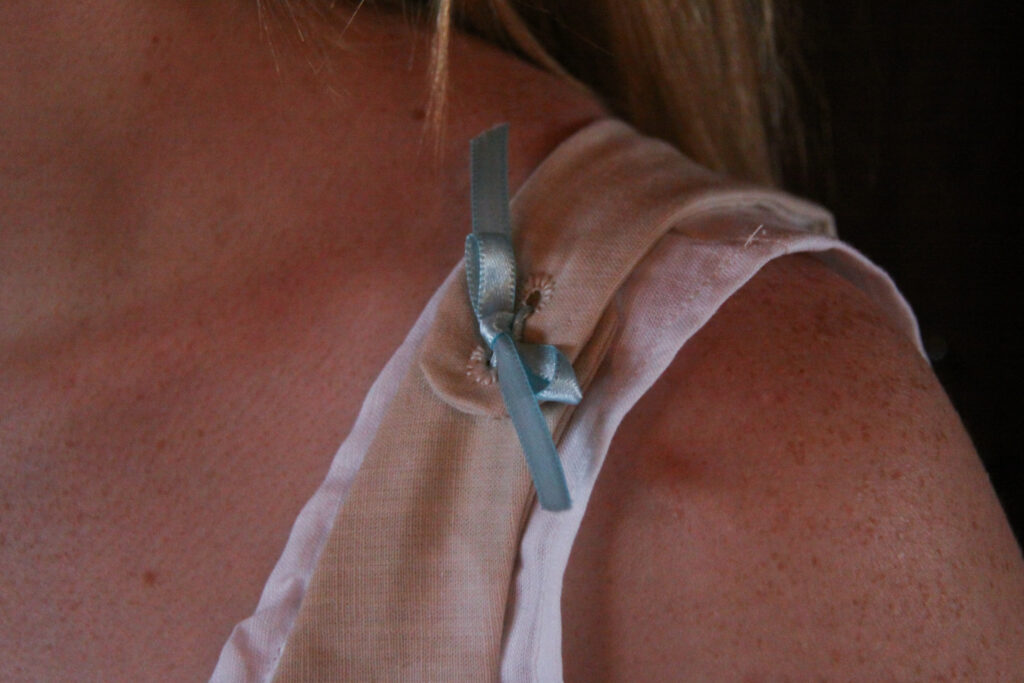
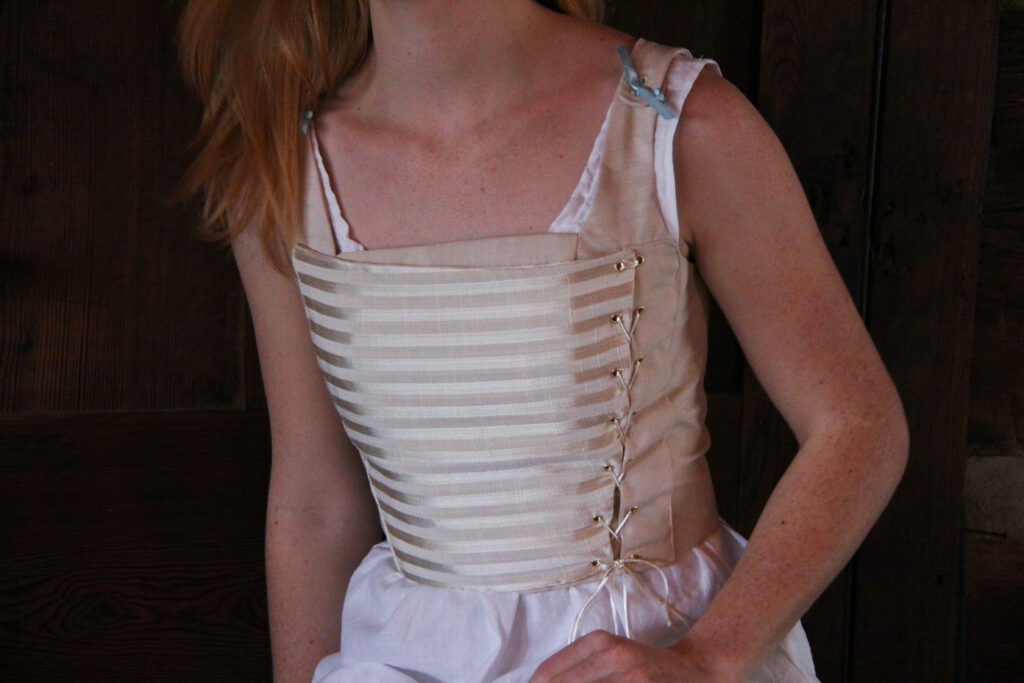
My “Replica” Undergarments
In the end these undergarments weren’t worn under my dress due to practicality. There were too bulky (my fault, I should have used a finer fabric) and didn’t really create any shape — here’s where I really wished they had gone the corset route. Give me a good corset base to create shape and I’m a happy gal! 🙂 Anyway, here are my replica undergarments.
Learning About the Skirts
During my process of replicating Cinderella’s Ball Gown, I’ve learned that the most important part of any large, voluminous, entrancing dress is the construction of it’s underskirts. They give the unique shape, the beautiful movement, and the important support.

Based on that, the first step to creating Belle’s dress was to study and learn about the construction of the underskirts.
“There is a cage under some parts of it, but mainly it’s layers of organza that just give it a lift, for it to have lightness.” Jacqueline Durran
The first thing to discover was how much of the volume of the skirt was due to the cage vs. the layers of organza.

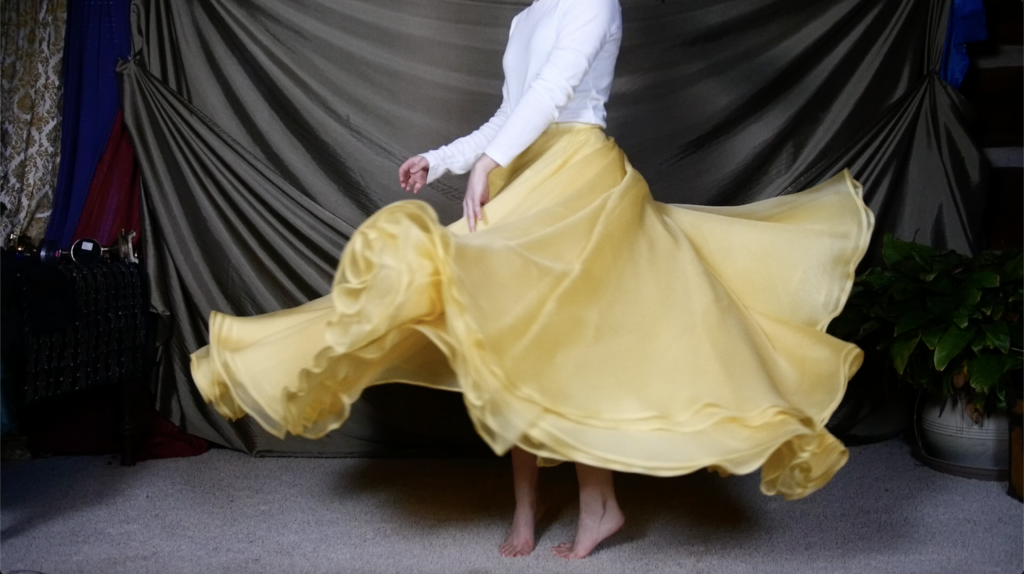
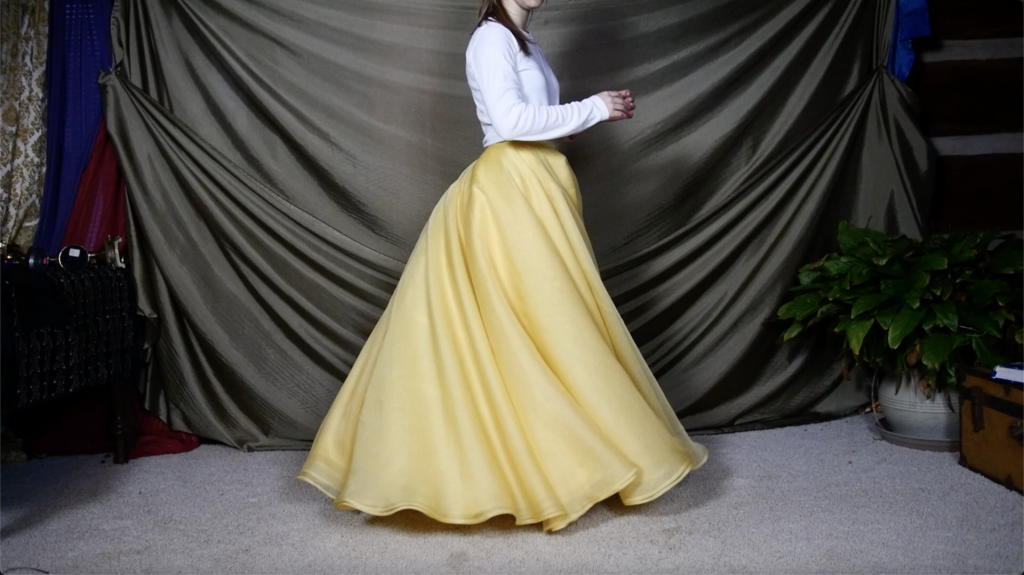
When the above photo came out it stumped me a bit. The dress in this photo has quite the volume, whereas the photo below shows a more reasonable sized skirt without excessive volume.
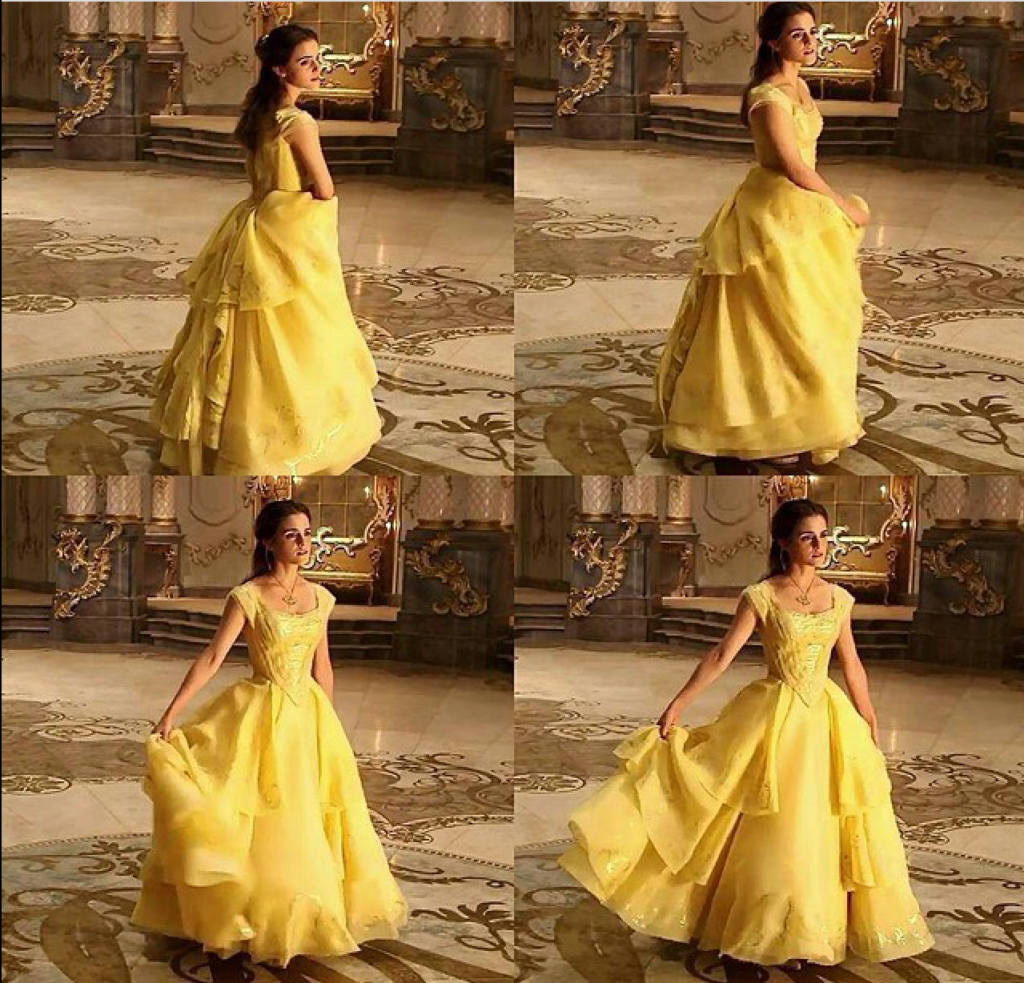
I found that the majority of the photos/videos show the smaller skirt.
I finally narrowed it down to the probability that different dresses were used in different scenes which created conflicting attributes of the skirt. As I began seeing each picture through that opinion, I was able to pick out which scene used which dress. With this information, I decided to make the smaller skirt. Maybe I’ve finally come to my senses? Maybe??
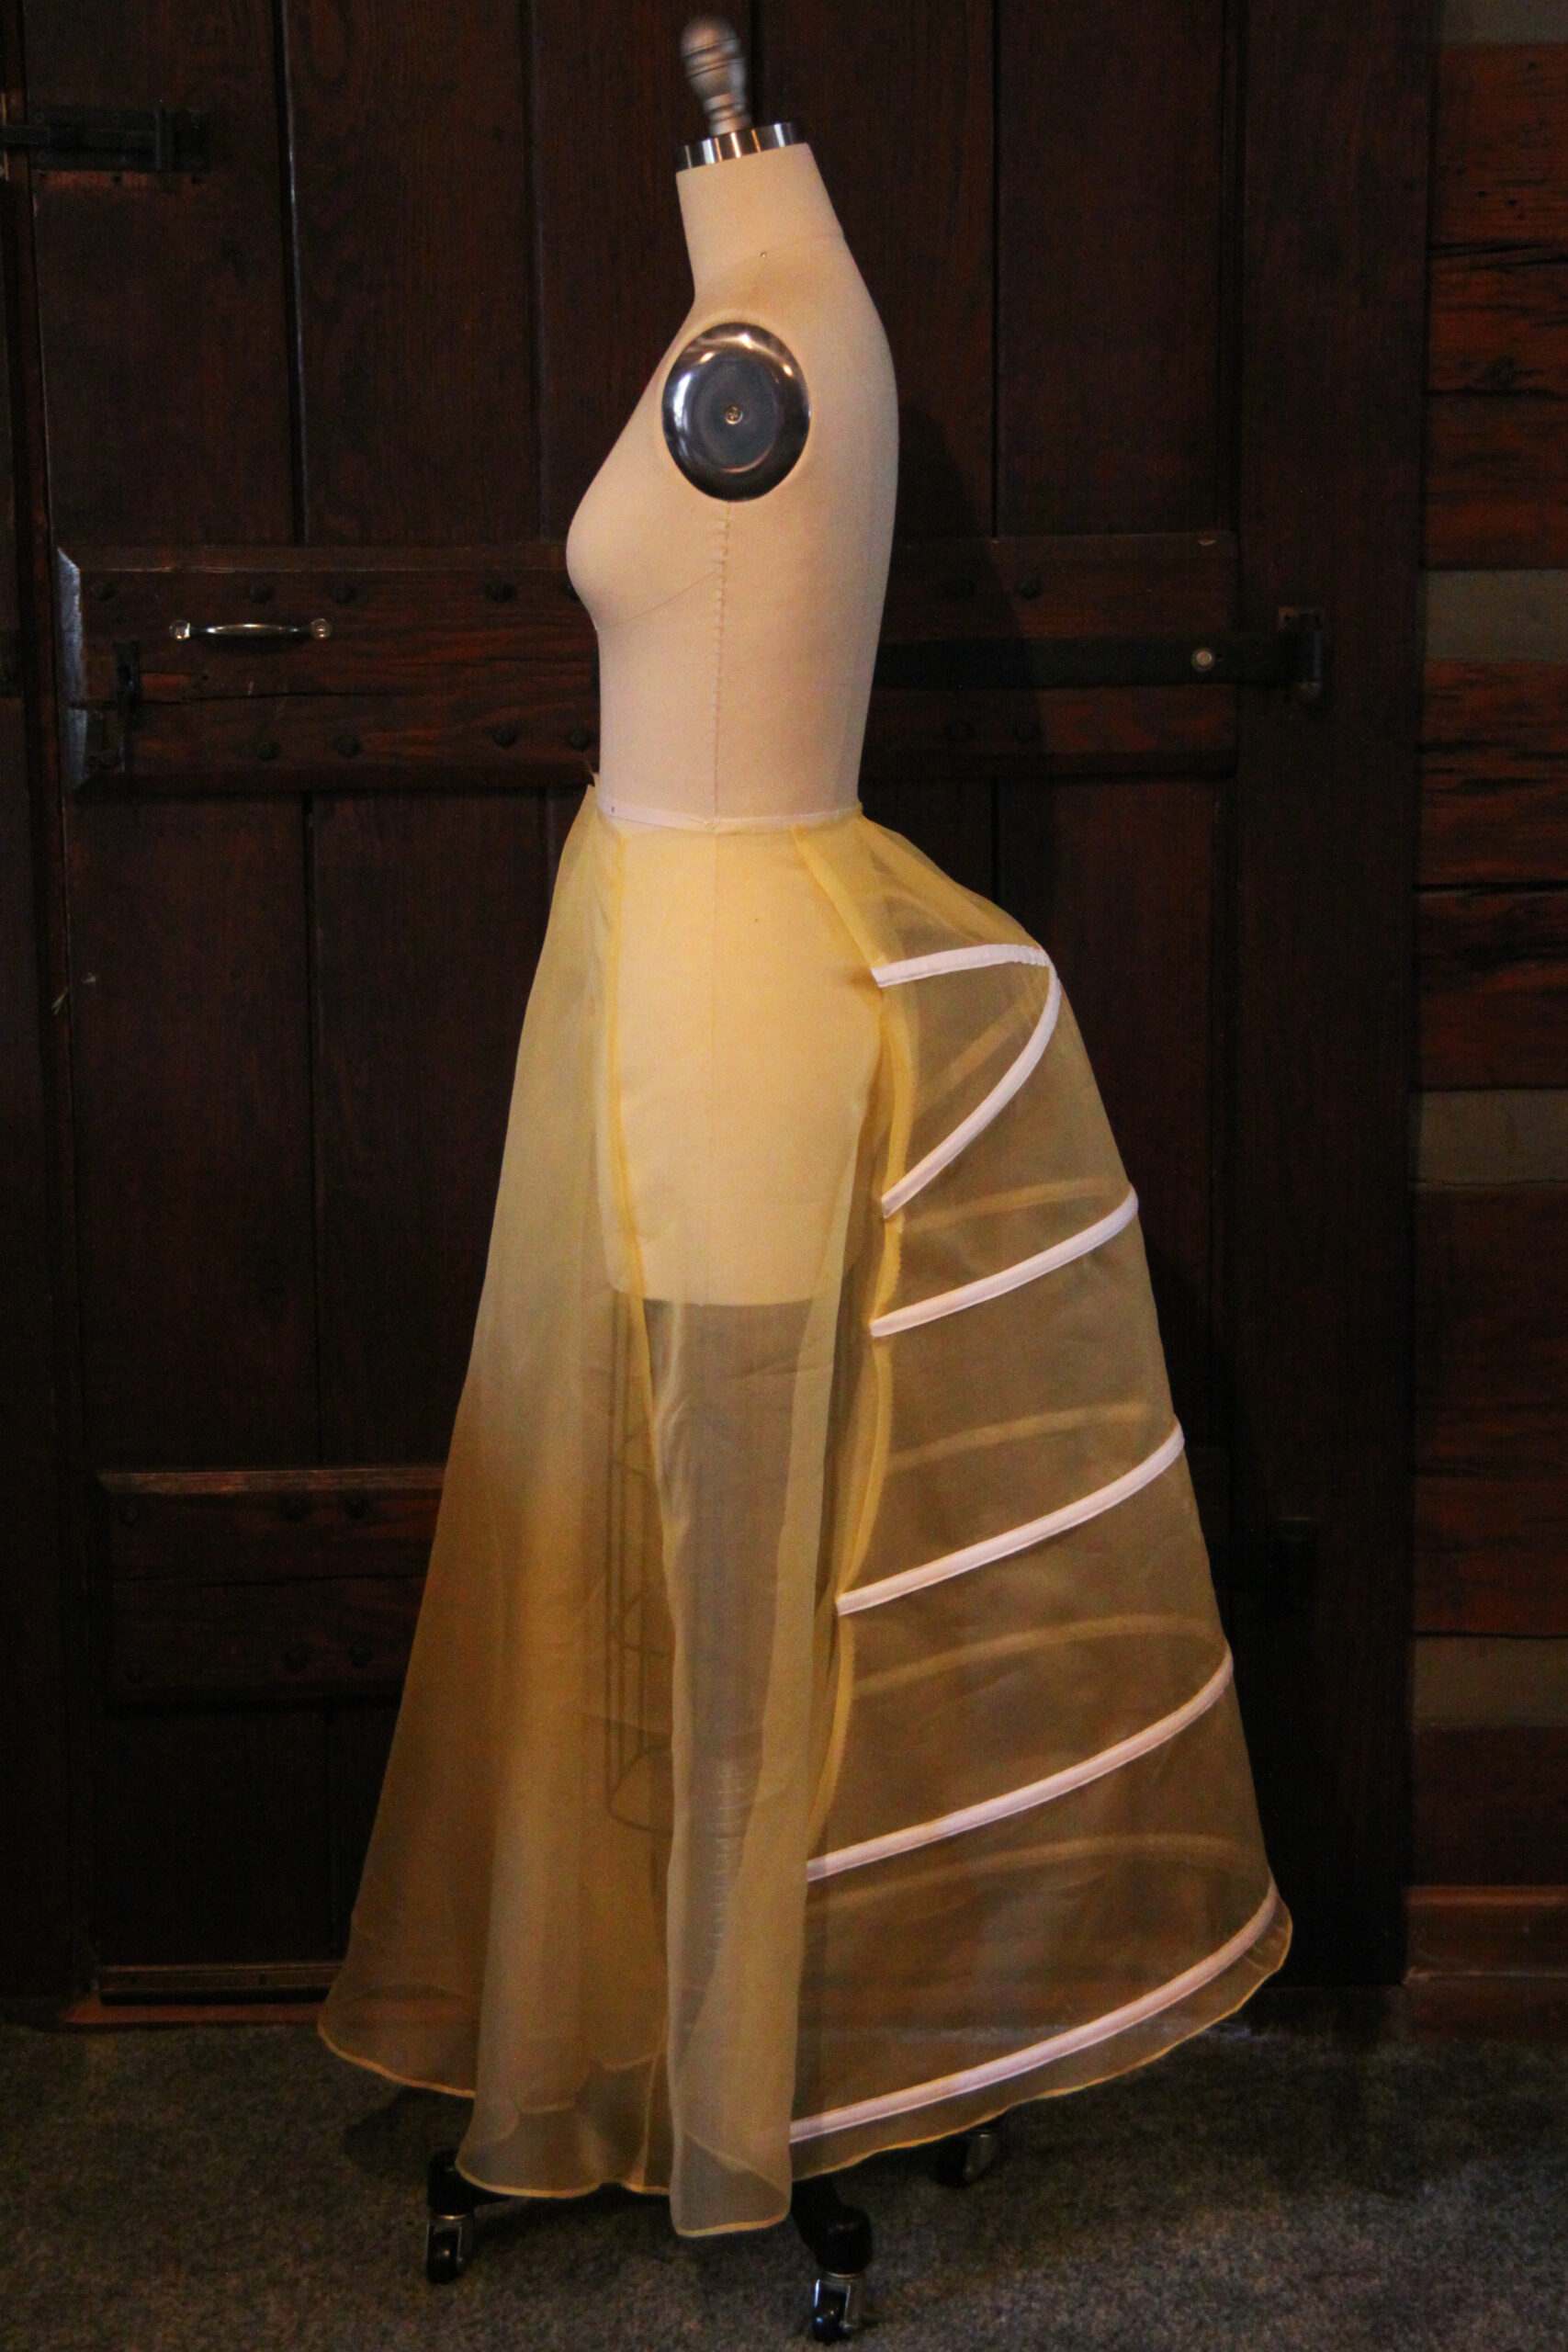
Next was figuring out how the underskirt was designed with “cage under some parts of it, mostly layers of organza.”
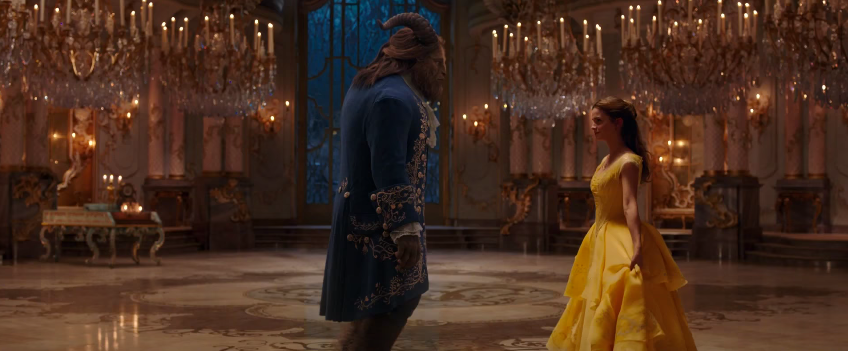


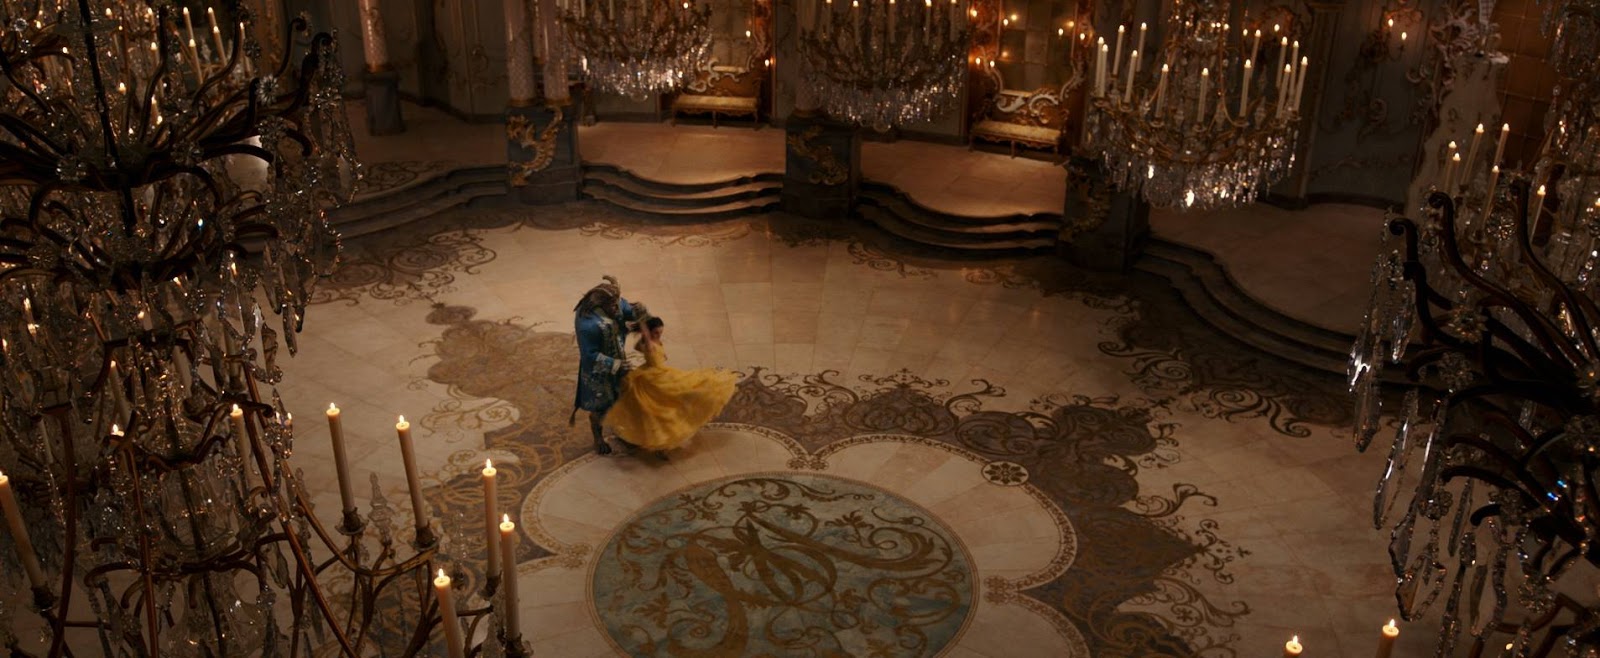
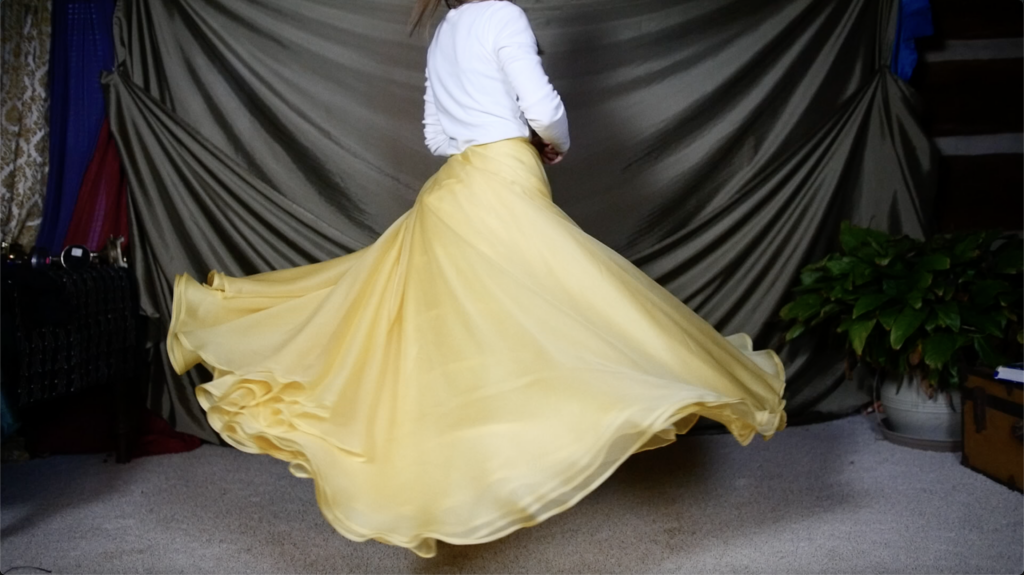
With these photos maybe you can see what I think is the “bustle” to the skirt. In the two dancing photos, the bustle seems to stay in the same area and the fabric of the skirt bunches around it. This made me think there must be some boning in that area. With the photos I just showed you, I decided the closest hoop-like structure was a lobster tail bustle. The decision was made!
With a Design Decision, the Construction Begins
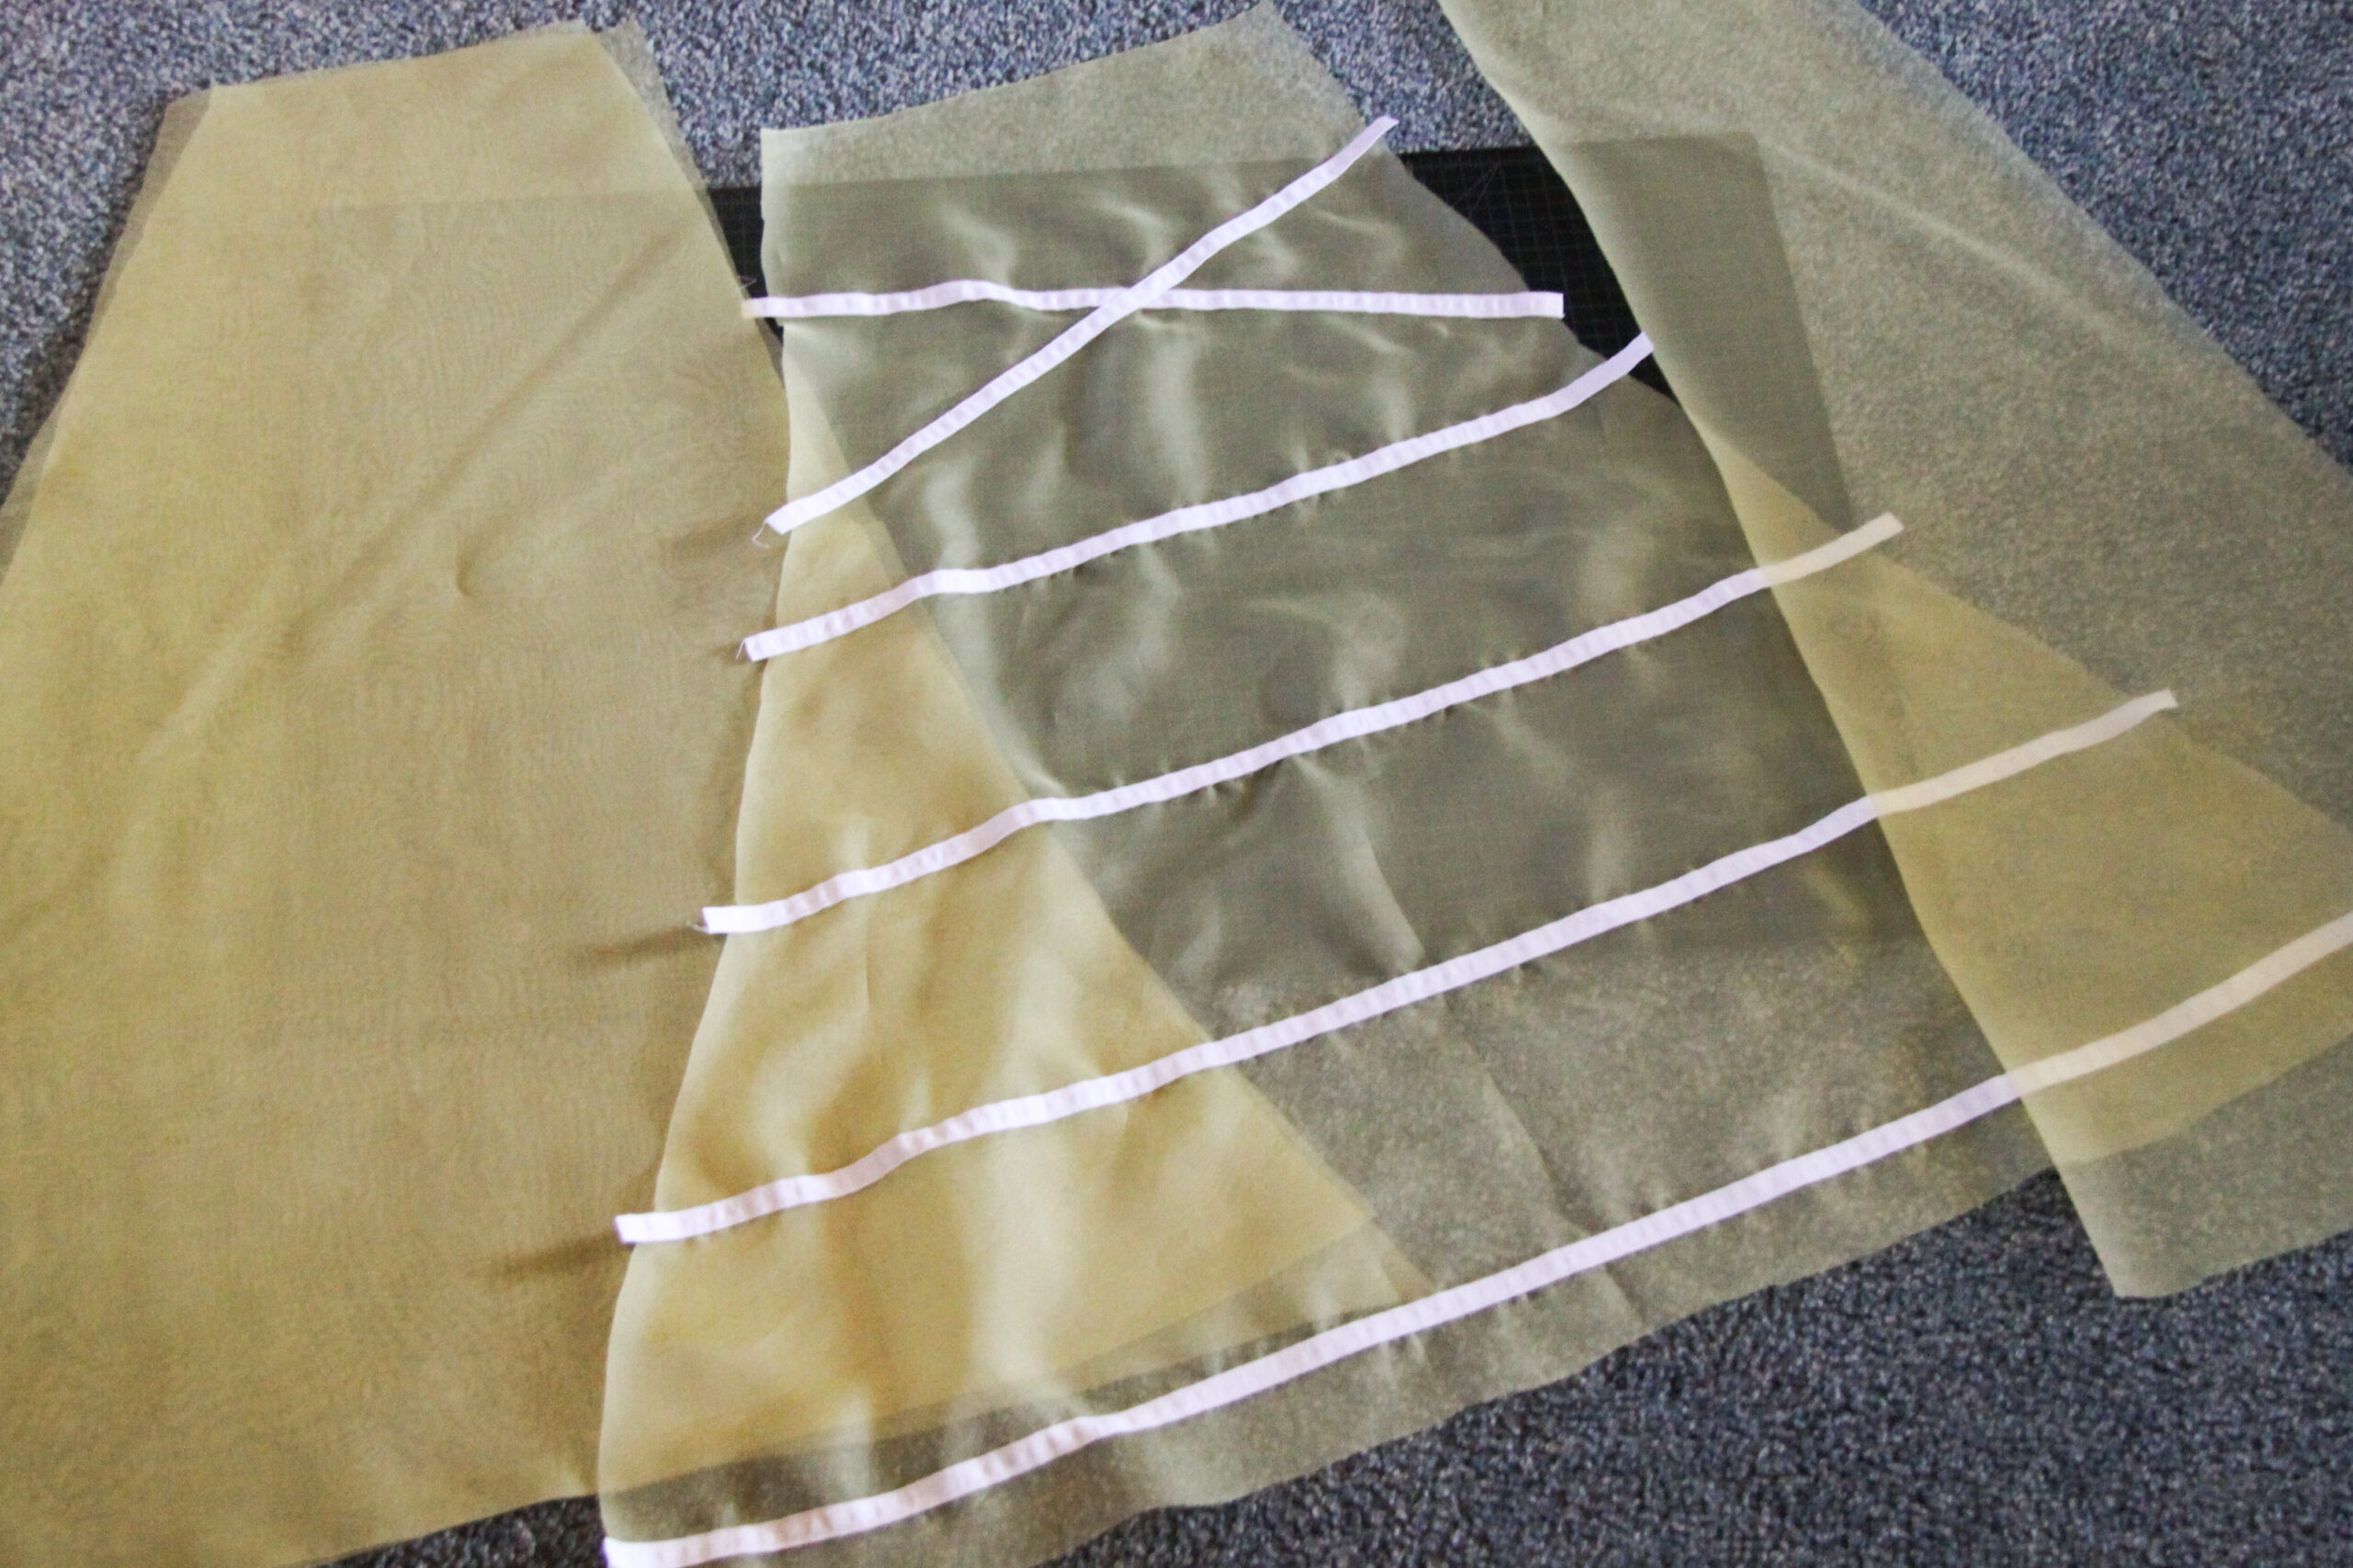


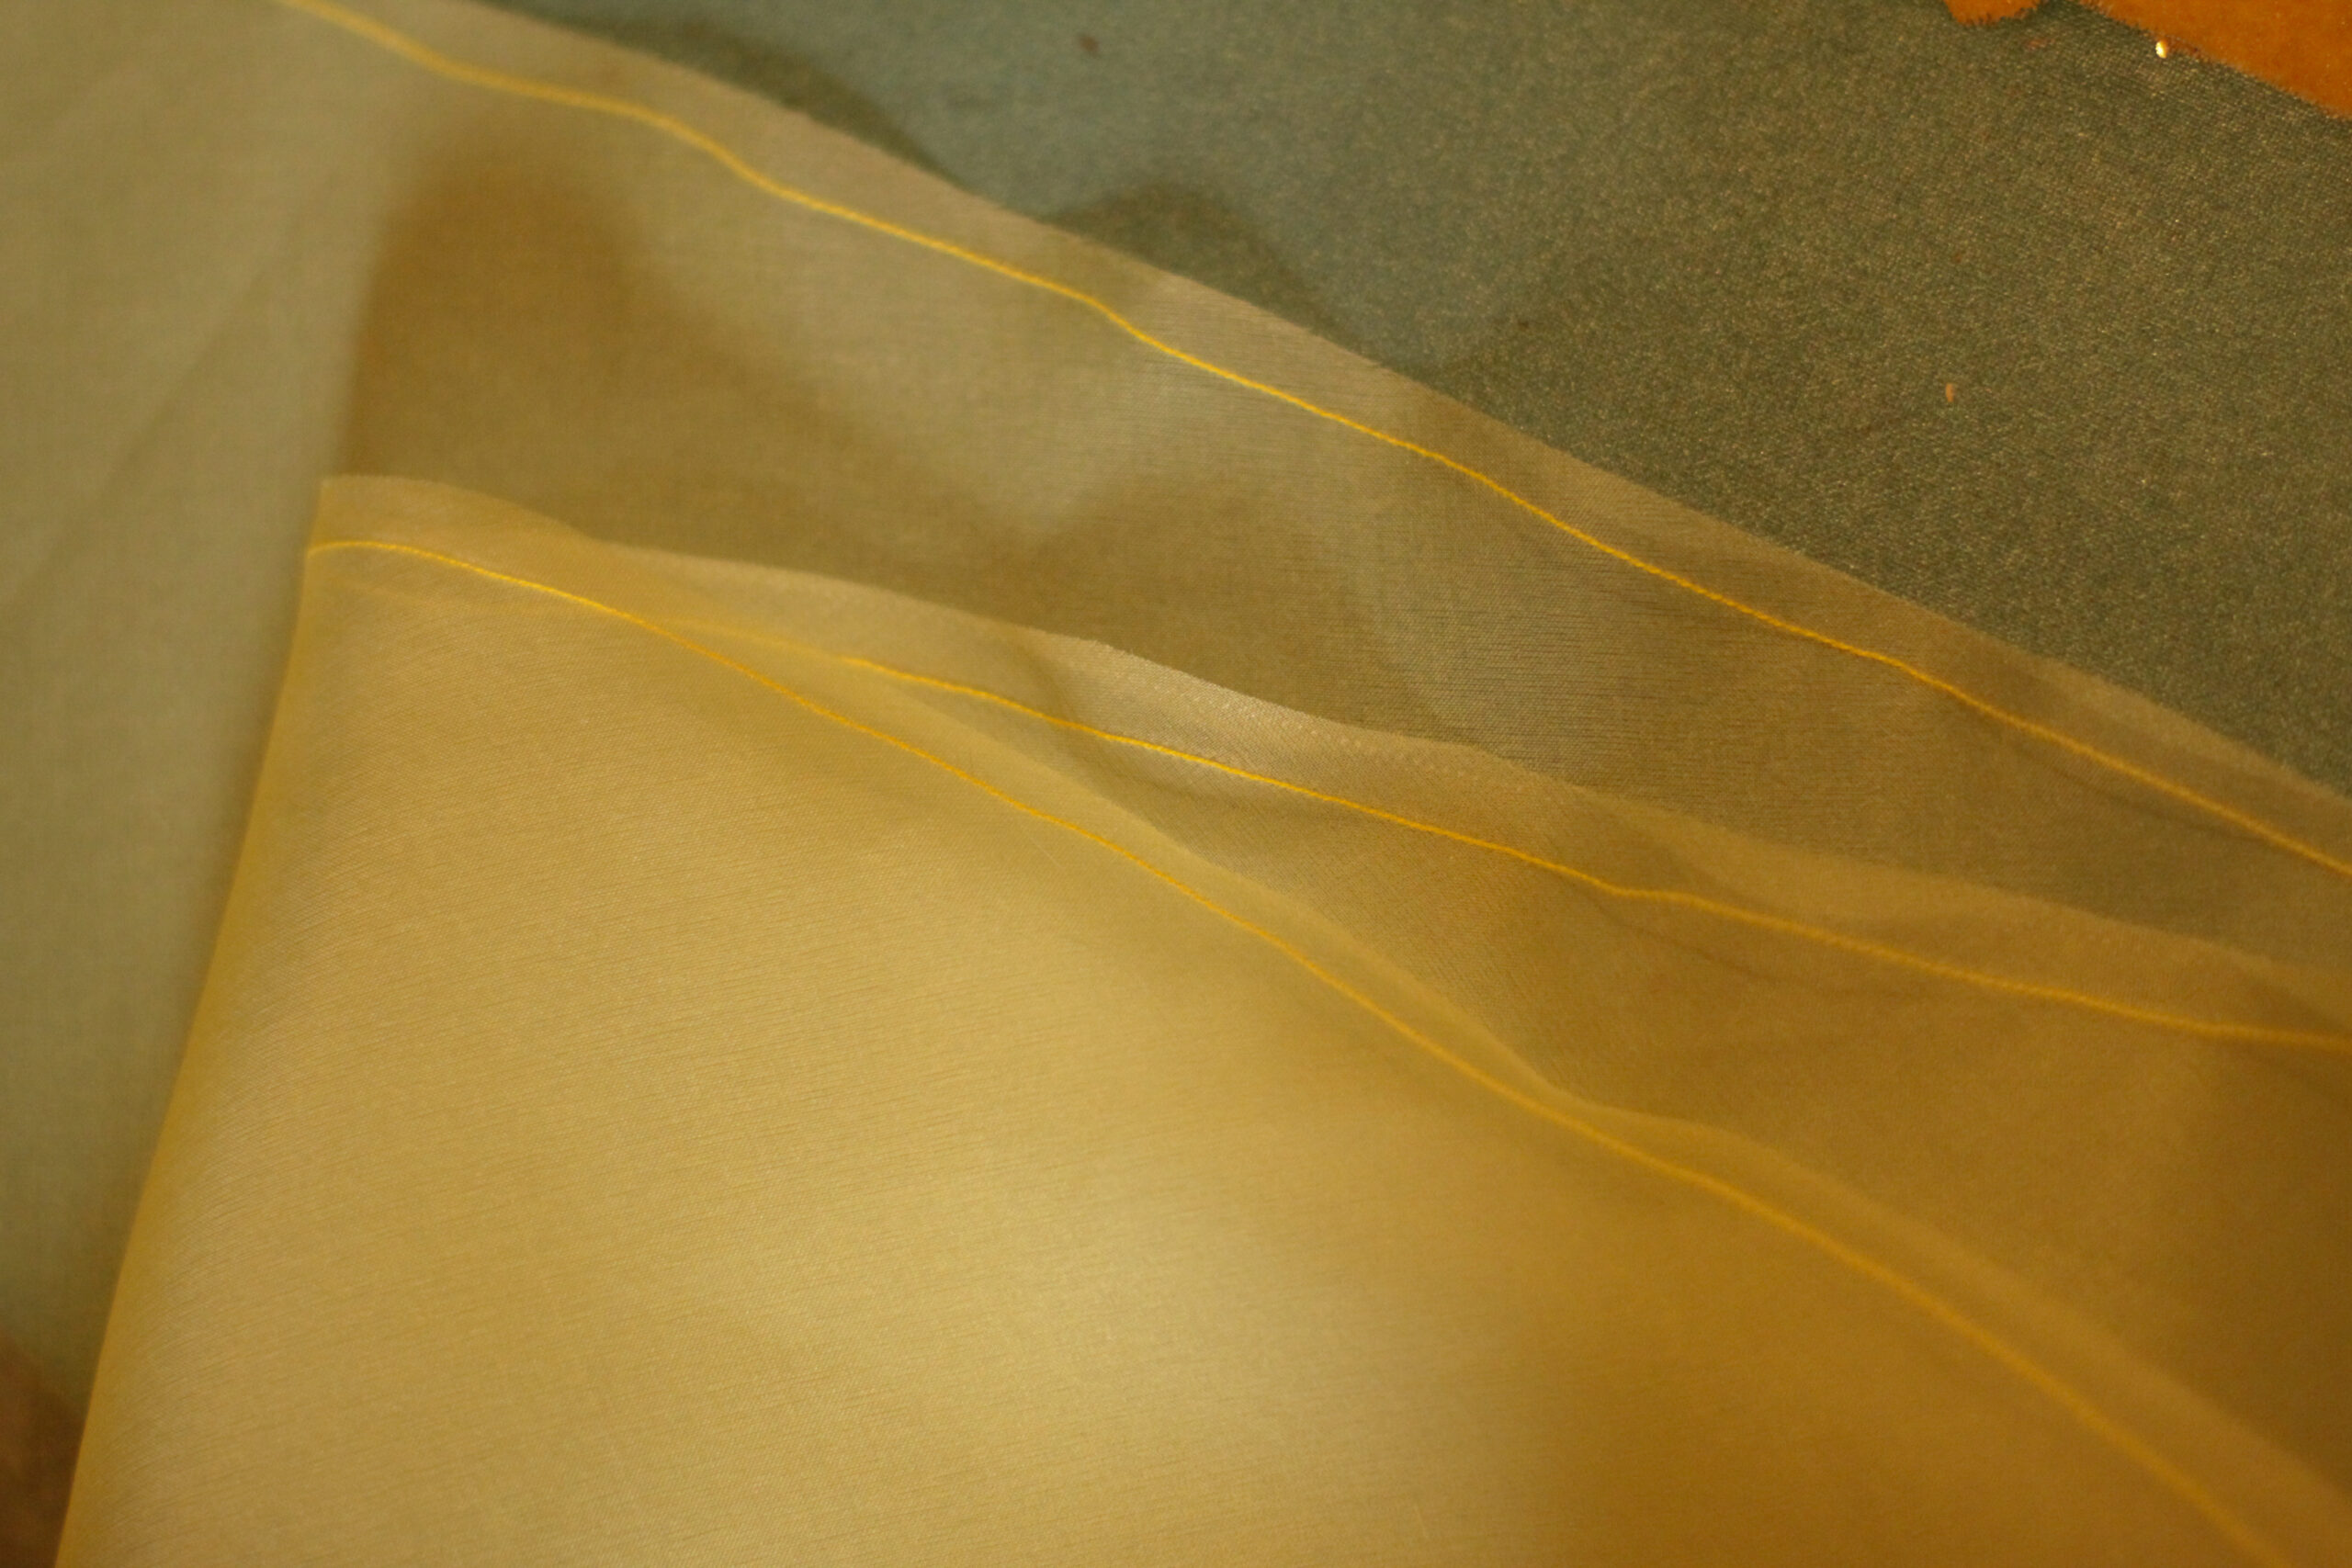
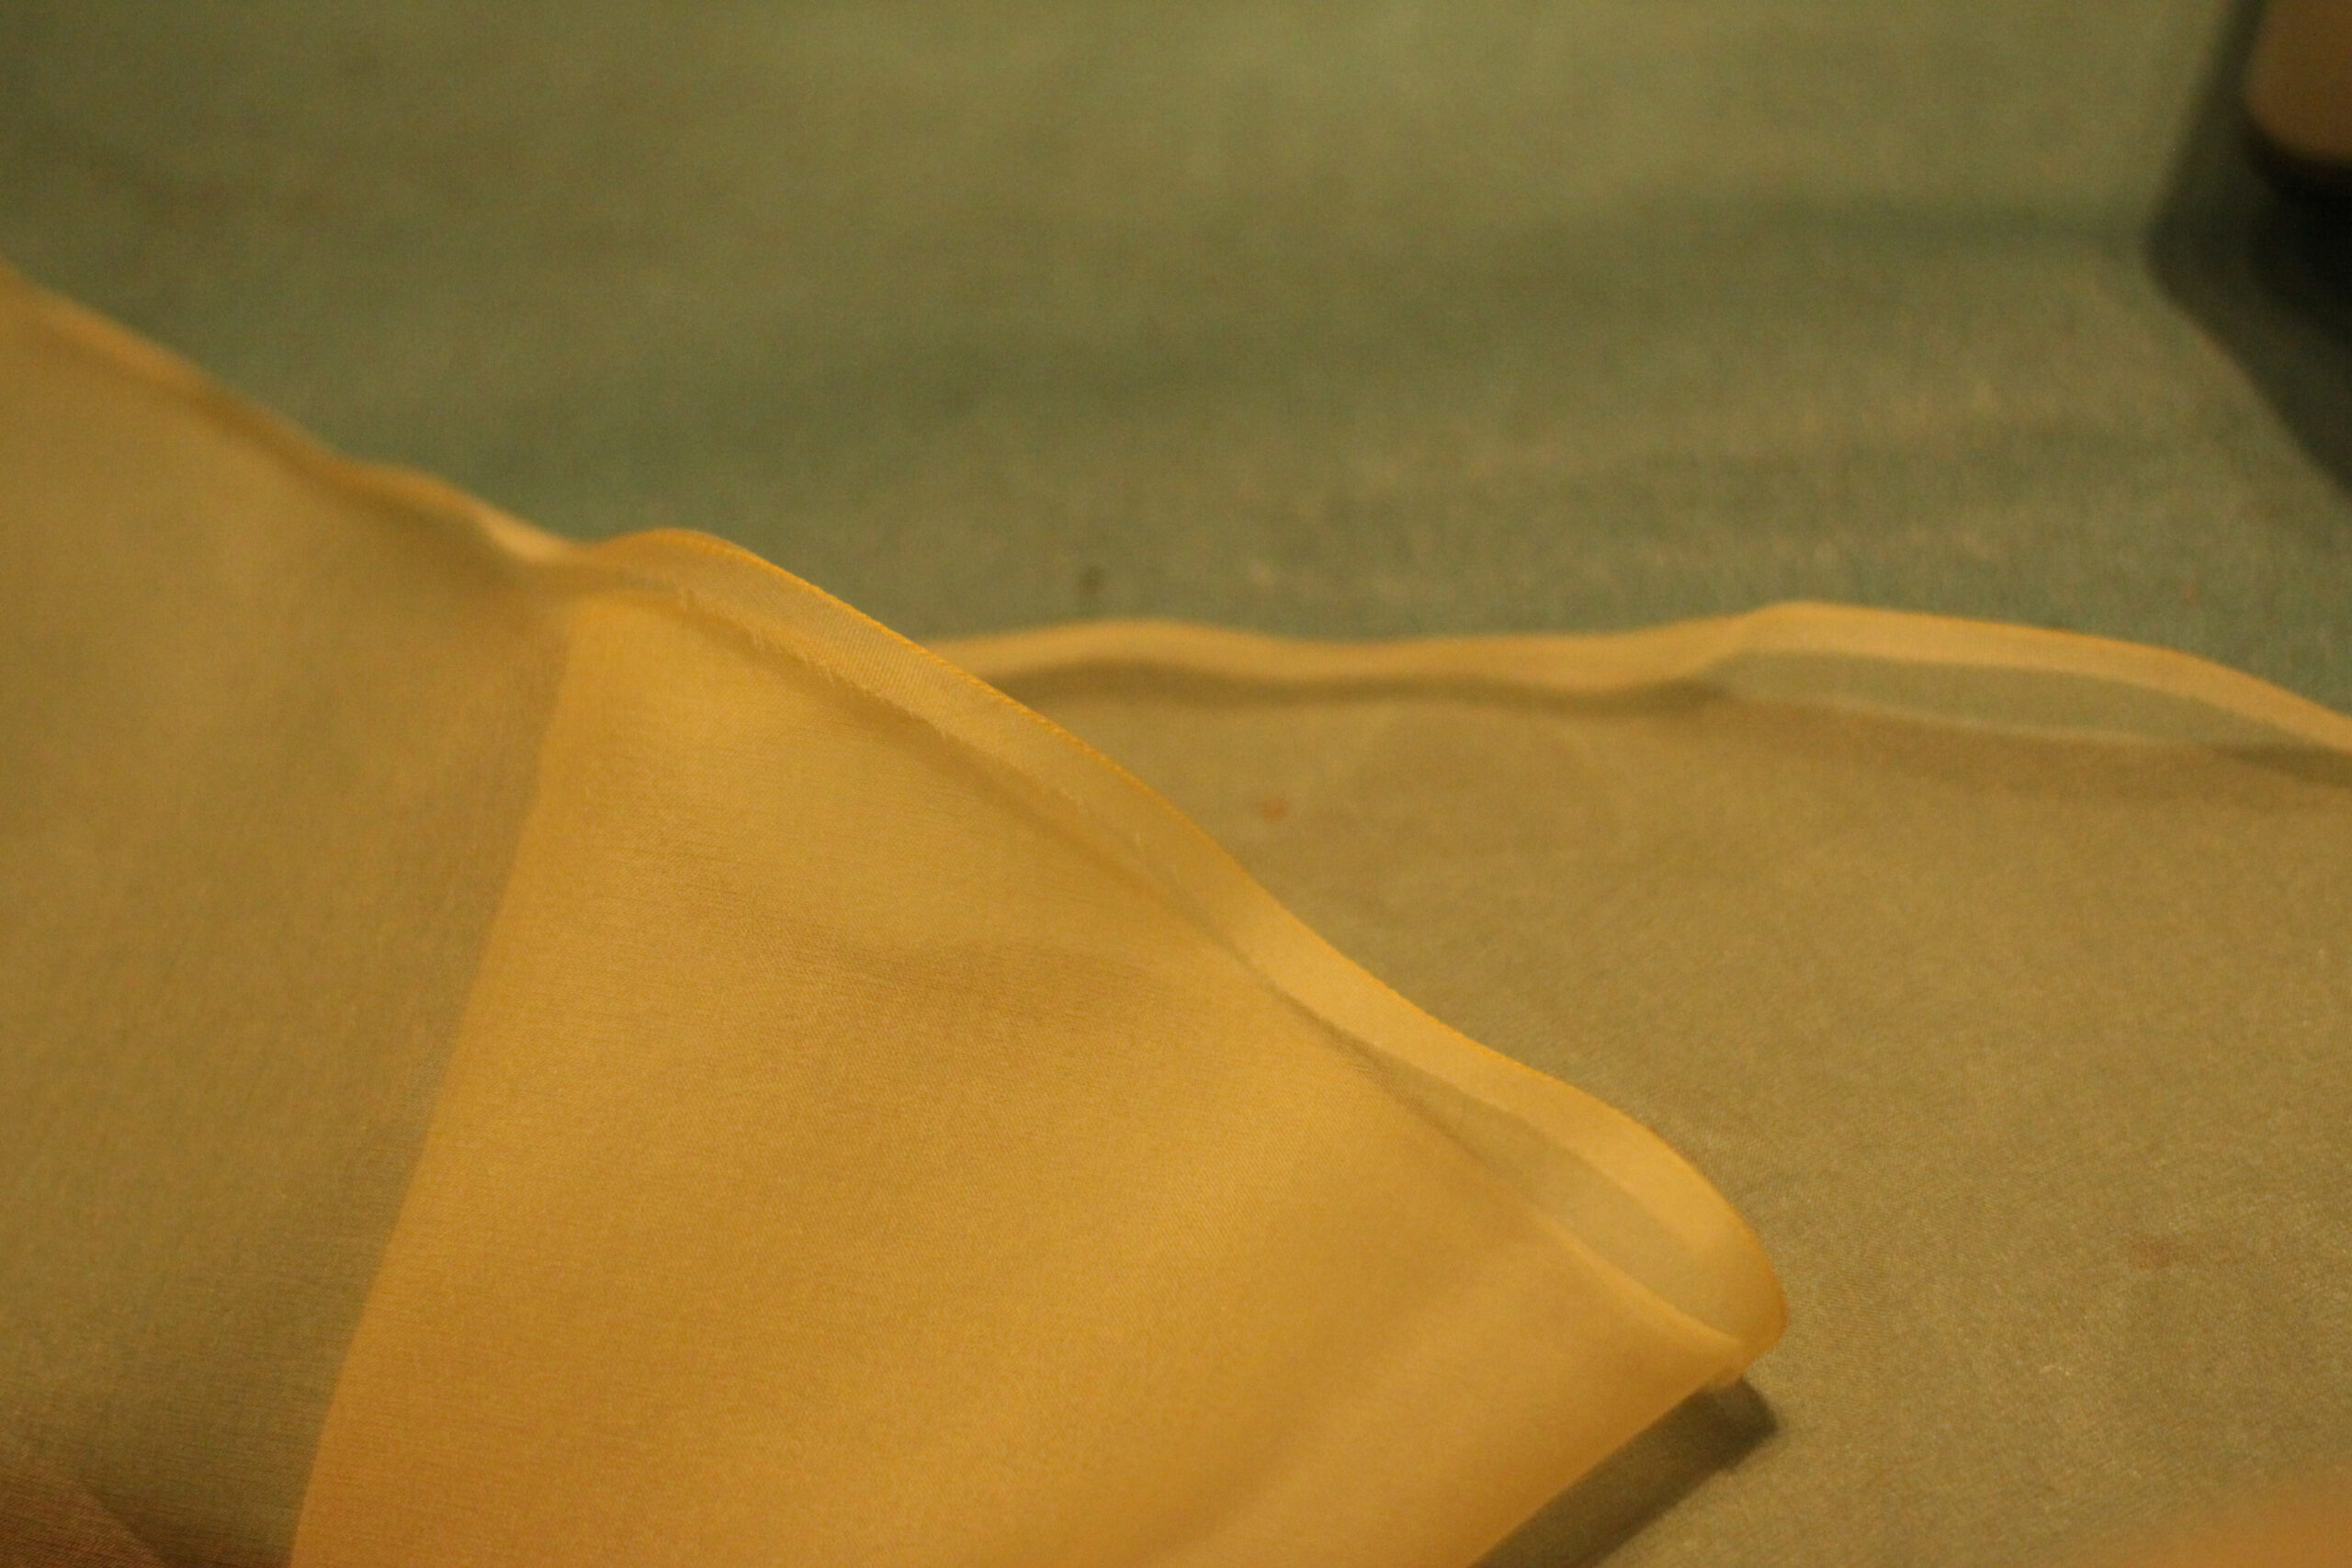
Next step: adding layers and layers of organza to create volume!
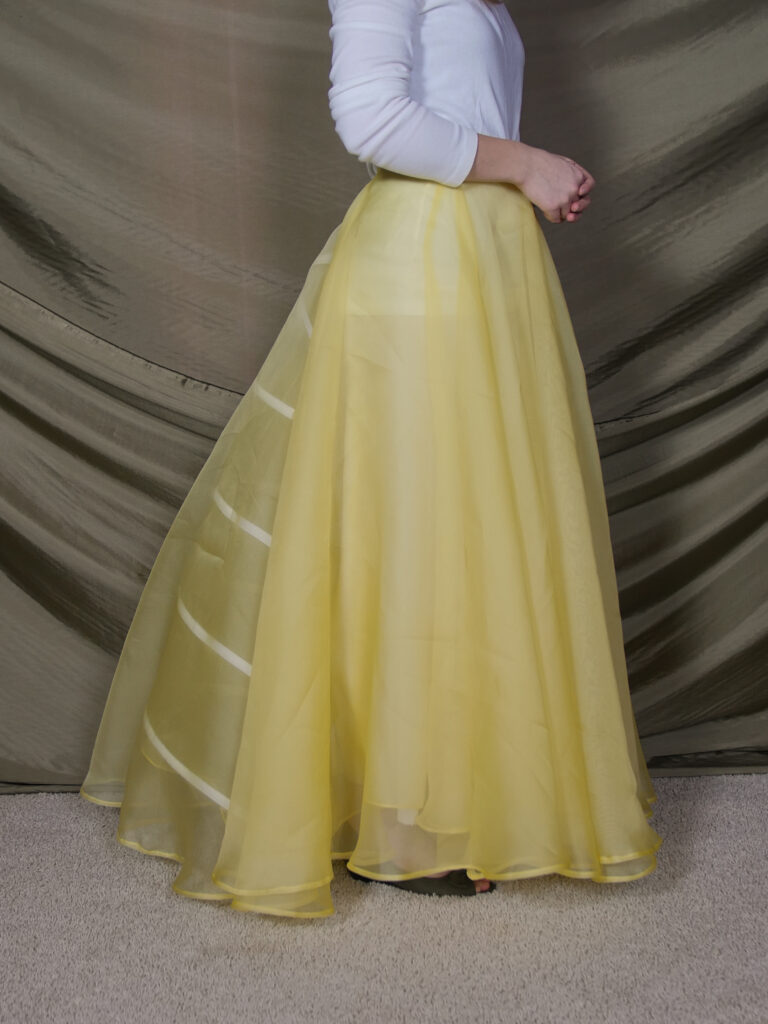
Originally, I ordered 25 yards of Silk Organza (from EZSilks in color 5046) for the layers of fluff and created 3 layers of circle skirts — the result:
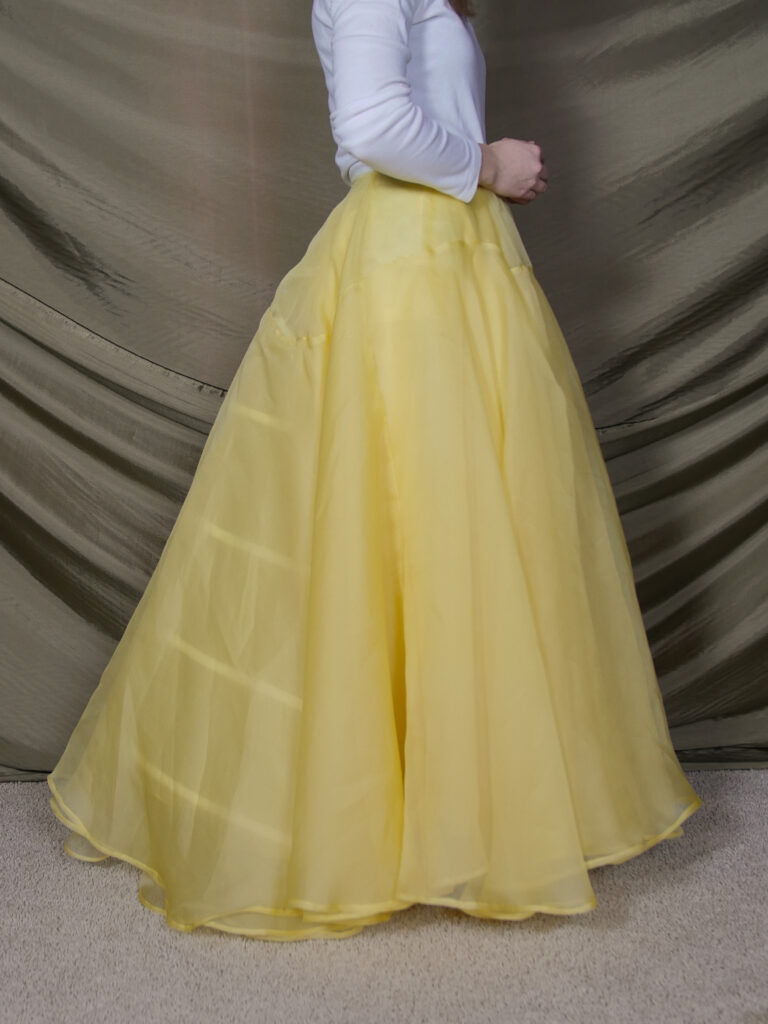
Even though my Instagram really took off after posting this video, I realized I needed to add more layers to achieve a larger skirt, one that would match the original (I’m still making the “smaller” version — even so, it still has lots of volume!) So, another 27 yard of organza shipped to my doorstep and several more circle skirts were created.
Was it worth it? After posting on Instagram showing the revised underskirt, I got my answer! My Instagram blow-up — for real, I thought my app was malfunctioning — 95.5K views?!?!
The Progression


Hemming…Hemming…Hemming!
As you might know, hemming a circle skirt takes some time and patience, thanks to the “extra” circumference being turned into the hem. With this project, it’s hemming 8 layers of circle skirts. But WAIT — I created each layer extra full by using 3, half circle pieces.
That’s equivalent to 12 circle skirts! 😅
Because of this, I needed to find something to help speed up the process.
The Method


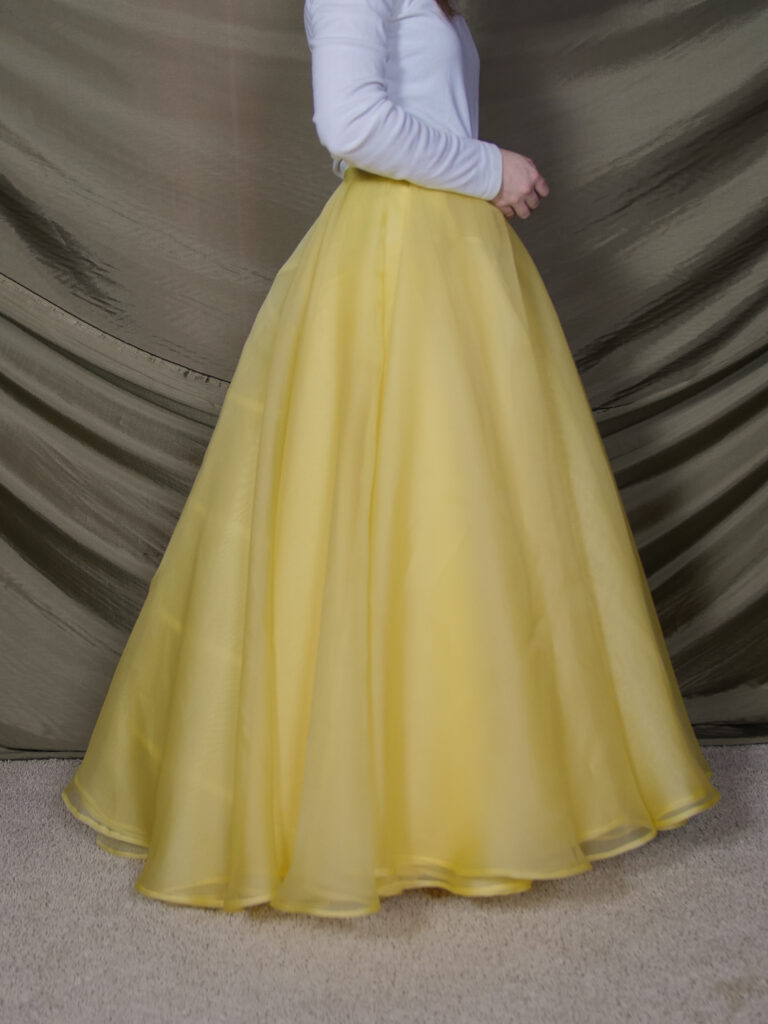
The underskirts are finished!
With the underskirts complete for Belle’s Yellow dress, it’s onto the golden outer skirt.
Thanks for learning with me! Remember to always learn, create with passion, and inspire others.

Yes! Oh my goodness this is such a helpful post! I really want to make this dress (that swooshiness) but I’m very daunted by the whole construction of it. Yours looks amazing!
That’s great! Just do a lot of draping with the fabric; it helps a lot! If you have any questions, feel free to ask them!
Pingback: Sewing a Beauty – Belle’s Yellow Ballgown Creation – Step 2: Outer Skirt – Bella Maes Sewing Corner
This dress was absolutely amazing, and all of your work so breathtakingly amazing. I’m a huge fan, and you’ve inspired me to take on sewing. Any tips to someone new to sewing. I’d love to recreate this dress to one day.
Hi, I’m just wondering if you managed to fit the a full circle skirt on your fabric or if you had to have vertical seams? It looks so beautifully seamless that I’m wondering how you did it!
I cut each circle in two parts…so each cut section was a 1/2 circle.
Thanks!
I wrote comment a little bit ago but not sure if it went through as it didn’t confirm submission. So I hope this is not duplicated. I came across your site when trying to get ideas for my daughter. She’s 6 1/2 and wants a live action Belle dress. She has a discerning eye for detail and accuracy. I’m trying to figure out if I can accommodate her wishes. Are all the circle skirts the same size? Or do they vary with each layer? Obviously, the layer one is different due to the boning/ cage but I was wondering if the others are the same size? Do you have any ideas for where to find a pattern for the bodice in a kids size? I just love your work, it’s gorgeous! I’m so glad I came upon it. You must have great patience and passion to do the work you do! Thank you in advance for any assistance you can provide!
Hi Jackie, that’s so fun!
So each of the layers have different amounts of circles in them (such as some have 2 full ones, and some have 1.5 circles.) But each of those circles are pretty much the same size, just varying some based on the measurements of how much of the waist it needs to fit in and how long it needs to be.
And as for patterns for children, unfortunately I can’t be of help with that. Though I’m sure you could find some similar styles in the standard patterns sold everywhere.
Hope that helps a little!
All the best,
Bella