
 Hello world! It’s been awhile…I do sincerely apologize for this!
These past few months have held many different things. Nothing too major, just busy life!
Time to fulfill the promise I made in a couple posts ago…to post a series of tutorials. This “How-To” is all about a fancy hemming technique.
~ The Scalloped Hem ~
For “Aurora’s Blue Gown Replica” I needed to spruce up the petticoat hem in order to match the original. And thus, I learned a new technique!
First step? Create the skirt that is in need of a scalloped hem. For this project, it’s a circle skirt. Cut a band of matching fabric, on the bias. The width of the band depends on the depth of your scallops. If you have a 2″ scallop, you want a band of fabric about 4″ wide (2″ scallop + 1″ edge + 1″ seam allowance).


 Serge one edge of the band of fabric. When serging, slightly gather the edge (adjusting the tension often does the trick!)
 Now, attach the band, to the skirt’s hem (right sides together.) Slightly stretch the band as you sew.
 Do you see what you’re doing here? One edge is slightly gathered and the other is slightly stretch. This allows for the different circumstances of where the band will lay.
 Now, it’s time to draw on the scallops! But first, you’ve got to create your scallop pattern.
Take a piece of card-stock, or cardboard, and trace angle of the hem.
 Cut that edge.
 Place the piece inside the “pocket” and trace the edge of the band.
 Cut it a 1/4″ below that traced line.
 You now have a piece that fits perfectly inside the, well, let’s call it the “sewing zone”
 On that piece of card-stock, trace your scallops. For my sized scallops, I used a ribbon spool. My scallops are just under a half circle.
 I could only fit two scallops on my pattern piece, but if you can fit more, go for it!
 Now, I just marked my stopping point for the points of my scallops. I want to make sure I have even “half” circles.
 Cut the pattern out.
 And voila! You have a scalloped pattern piece that perfectly fits the angle of your hem!
 Now, just trace your pattern along the whole hem. A pencil worked great on my fabric. You might need to use chalk or pen with you fabric. Just test it out. This line you’re drawing is the sewing line.

 As I was tracing, I place pins along the band to make sure both layers would stay in place as I went.
 And now, sew! I used this foot because I can easily see the sewing line and it doesn’t pull the fabric as much.
  Also, since you doing a lot of “drop needle – raise foot – turn – lower foot”, I used my “presser foot lifter” where I can raise the foot with my knee.
 Needle Down:Raise Foot:
 Turn Fabric:
 Lower Foot:
 And sew along the line…

 My skirt was floor length and consisted of a 3/4 circle. That’s a whole lot of hem! Sewing the scallops took me just over an hour. I didn’t think that was too bad!
 Now give it a pressing.
 And a trim!
 I used pinking sheers and trim the seam allowance to a 1/4″ (at the longest point.)
For each point, I used my precision scissors to trim it to an 1/8″ and snipped as close as I could to the point. Be sure to not cut the stitches!


 Now for the hardest, yet best part; turning them right side out.
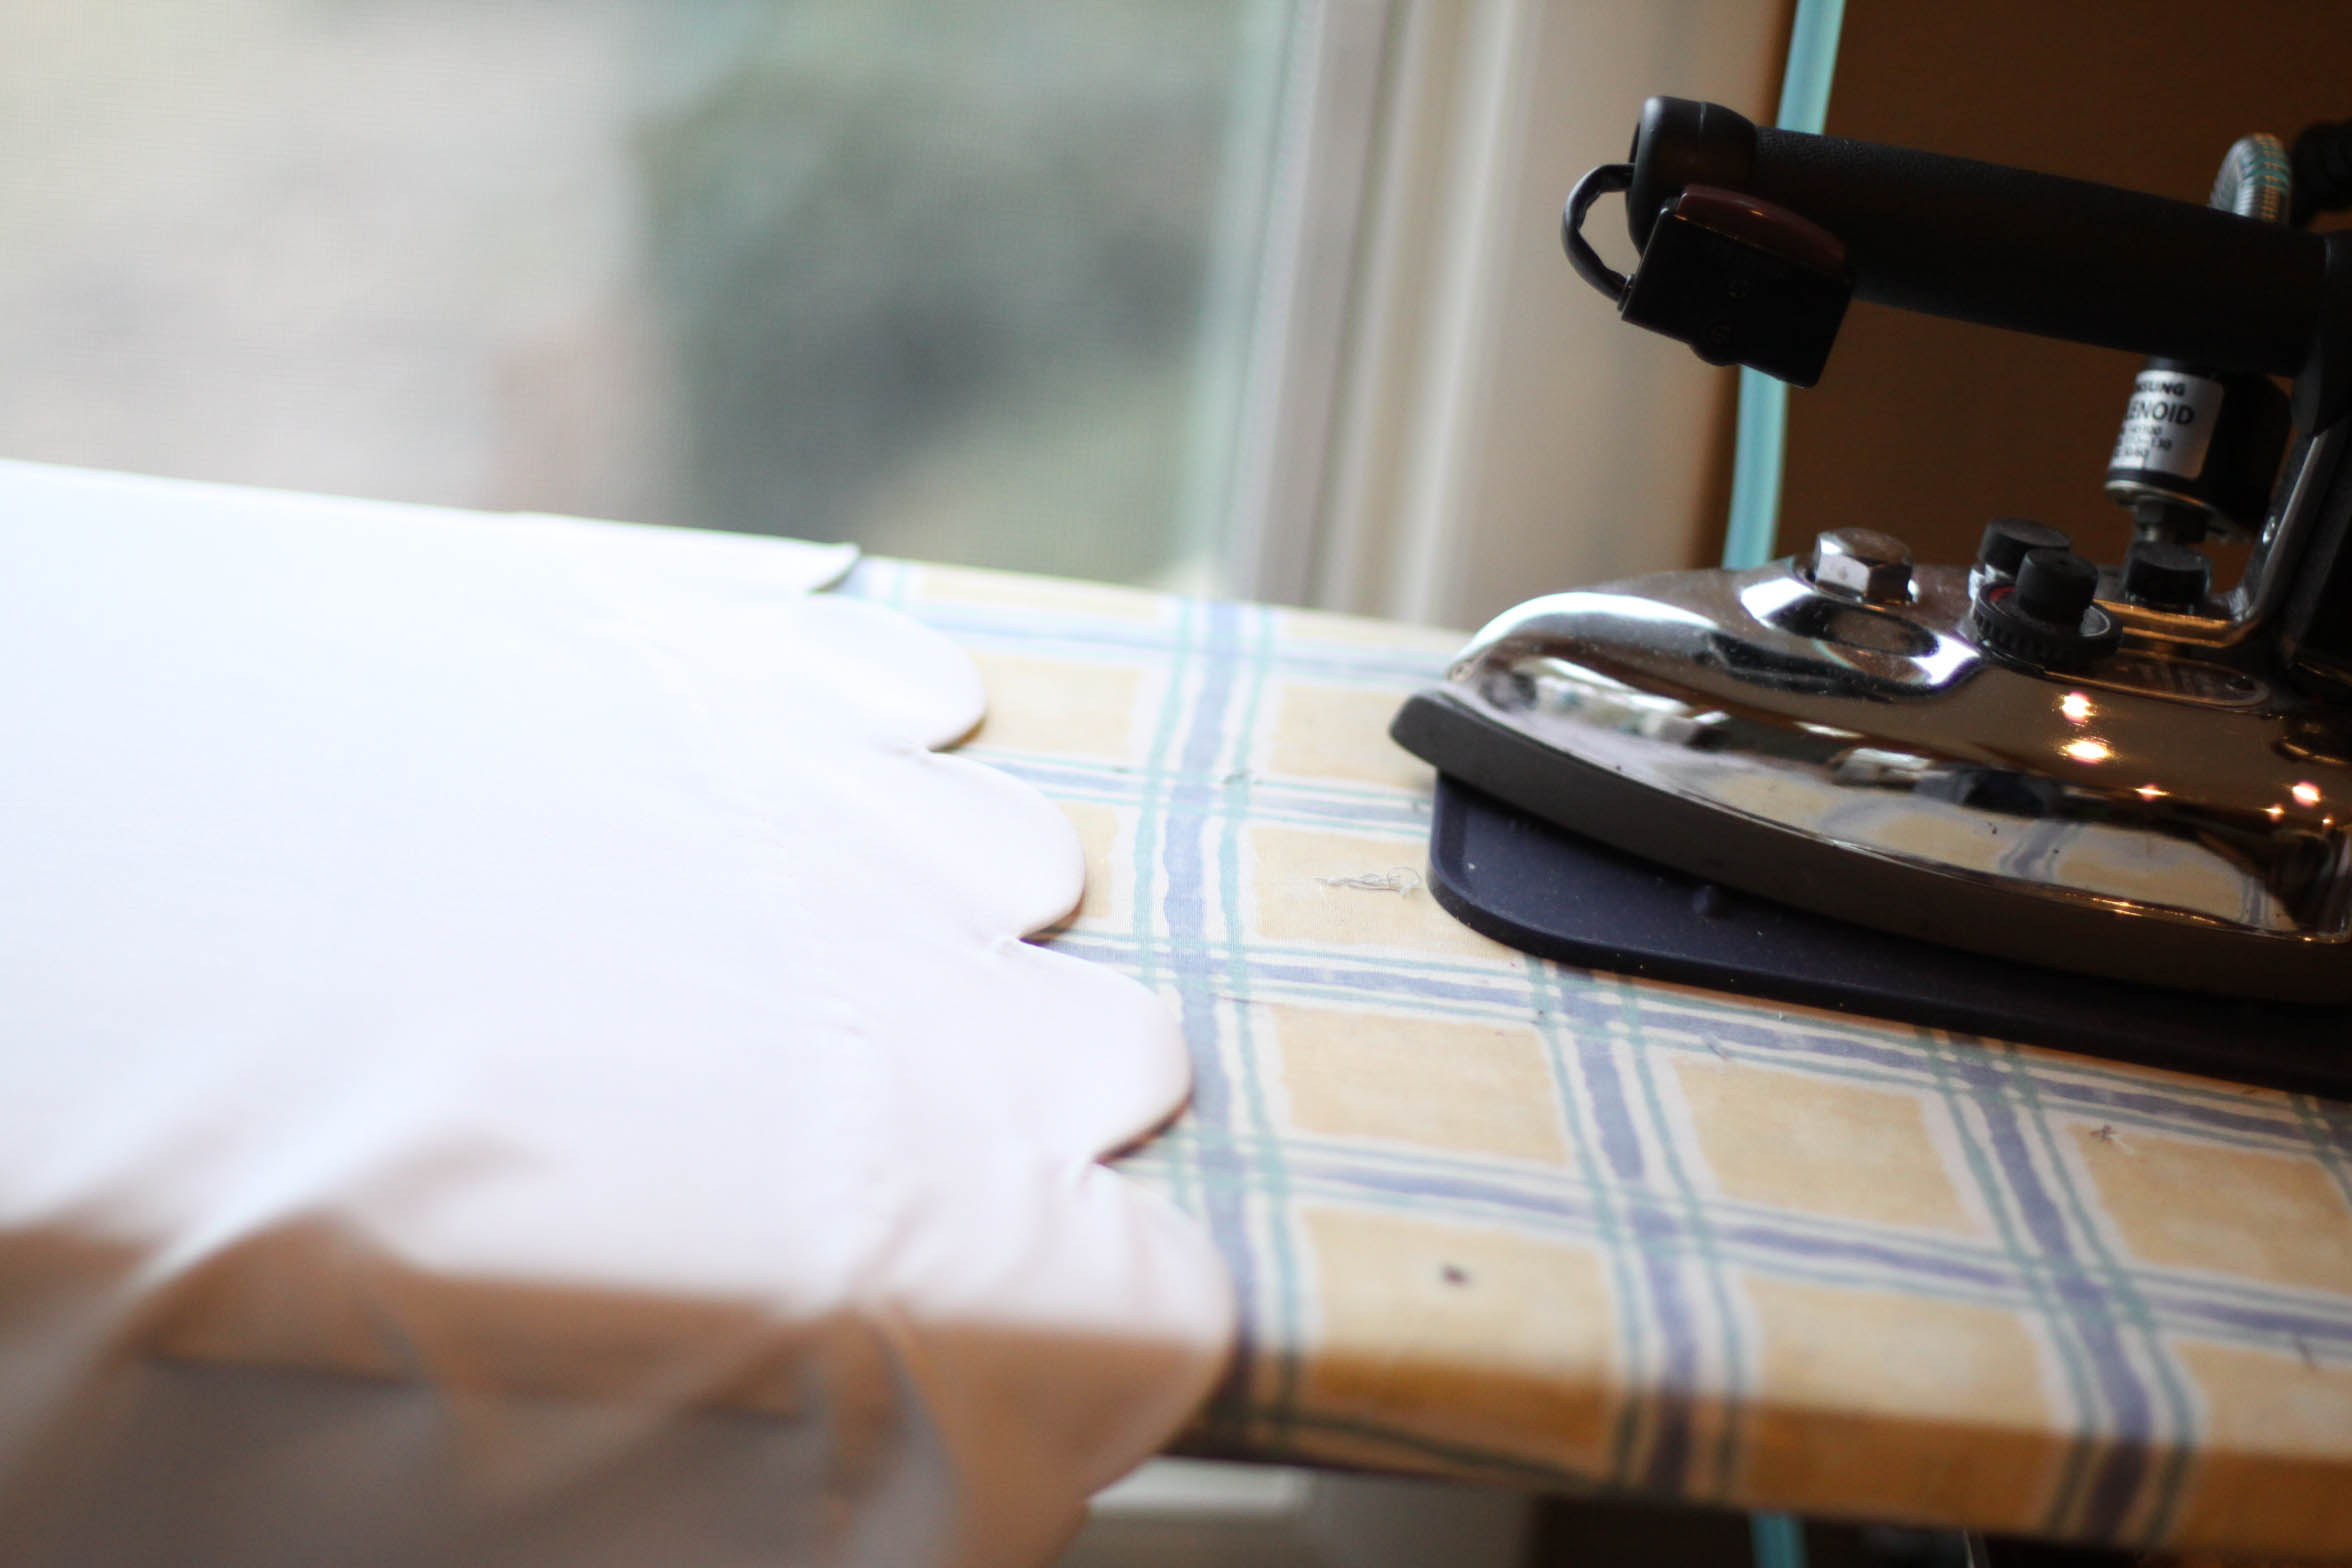
 Flip it right sides out and smooth out the edge. When ironing the edge, slightly pull the wrong side of the scalloped edge, in. This will make the seam not visible from the right side.
 Once this is finished, you’re on the home stretch! It’s time to tack down the loose edge of the band of fabric.
 I used a blind hem foot and stitch…I wanted my stitches to not show. But looking back, I would have been fine with the stitches showing from the right side…the blind hem stitch slightly pulled the fabric incorrectly and produced a slightly rippled hem.
 Give it one last pressing.

 And there you have it!
 Congrats! You’ve stepped up your hem game!
Pingback: Aurora’s Blue Gown – With a Sparkly Twist – Sleeping Beauty Costume Replica – Bella Maes Sewing Corner