
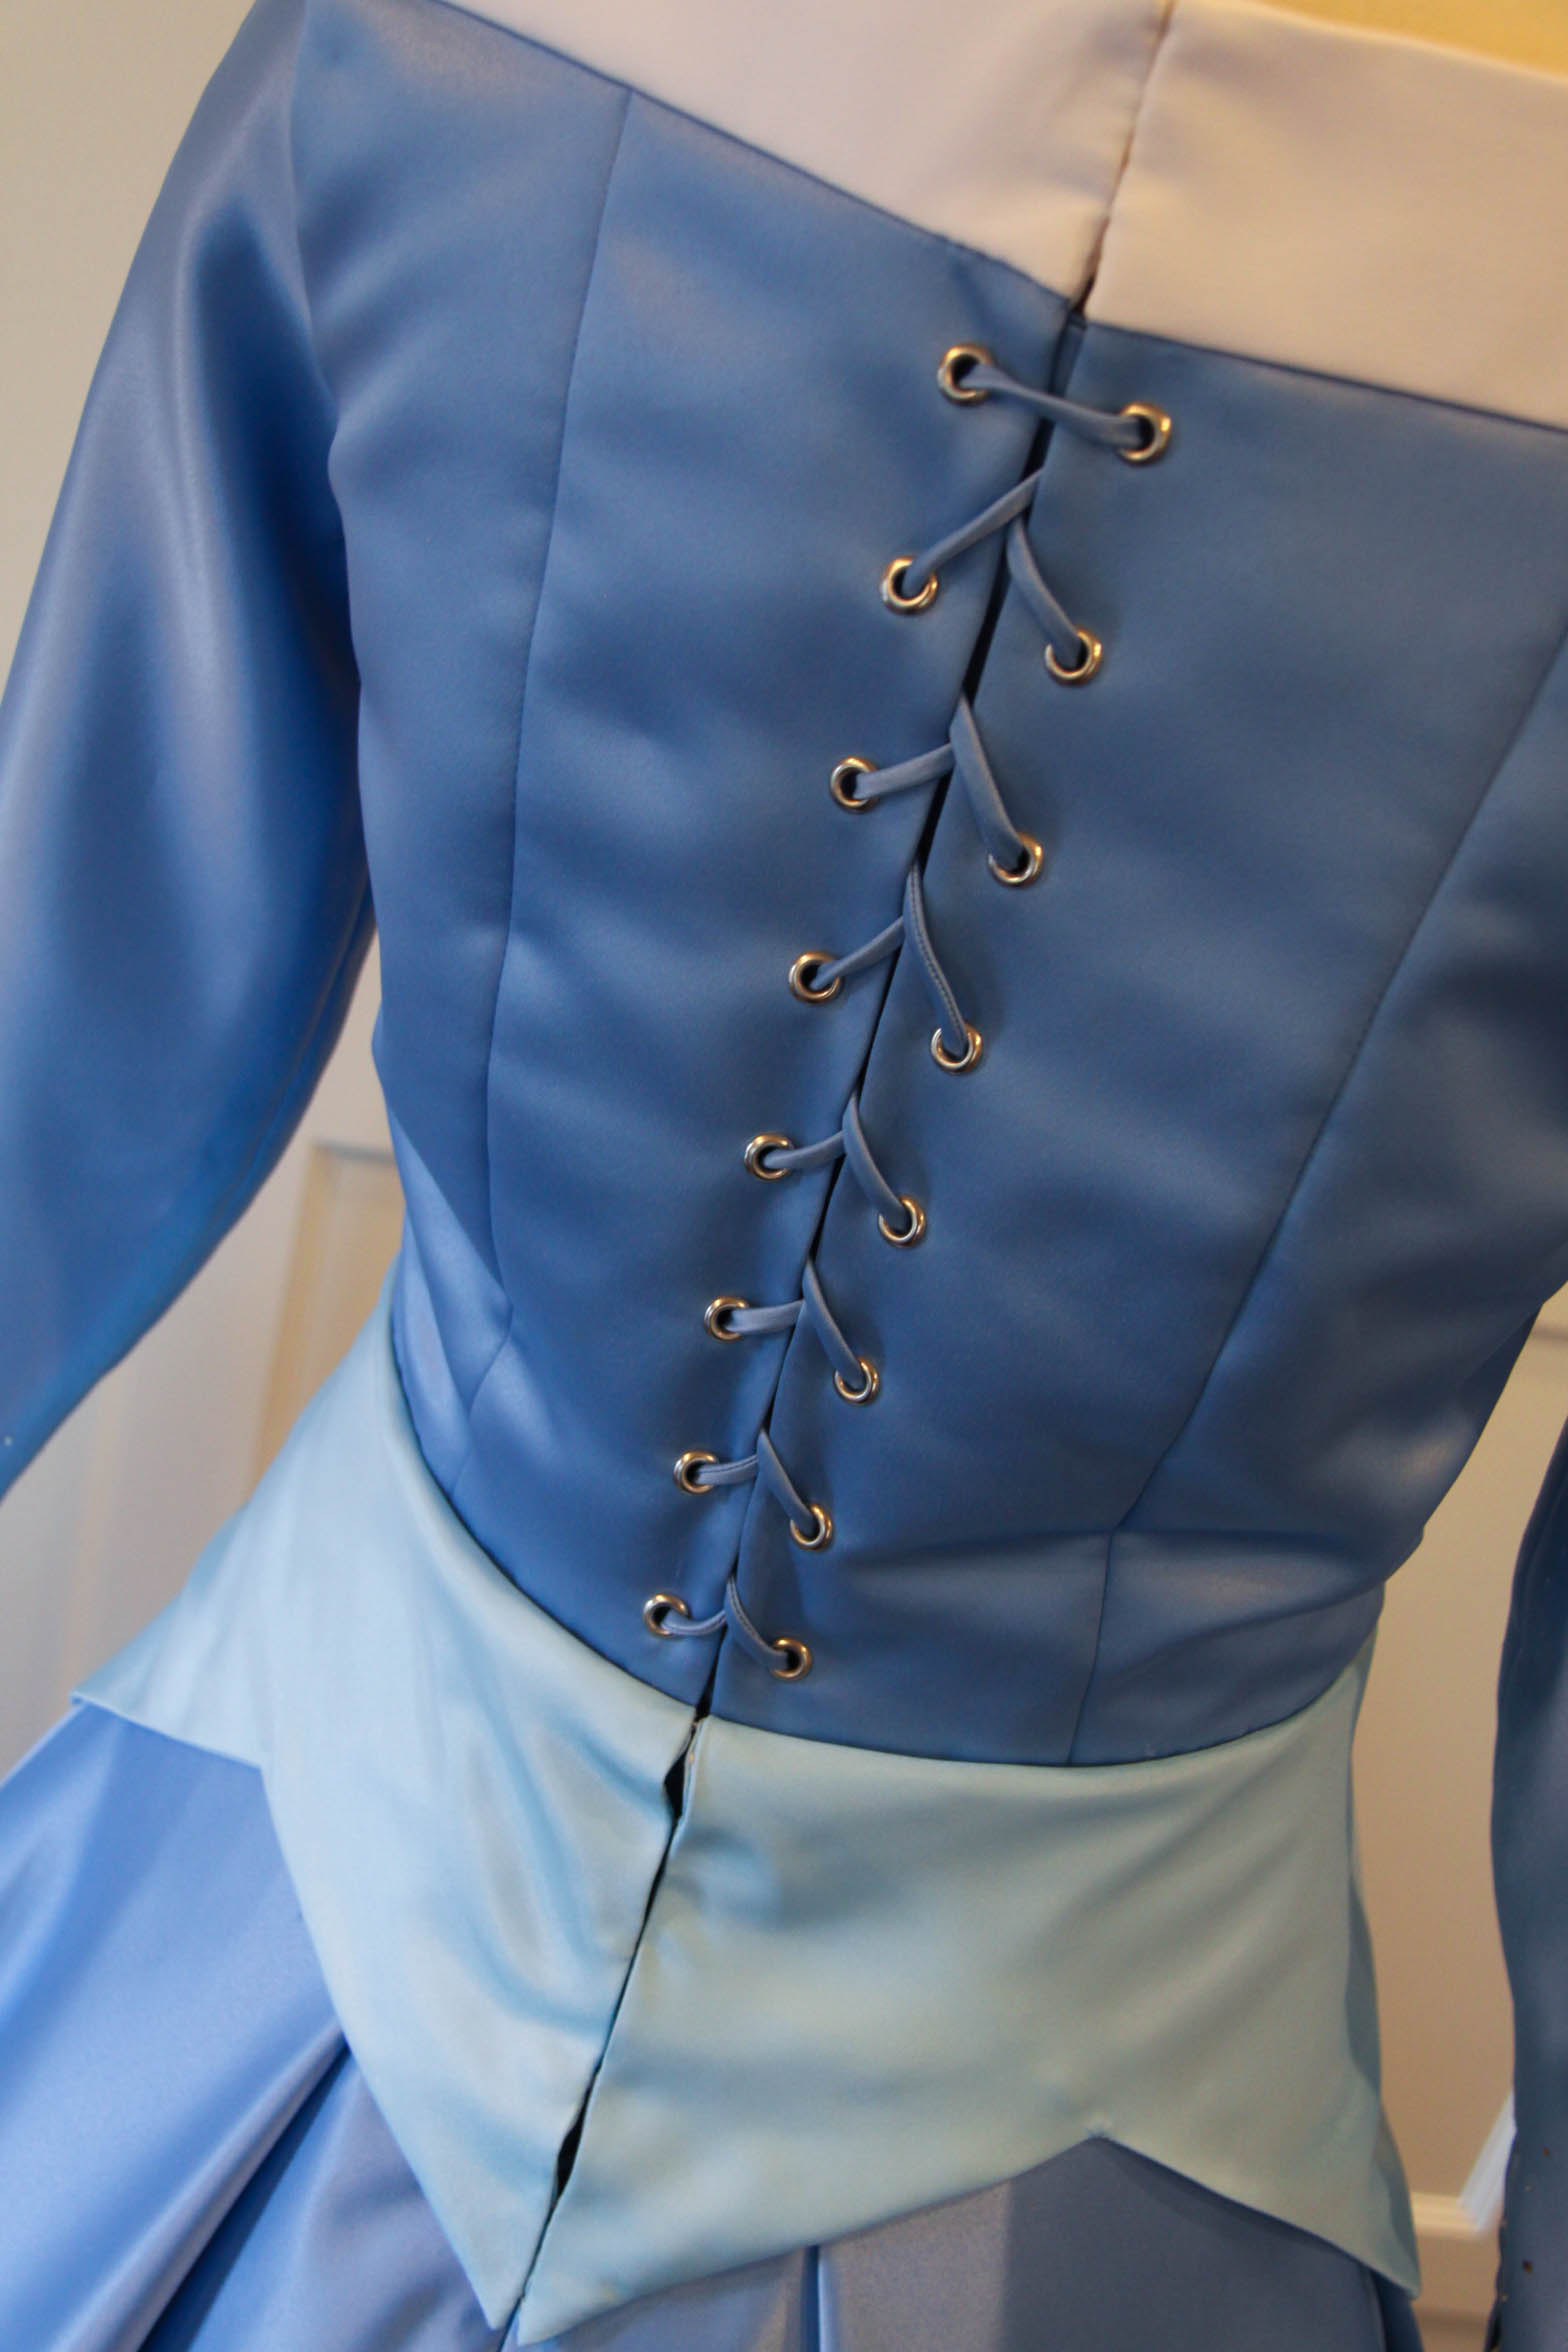
 Sometimes you just need that perfect touch of matching lacing!
Personally, a laced up bodice isn’t my favorite. I definitely prefer a smooth hidden closure. But, if you’ve been asked to make one; your wish is my command!  In order to achieve matching lacing, you’ll need to use the same fabric as what your matching it to…which means you have to make it!
Here goes a short and sweet tutorial!
First, you’ll need a bias cut strip. I cut mine about 1 inch wide.
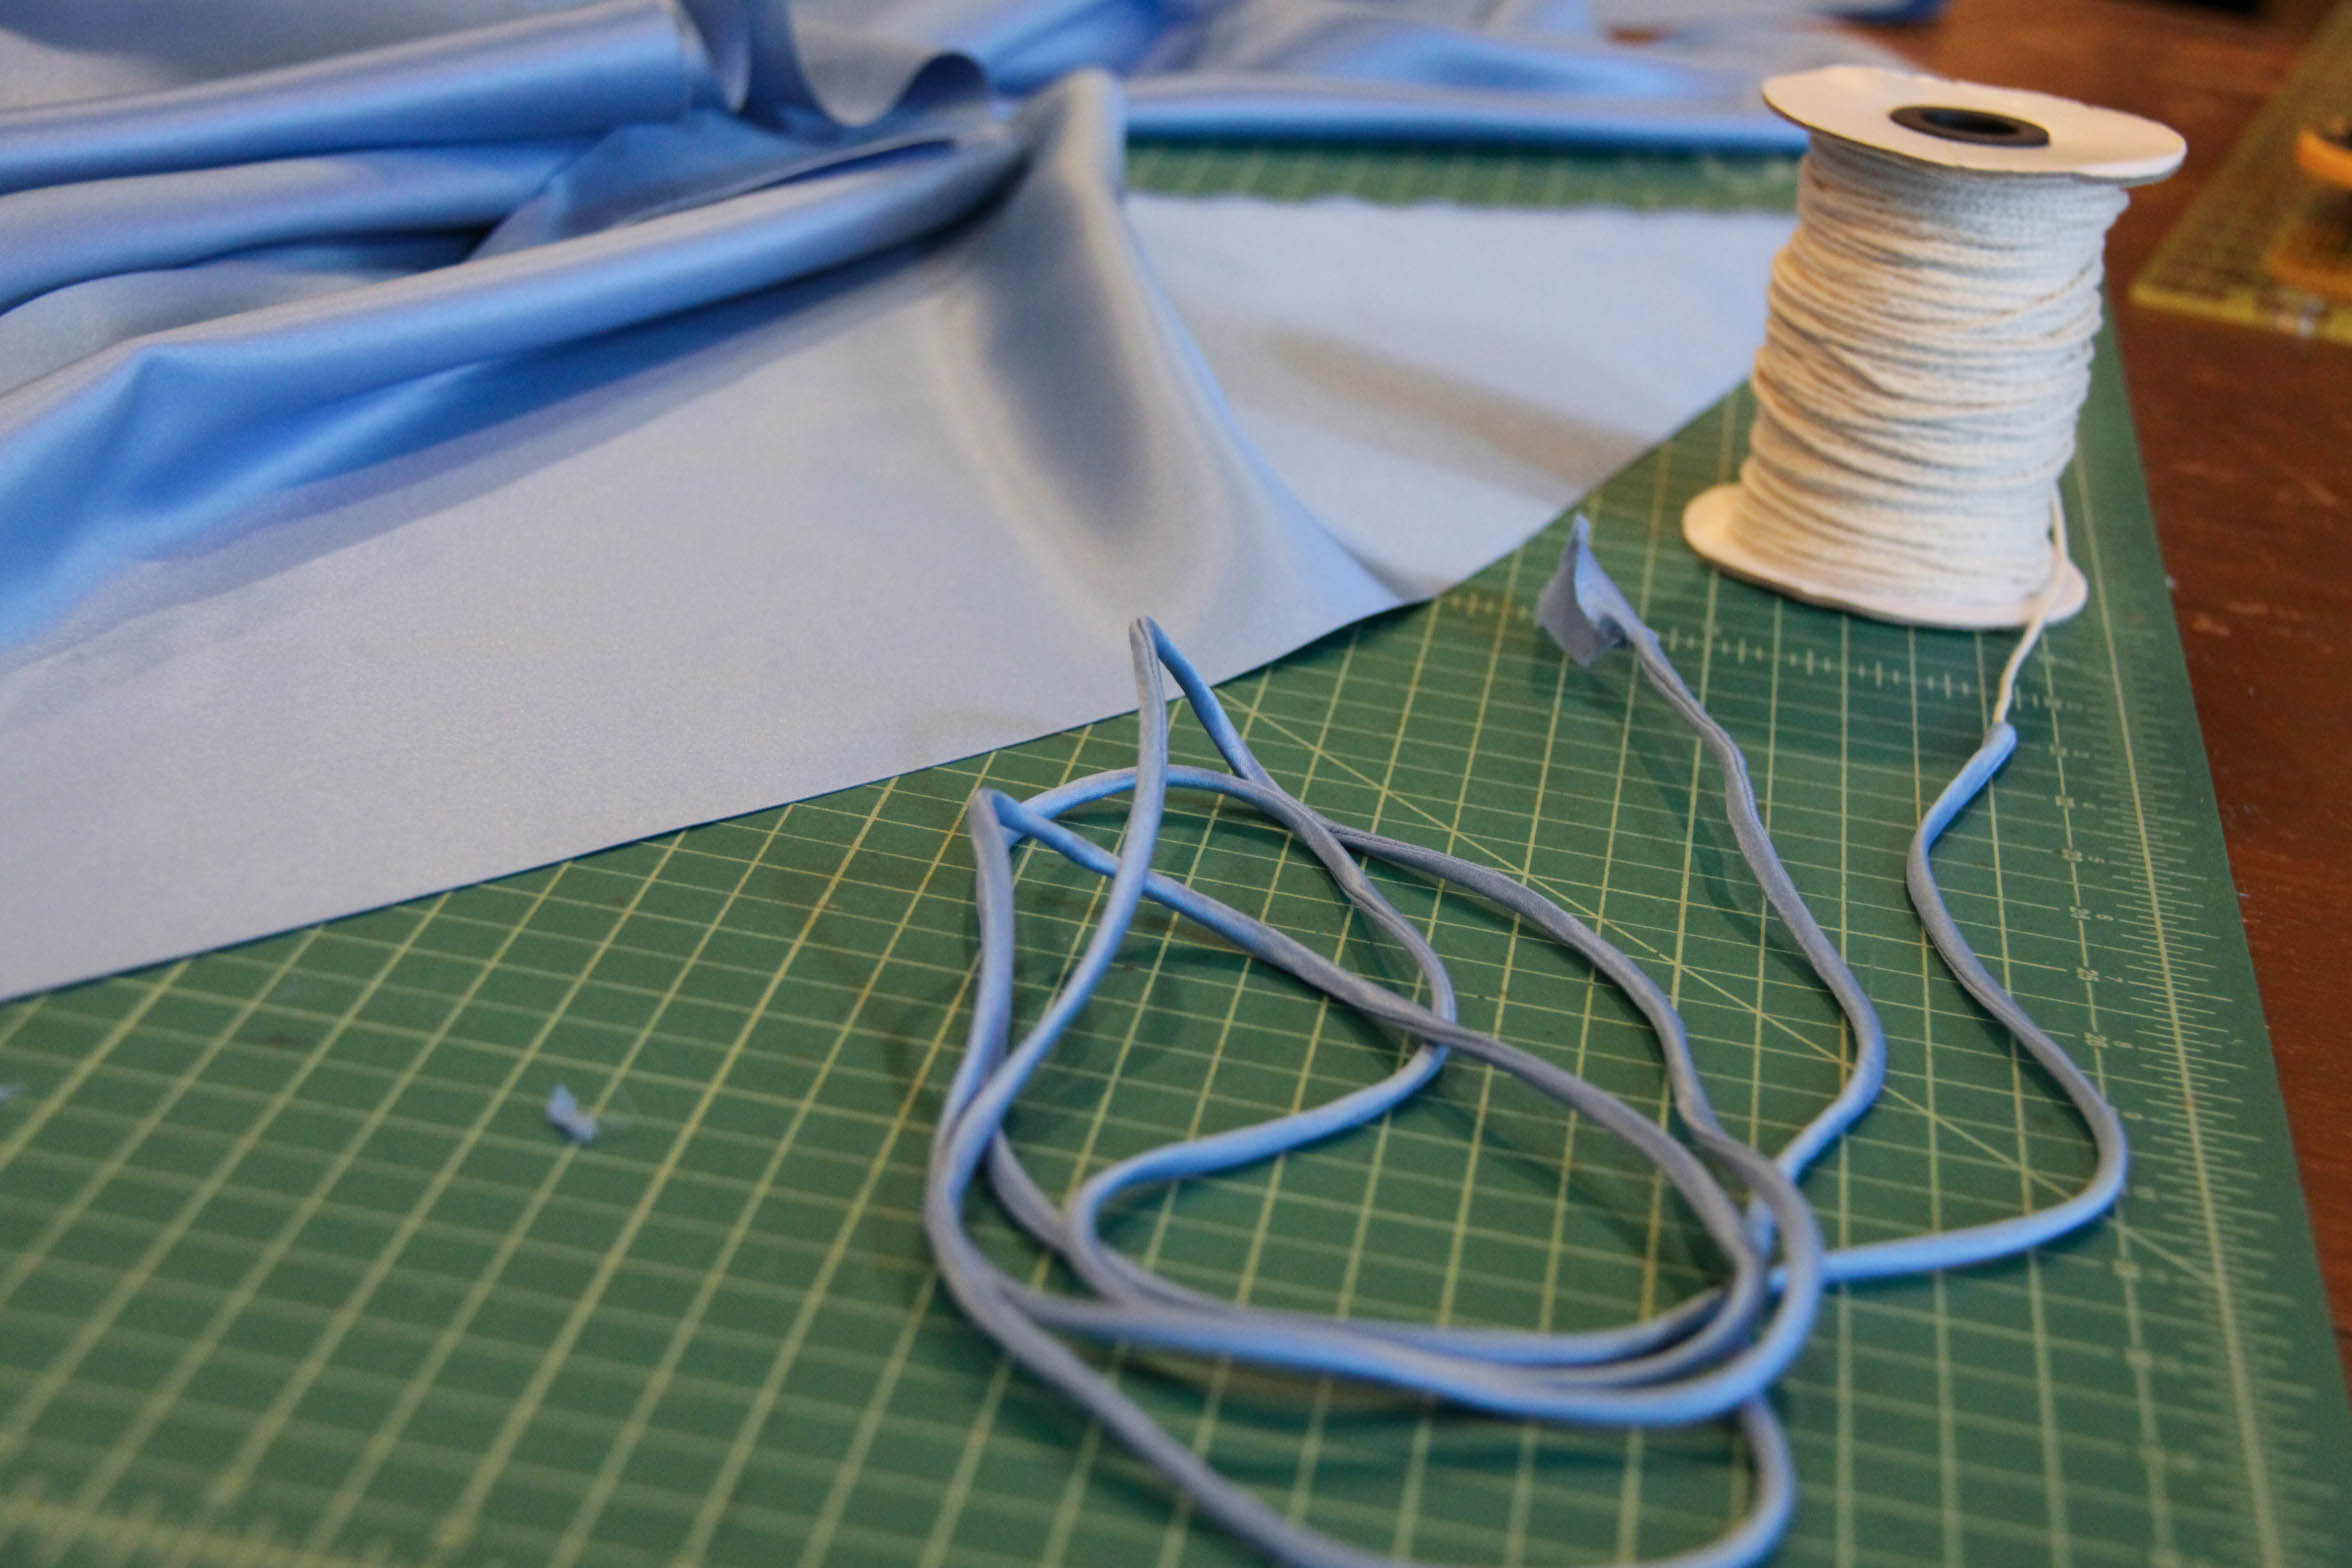
Grab a long piece of cording and an invisible zipper foot.
Go to your sewing machine and sandwich your cording inside the bias strip (right side together.) Get the cording to run through one of the groves of the foot and place your needle to sew about 3/16 away from the folded edge (which contains the cording).
 You’re creating a pocket which has the cording in it.
 Once you’ve sewn down the whole length of you lacing, secure the cording to the end of your fabric. There’s going to be a whole lot of stress on this area, so be sure to have secure stitches.
 Now, trim the raw edge of the fabric down to about an 1/8 inch.
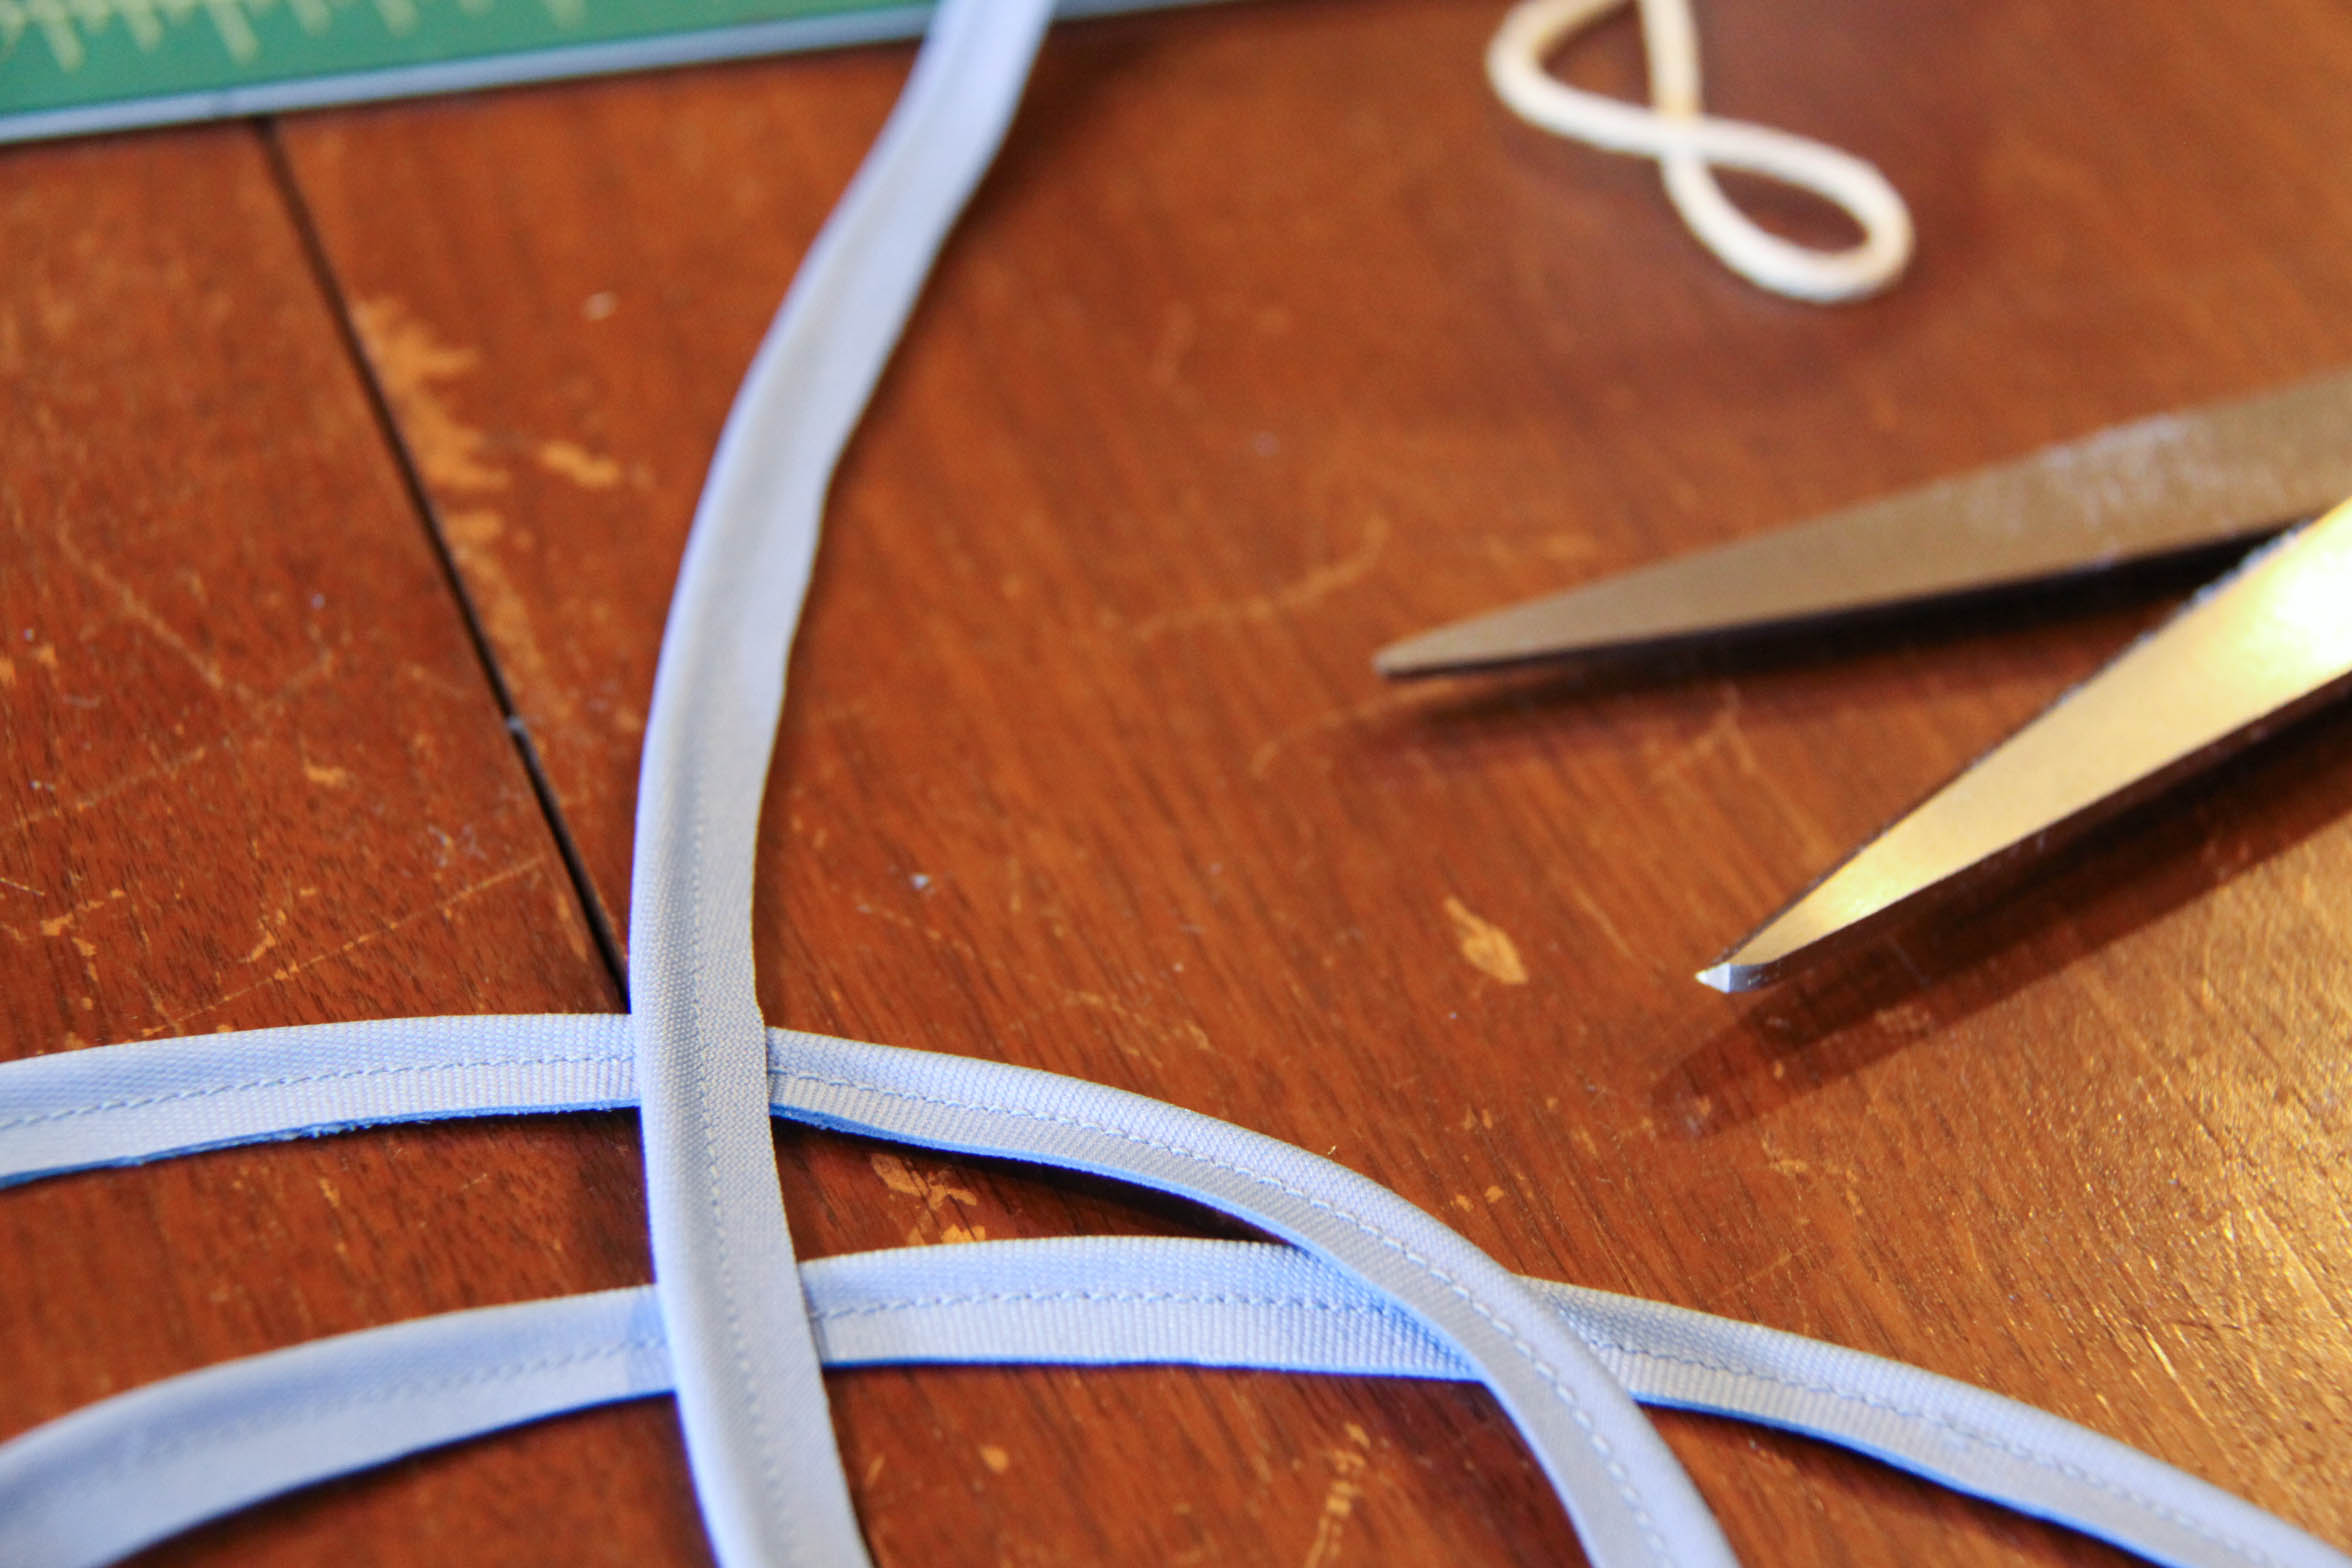 Here comes the tricky part! In order to turn the lacing inside out, you’ve got to scrunch the fabric over the end. You’ll find that it just really doesn’t want to go, but just keep working it until it finally gets over it!
 Once that task is complete, you just keep scrunching and pulling the fabric. This is where the cording comes in handy! By pulling the cording out of the “pocket”, you’re also pulling the end of the lacing out of the pocket. This means you’re turning the pocket inside out, which will expose the right side!
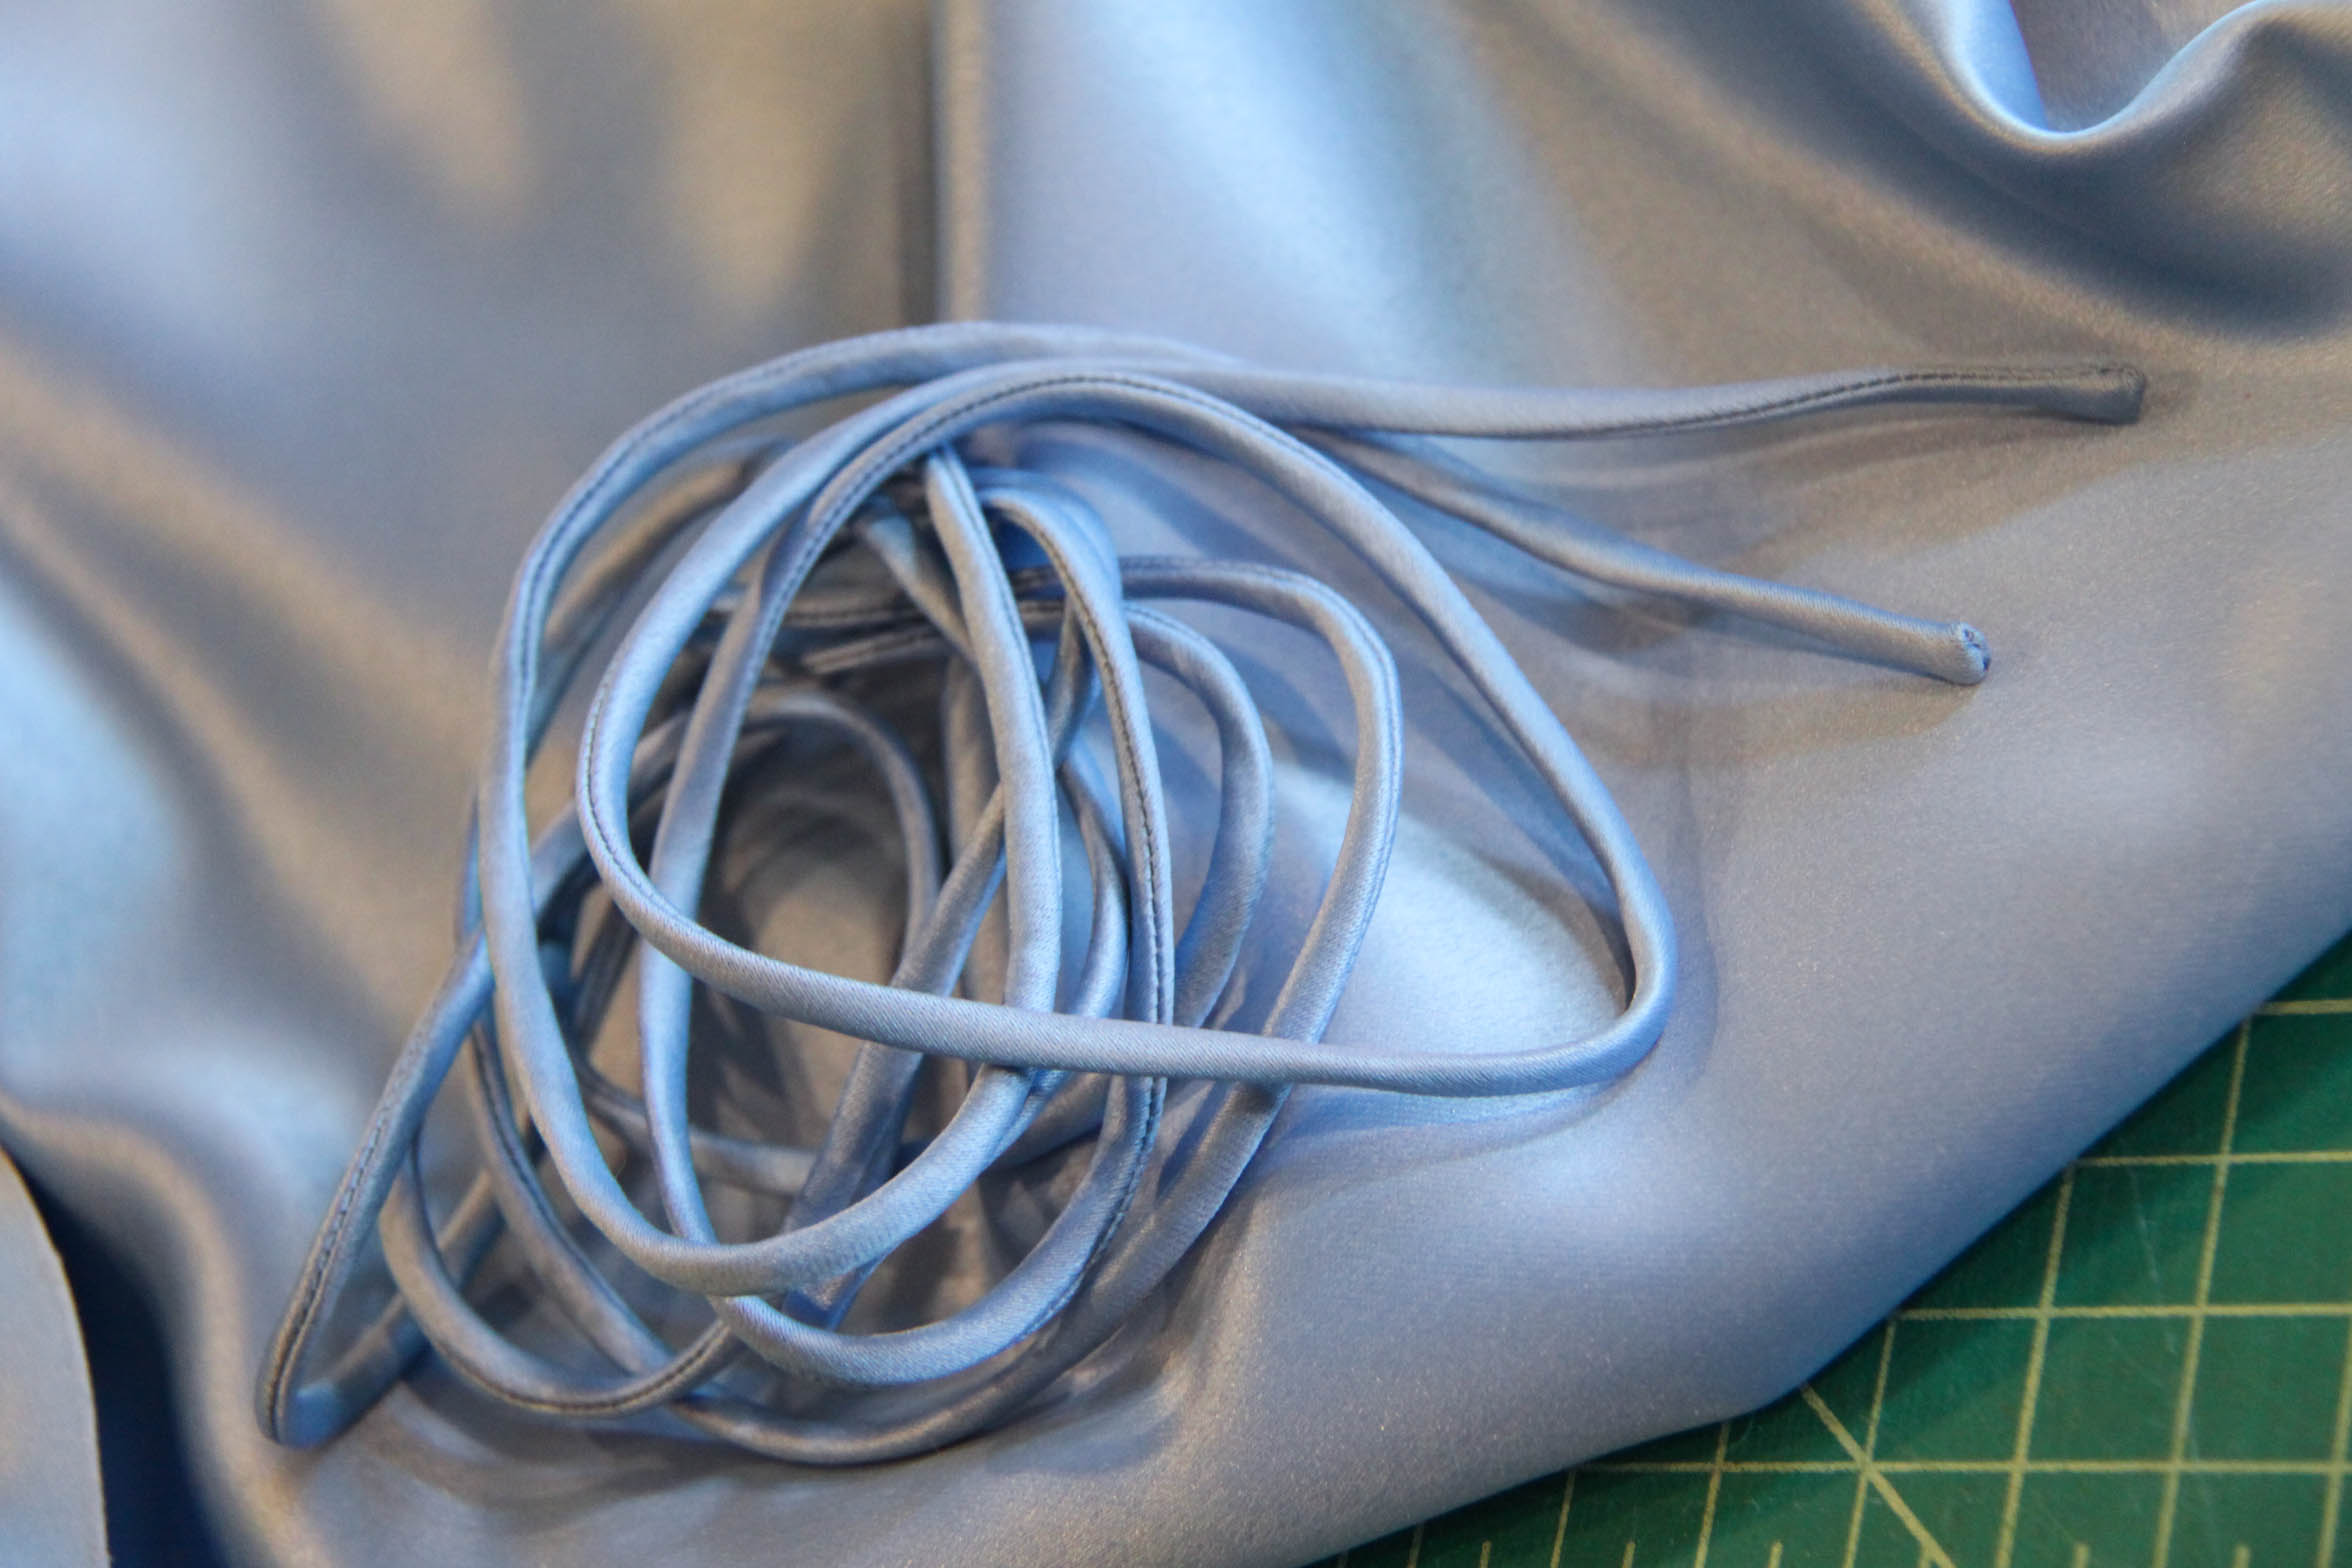
 Just keep on pulling! Eventually, you’ll see the end pop out and will show the results of your effort; a smooth lacing!
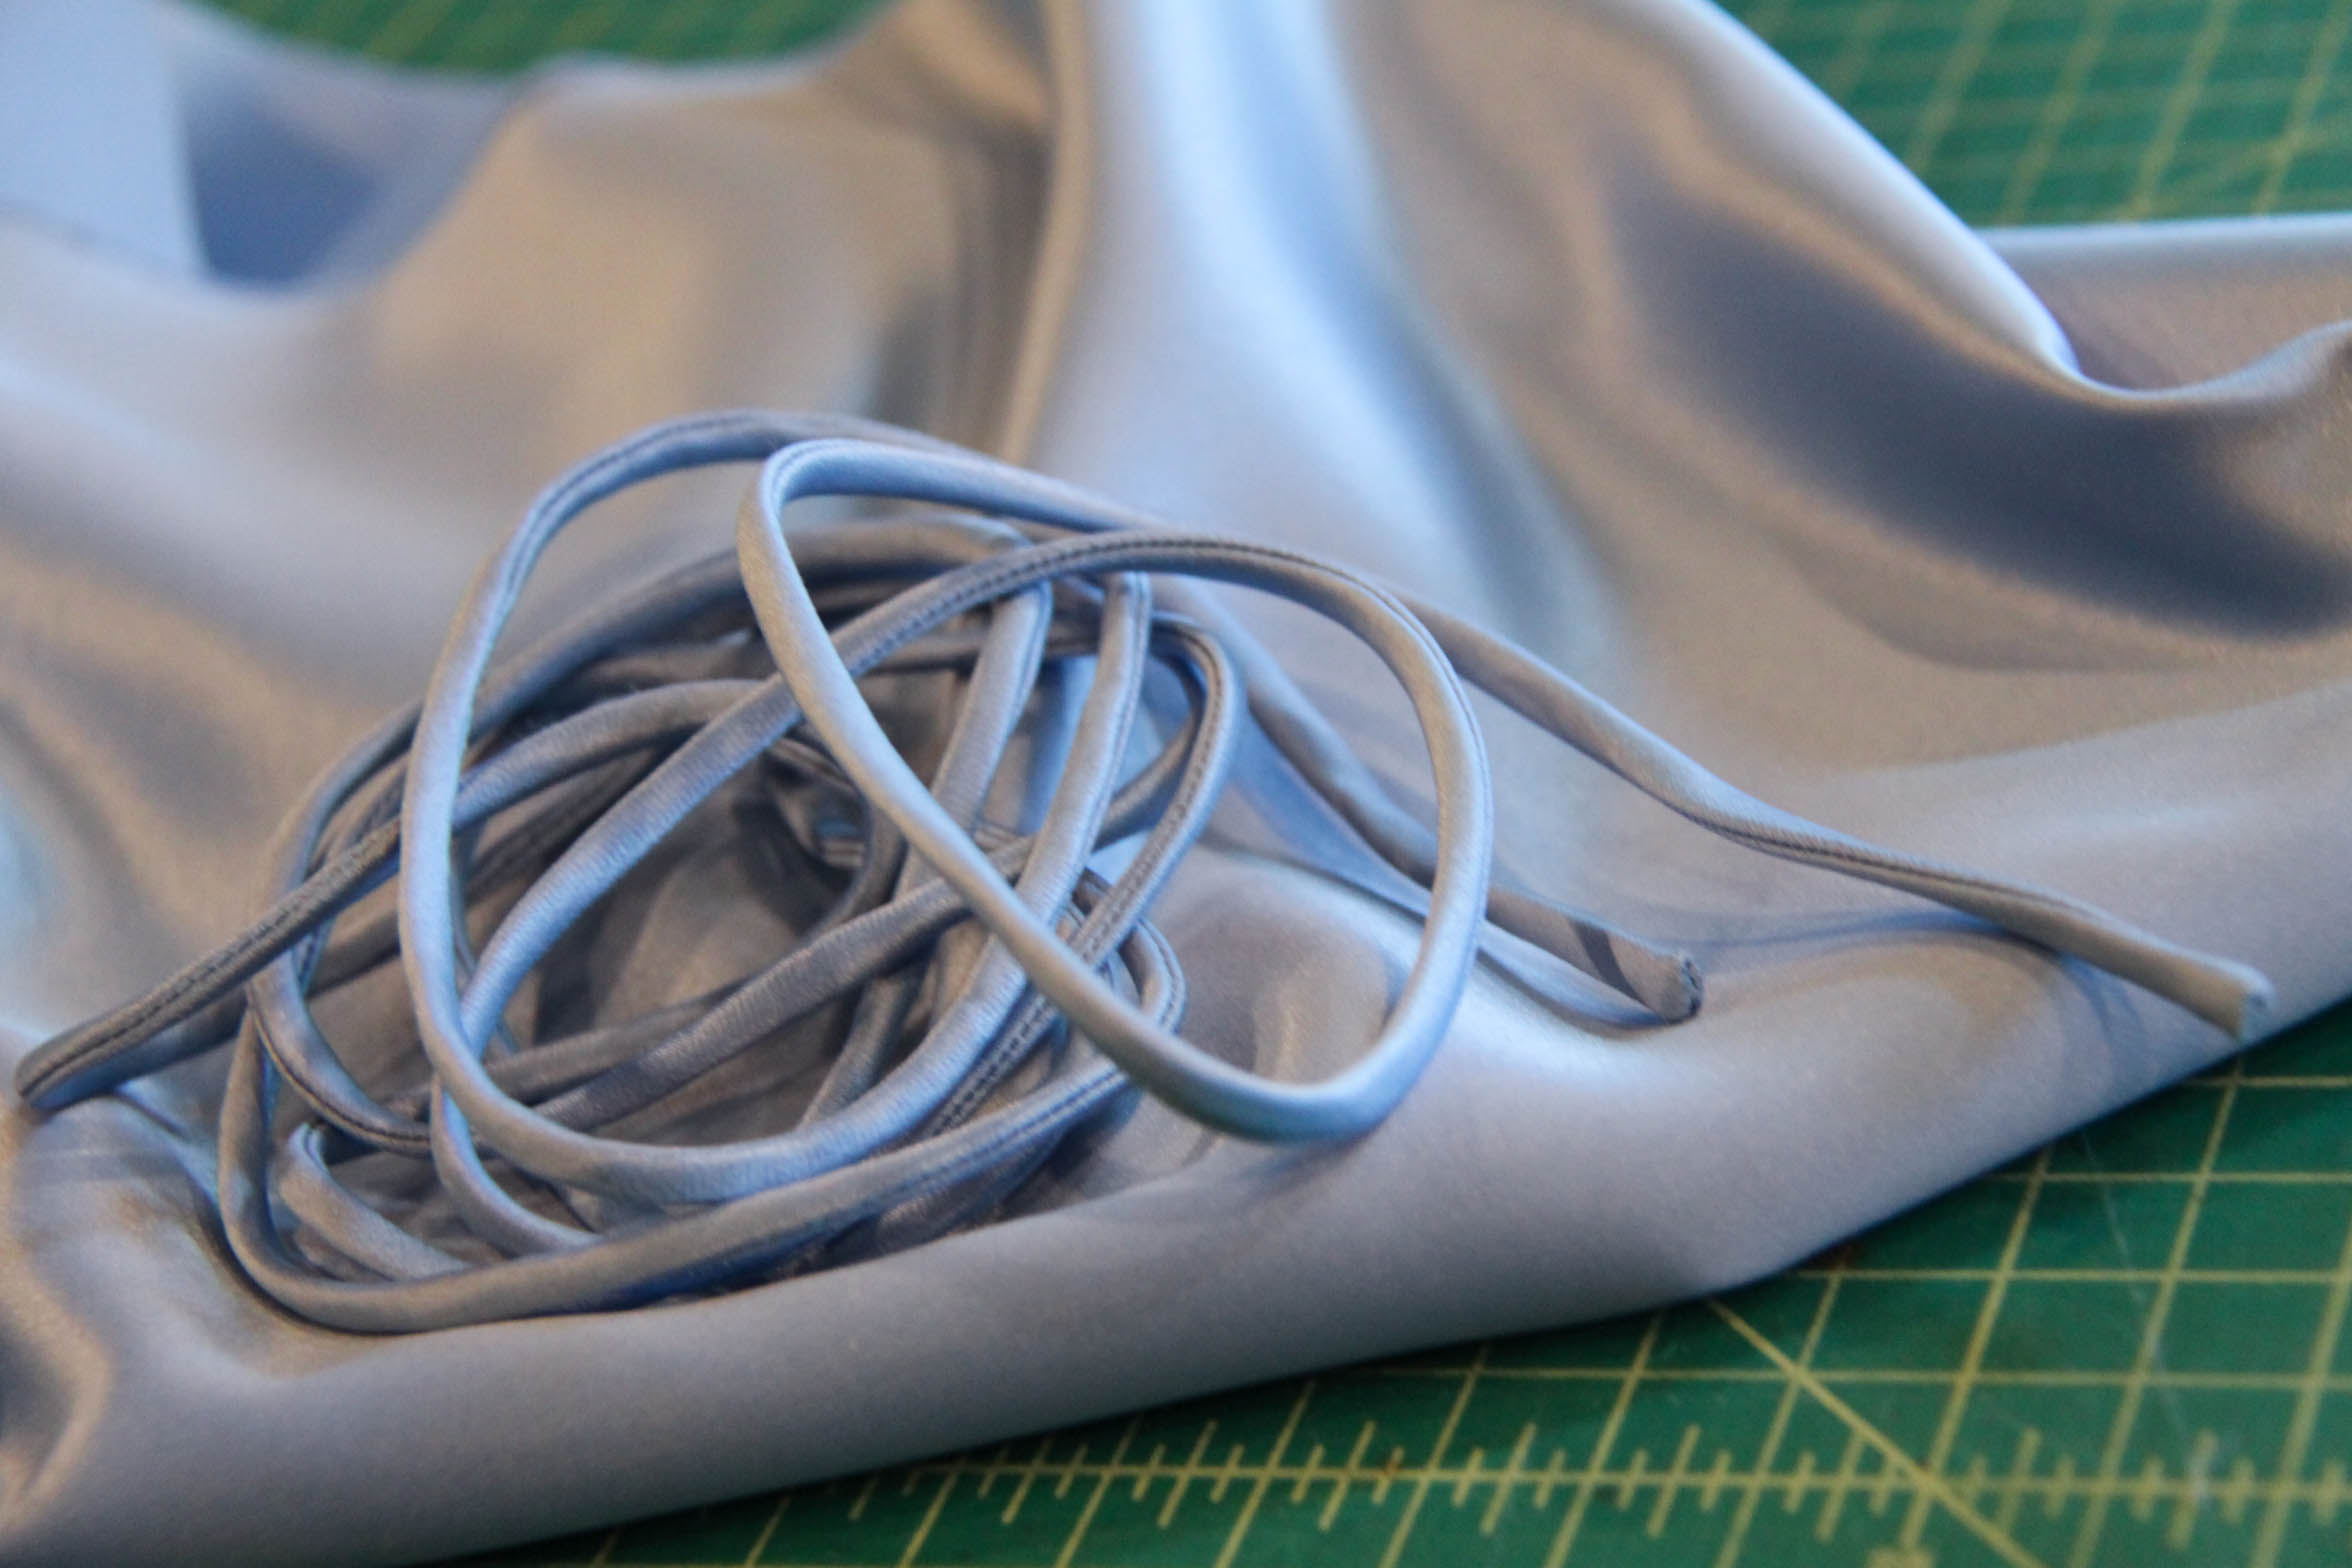
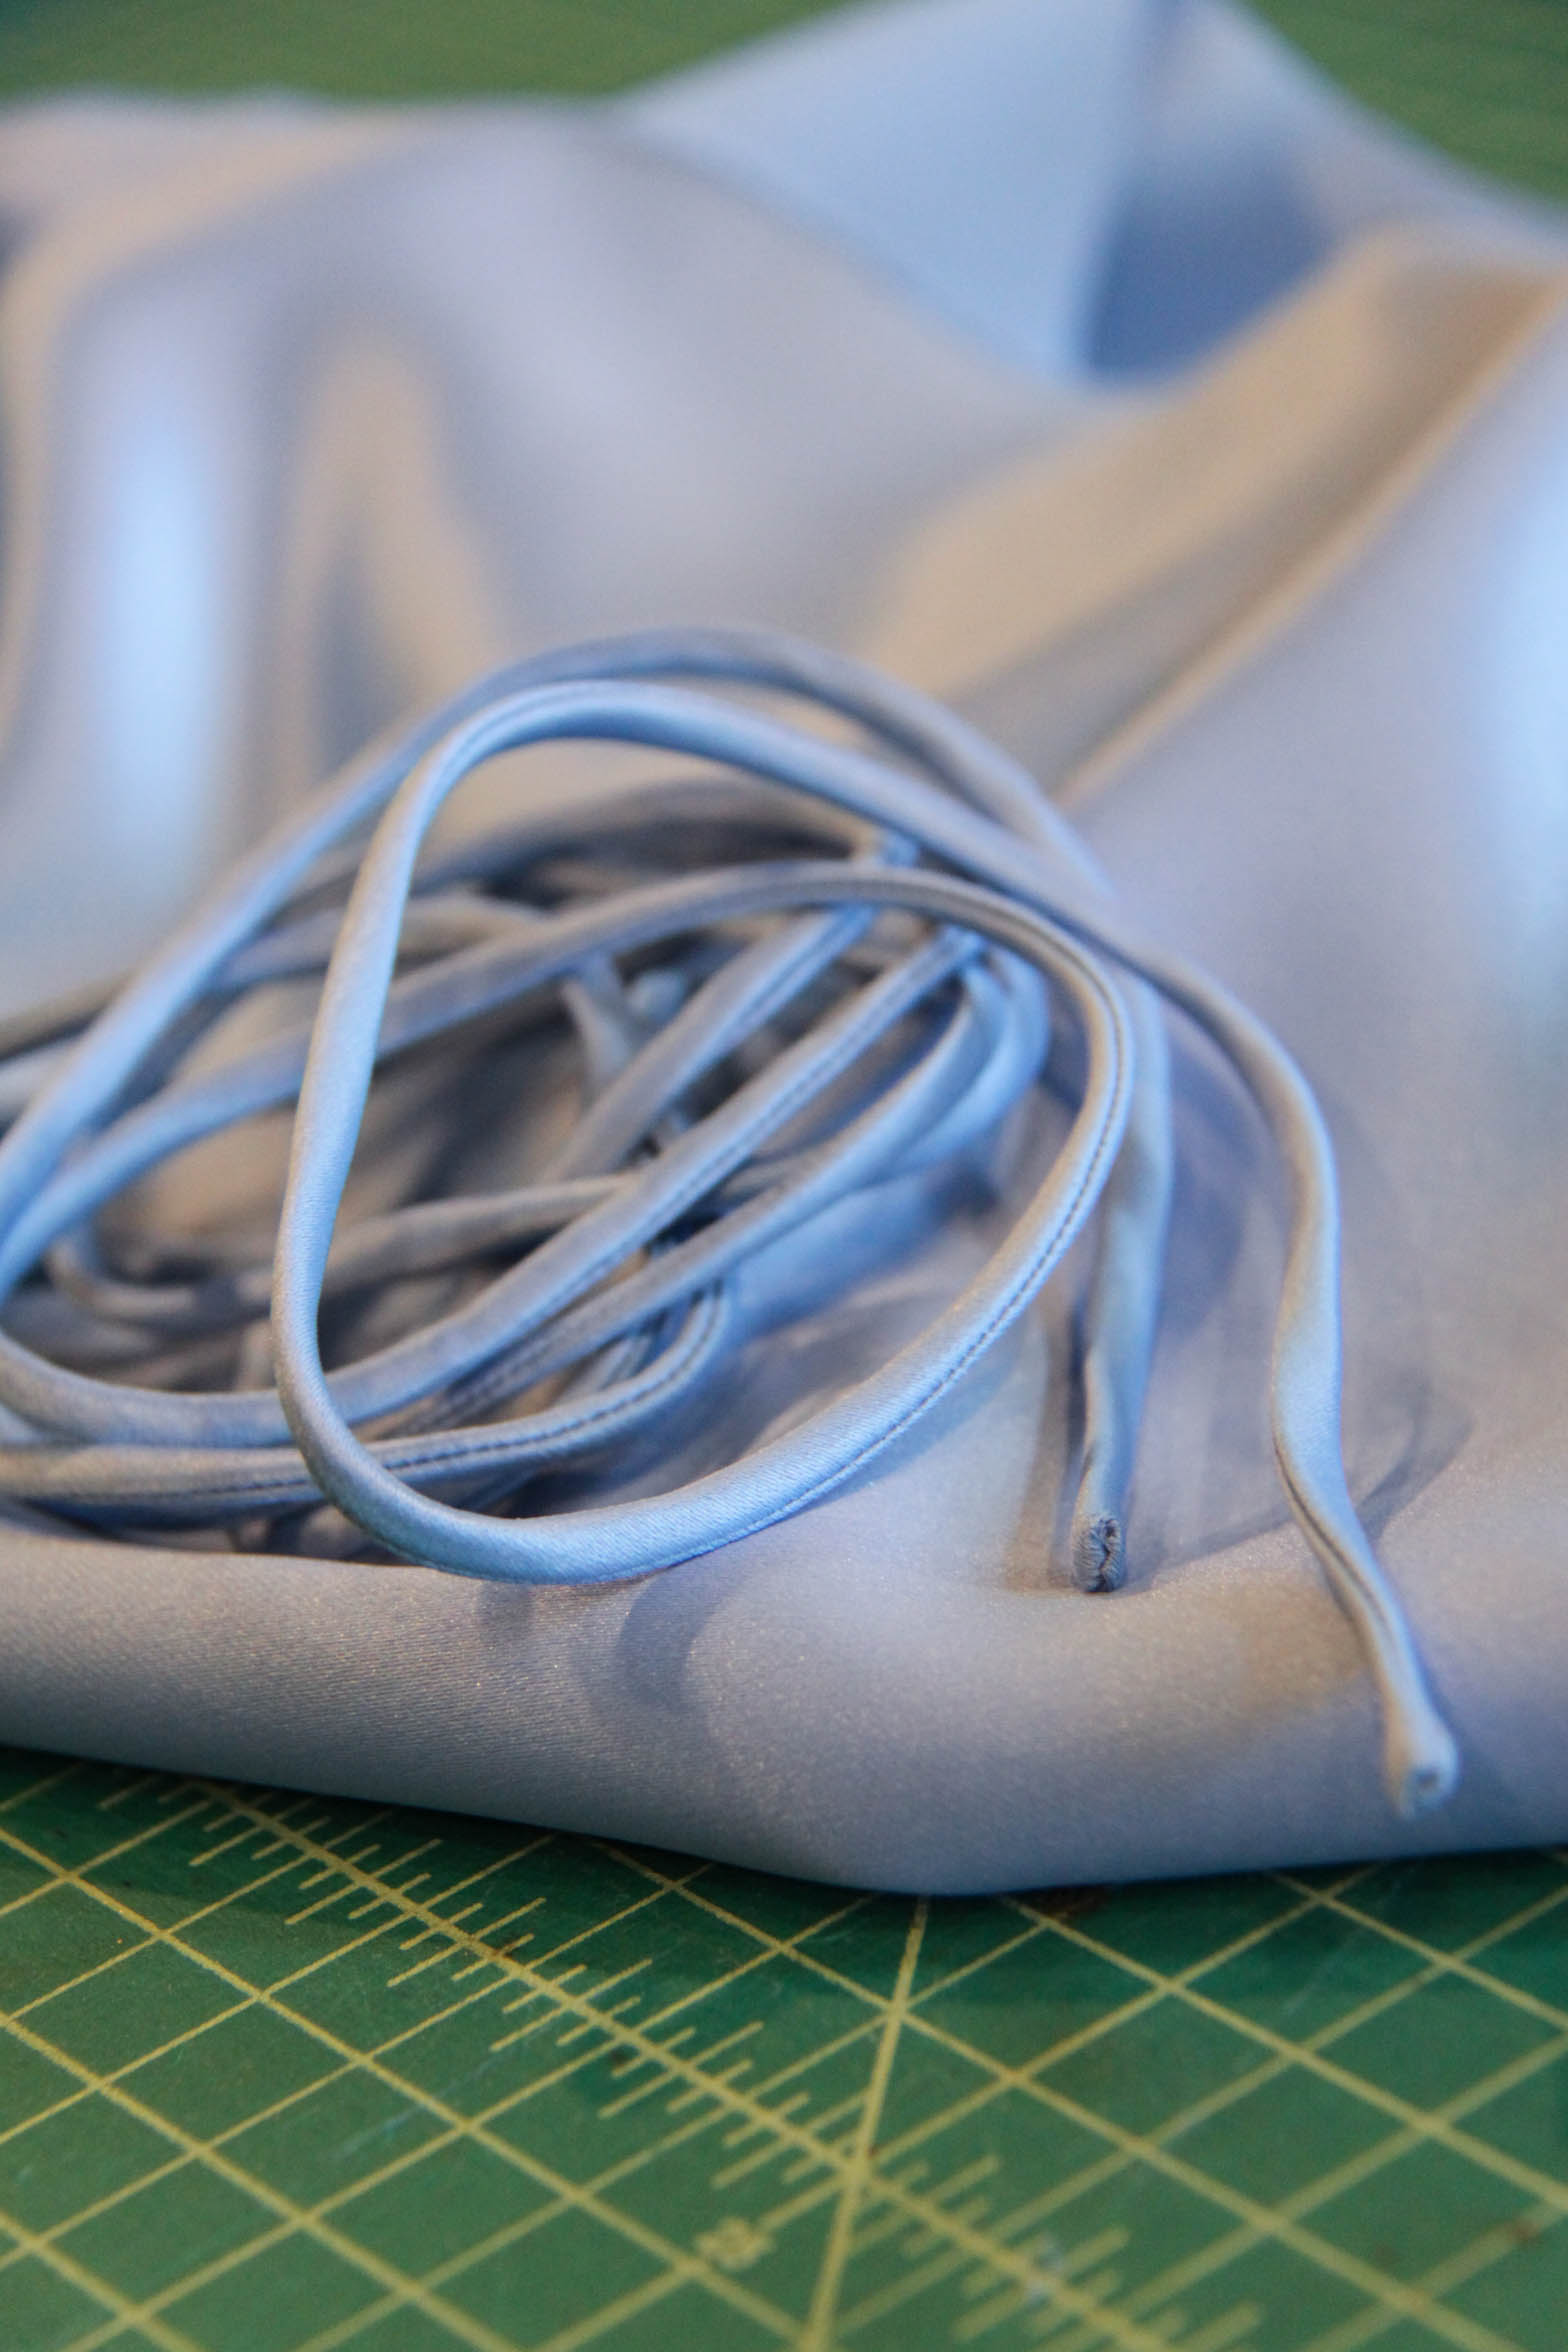
 Once you’ve got it all turned right side out, you can snip off the cording. It’s served it’s purpose.
 *Extra Technique Tip* – If you want a lacing which has cording inside (corded lacing), make you’re cording twice as long as the desired lacing length and start sewing the fabric on at the mid point of the lacing. When you secure the end and turn the fabric right side out, you’ll be turning the lacing onto the other half of the lacing, thus encasing this second have of cording.
 And there you have it!


 Oops, spoke too soon! You’ve still got a little hand sewing to do.
 Push those raw ends into the lacing and create a smooth end.
 Give it a few quick stitches.
 And now you’ve done it!


Thanks for looking and learning with me! ~ Bella Mae
Pingback: Aurora’s Blue Gown – With a Sparkly Twist – Sleeping Beauty Costume Replica – Bella Maes Sewing Corner