

Description
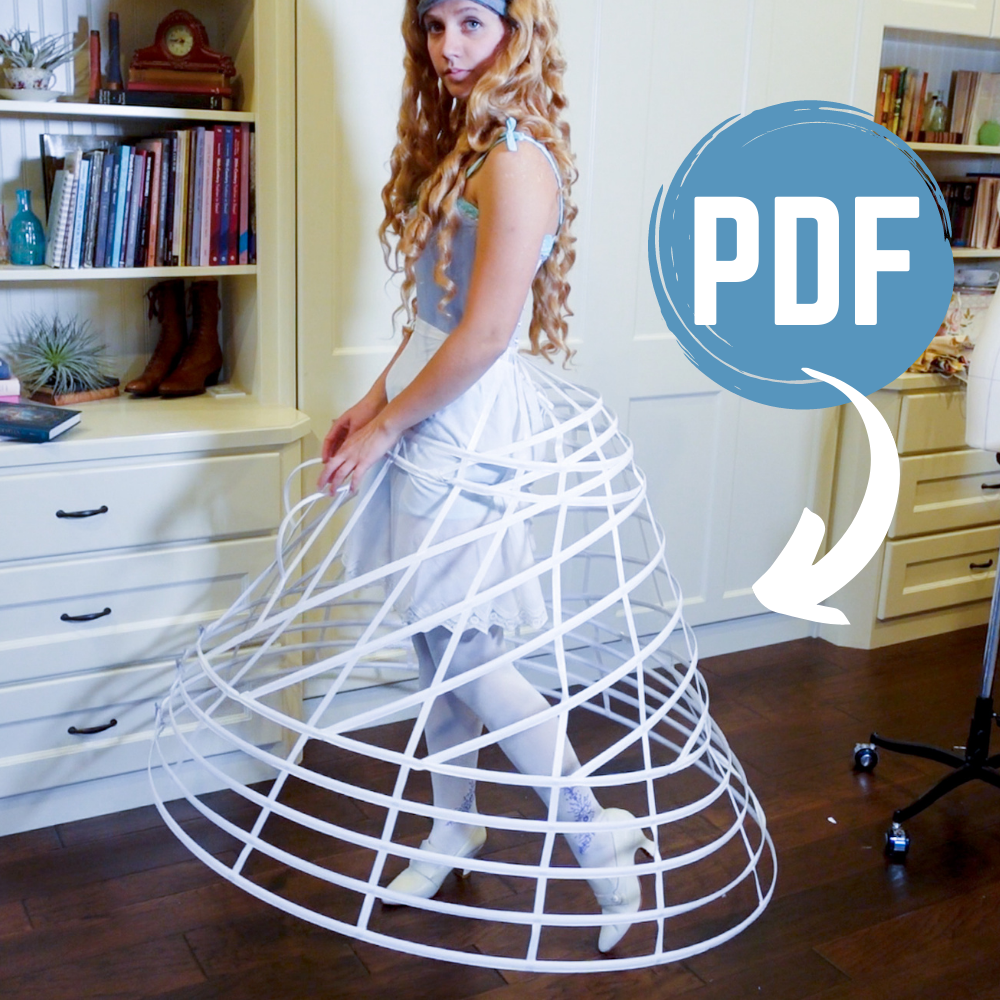
This diagram creates the elliptical structure to Cinderella’s ballgown. A crinoline is necessary to create the huge skirt and fuller back for Ella’s magical dress.
- One size pattern. (One size fits most — waist, between 24-34″, hips 35-45″) If a large hip/waist measurement is needed, this diagram can still be used but you’ll need enlarge the top few hoops and U bones.
- Skill level required: INTERMEDIATE (must be able to make use intermediate techniques.)
- PDF pattern/diagram, with minimal written instructions.
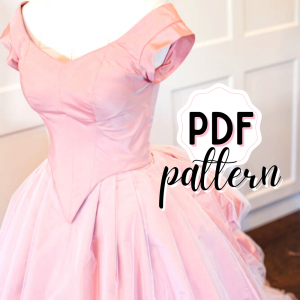
- Complete the fluffy skirt with a multi-layered petticoat on top, purchase the pattern here.
Materials Needed:
- 34 yards of Thick Steel Boning
- 34 yards of Boning Casing
- 14.25 yards Ribbon
- 1″ Twill Tape (measurement of waist x2 + 4″)
- 1 yard Twill Tape (1/2″)
Not associated with Disney, all original design aspects are credited to Sandy Powell. These patterns are Bella Mae’s Designs interpretations of the original designs and not exact replicas.

Caitlin Claytor (verified owner) –
I’m very happy with this skirt! I’ve always been terrified to attempt to make a cage crinoline but this one was so pretty and her video made it seem so simple. I did make the mistake of choosing to make my own boning casing to save money and despite being much cheaper, it made the project so much more of a headache. But now that it’s finished, I’m so happy with it and my friends are raving about how beautiful it is!
Isabella Mae –
I am so happy to hear this! Thank you for sharing!
Grace Paul (verified owner) –
I have just finished this crinoline and the structure and almost gravity-defying nature of it is beautiful! The pdf patterns at first look a little intimidating but once you start it is very easy to follow!
A few things I noted along the way:
– First, like the other reviewer, I made my own boning casing by sewing shut bias tape. While this was a cheaper alternative, keep in mind that the casing should be a bit loose on the boning so that you can easily take the boning out and machine sew it together because this caused me annoyance. My problem was because I had 5/16″ boning and sewed shut 1/2″ bias tape, this made it difficult to get the boning in and impossible to get out and machine sew so I ended up having to hand sew everything. So if you do choose to make your own boning casing, make sure it has wiggle room!
– Next, I tried marking a few times where the ribbons and boning intersect and after a few attempts I found it was easiest to first mark everything and then put in the hoops. It was much easier to measure rather than completing each page in the pdf fully before moving to the next. *Also, I found it easiest to work from the top down 🙂
– Finally, don’t forget the bum ties! I had glanced over this and since it was only noted in the pdf on where to place it and not what it was or listed in the fabrics needed list I failed to recognize that this was an extremely helpful attachment! The bum tie stops the crinoline from hanging in the back and helps with the gravity-defying nature of the skirt, so don’t forget it like me and wonder what you did wrong lol!
These are all just the mistakes I made while doing this (I am a beginner still) but to anyone else making this, I hope you find them helpful!
Overall Bella, this crinoline was absolutely beautiful and doable, I can’t wait to start the rest of the dress after all of these frills and flounces!
Isabella Mae –
Thank you so much for taking the time to share these notes! You’re amazing!
And I will edit the PDF to add a nice big reminder about that bum tie (because honestly, I probably forgot about it as I was finishing it up!?)
Thank you again and good luck for the rest of the project!?