Follow me down the White Rabbit’s hole to discover the details of my Alice in Wonderland Costume Replica!
Read my last post to see multiple photos of the finished dress and hear the story behind this creation. Now, let’s scurry down to learn about the process!
~ The Bodice ~
While researching the “Down the Hole” Alice dress for my recreation, I uncovered lots of details in the bodice that had gone unnoticed when I first looked at the dress. But if it wasn’t there, it’d be quite noticeable.
The fabric I used for the bodice and skirt is Silk Organza (found here, color #5060) and poly dress taffeta (found here).
One of my favorite details ~ Cluny Lace edging on the solid edges of the bodice. This lace also edges the sheer layer and contains the cording. Photo of the original detail below.
Back view of the seam between the solid and sheer sections of the bodice including the lace edging.Half inch, corded, piping ready for application!
All the piping pinned in place, ready to be sewn.Sewing the piping on the separate pattern pieces will provide you with a line of stitches to follow when sewing the pieces together. This will give a nice, even piping on the outside!
And there it is! Perfectly even piping peaking through the front seam.
All sewn together and ready for the sleeves.Two of those “unnoticed” details are on the sleeve. 1) Loose smocking at the top of the sleeve. 2) Swiss dot netting under the sleeve. Photo of original dress below.
Don’t these 3 pin tucks add just the perfect detail? Also, notice the edge of the sleeve being gathered by a thin elastic cord.
More piping detail along the armhole.
A total of 14 hooks & eyes were sewn on the front of the bodice. Each placement of the hook & eyes corresponds with the 14 buttons.Sewing on these amazing replica buttons made of shell with an etched floral design. Thanks to Costumers Guide for directing me to them. Here’s the link (I used size 16).After searching high and low for replica lace for the neckline of the bodice, I landed upon this flower lace design. Though it’s not a perfect replica, I think it works fairly well. Here’s the link. I sewed the lace on English netting and then onto the solid layer of the bodice. Photo of original dress below.
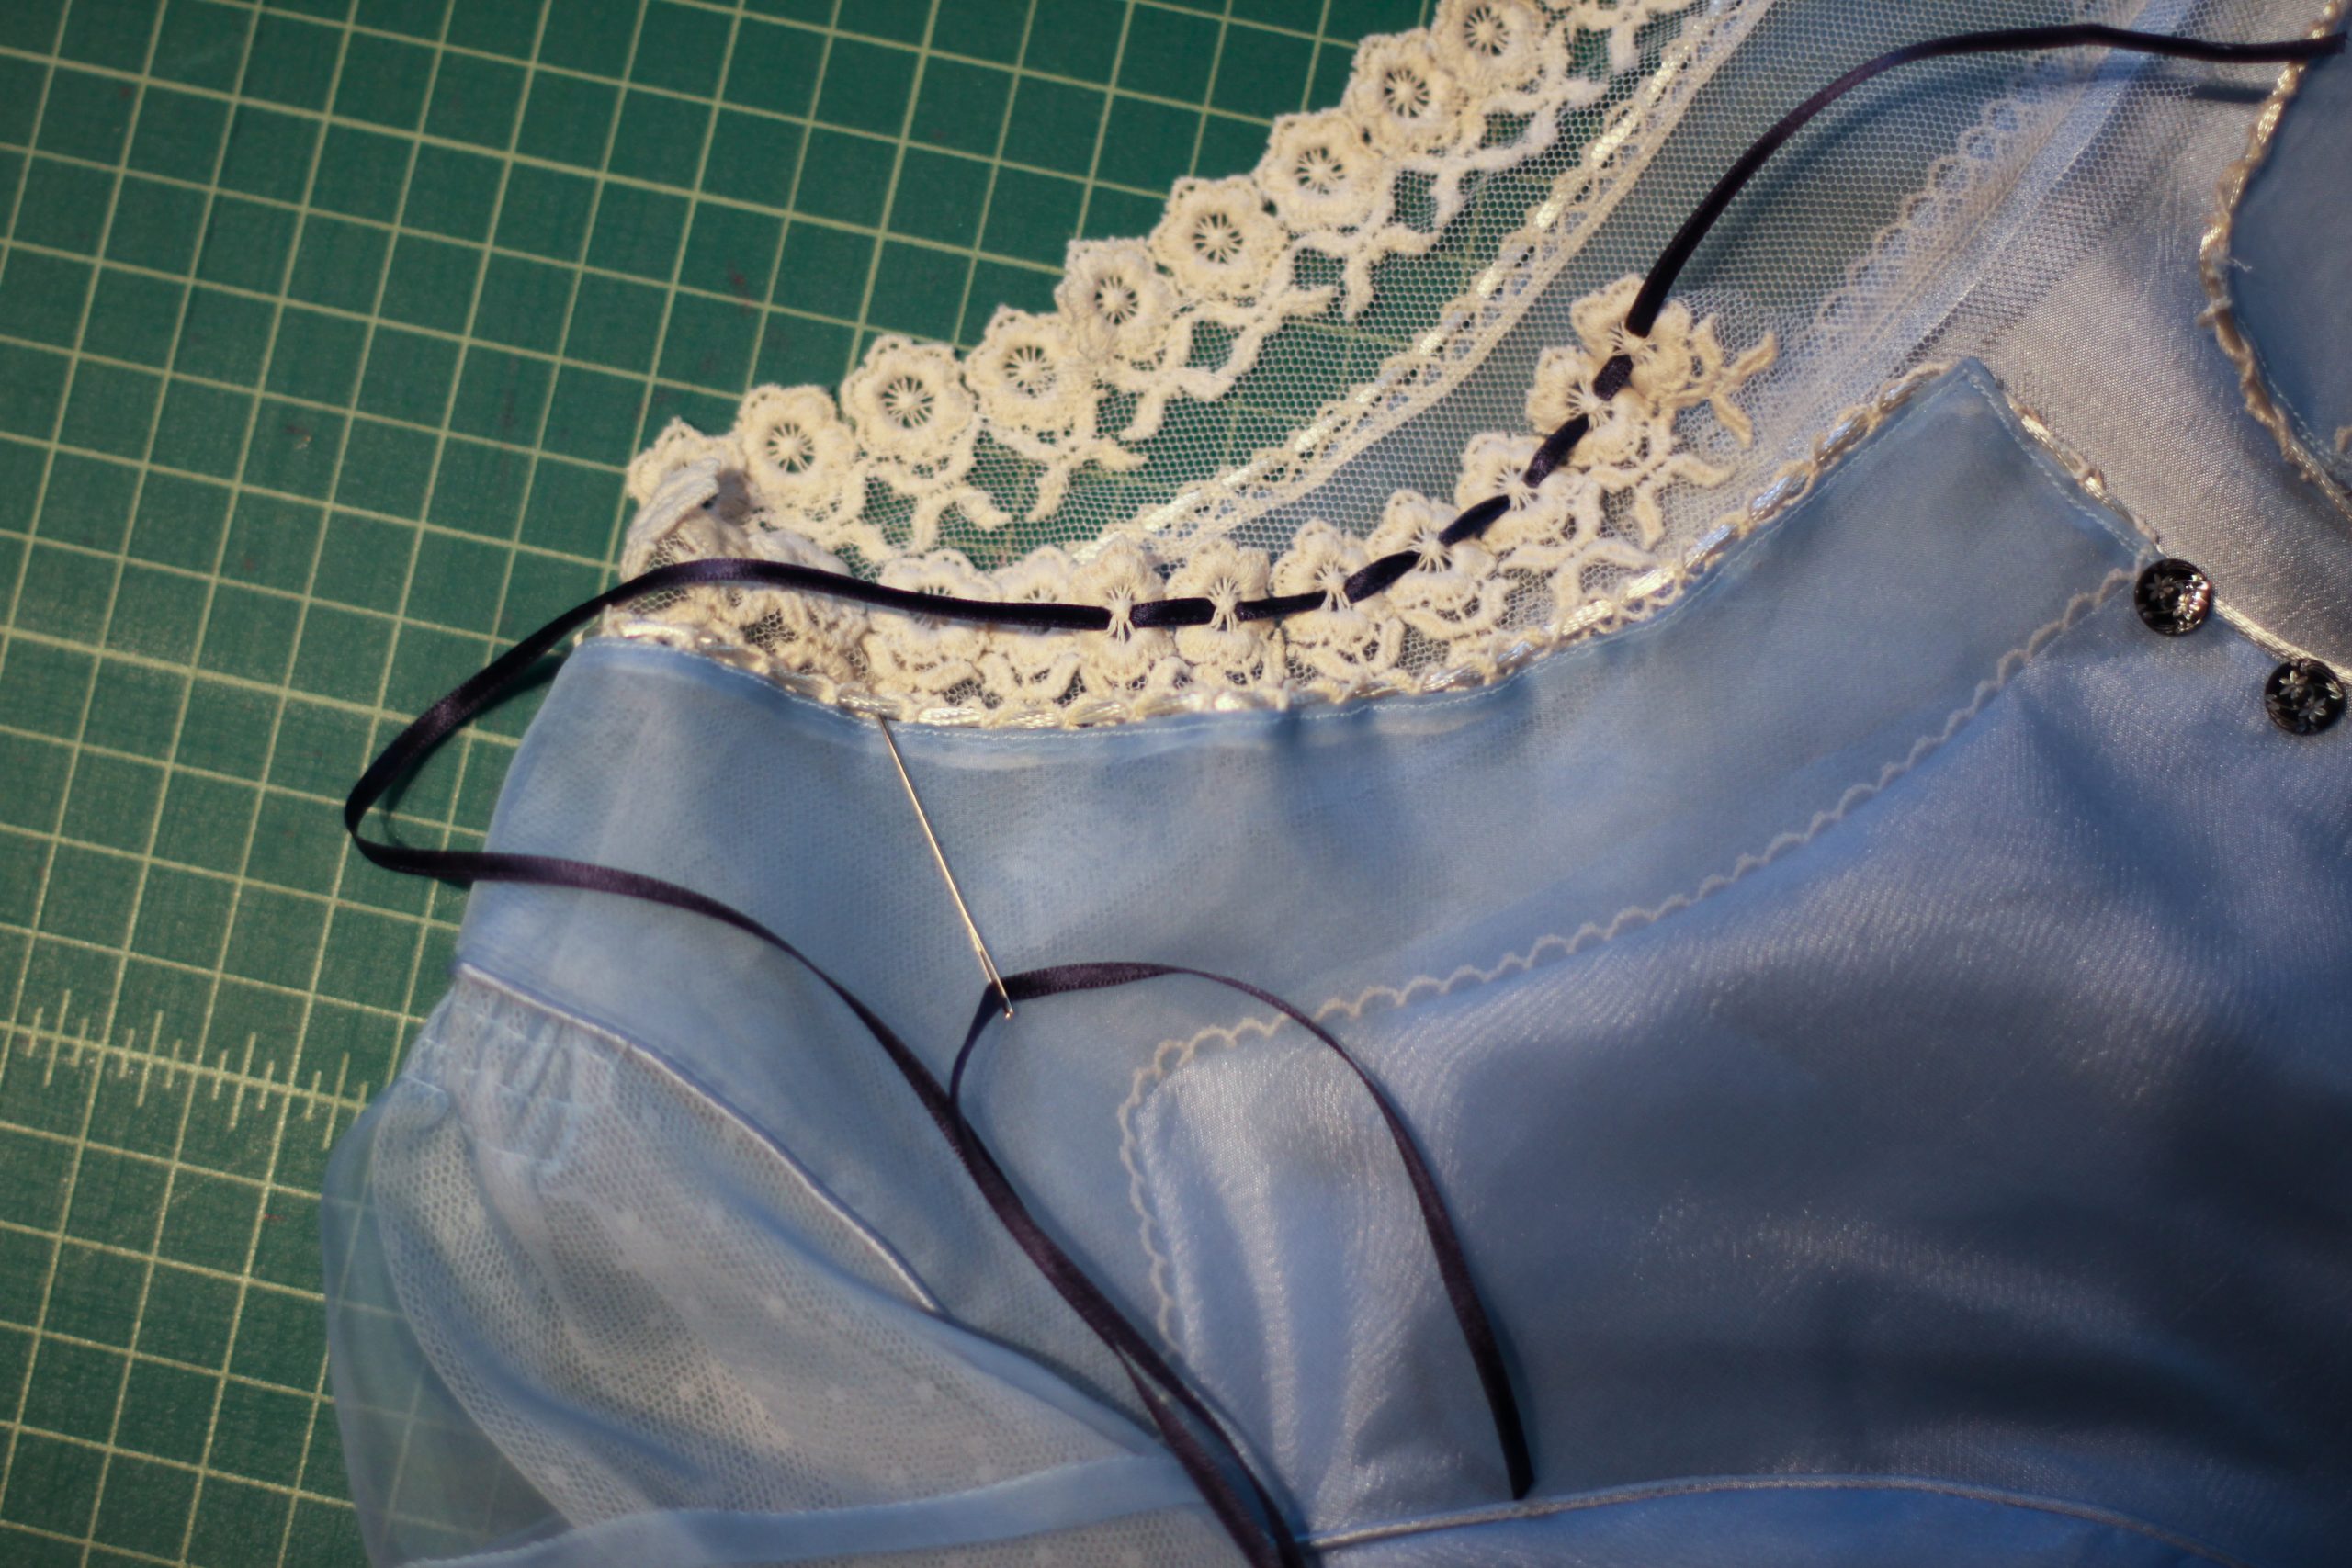
Threading thin satin cording through the Cluny lace on the outer edge of the sheer layer.The final step for the bodice ~ thread navy blue satin ribbon though the flowers.
I hope you enjoyed the journey; join me on this post where we’ll travel another rabbit trail and you’ll discover the details of the skirt!


 More piping detail along the armhole.


Pingback: Alice in Wonderland – Live Action 2010 – Costume Remake – Bella Maes Sewing Corner
This is so lovely! Even your progress photos look so neat and tidy, thanks for sharing your process and those tips!
Thanks for such a nice comment! I hoped it helped you!
Where could I get a copy of the pattern
I currently don’t have a pattern for this dress.
Do you sell this dress? I can’t find a realistic one anywhere?
Yes I do! I actually have one partly made which I’m selling: https://bella-maes.com/product/alices-blue-dress/