
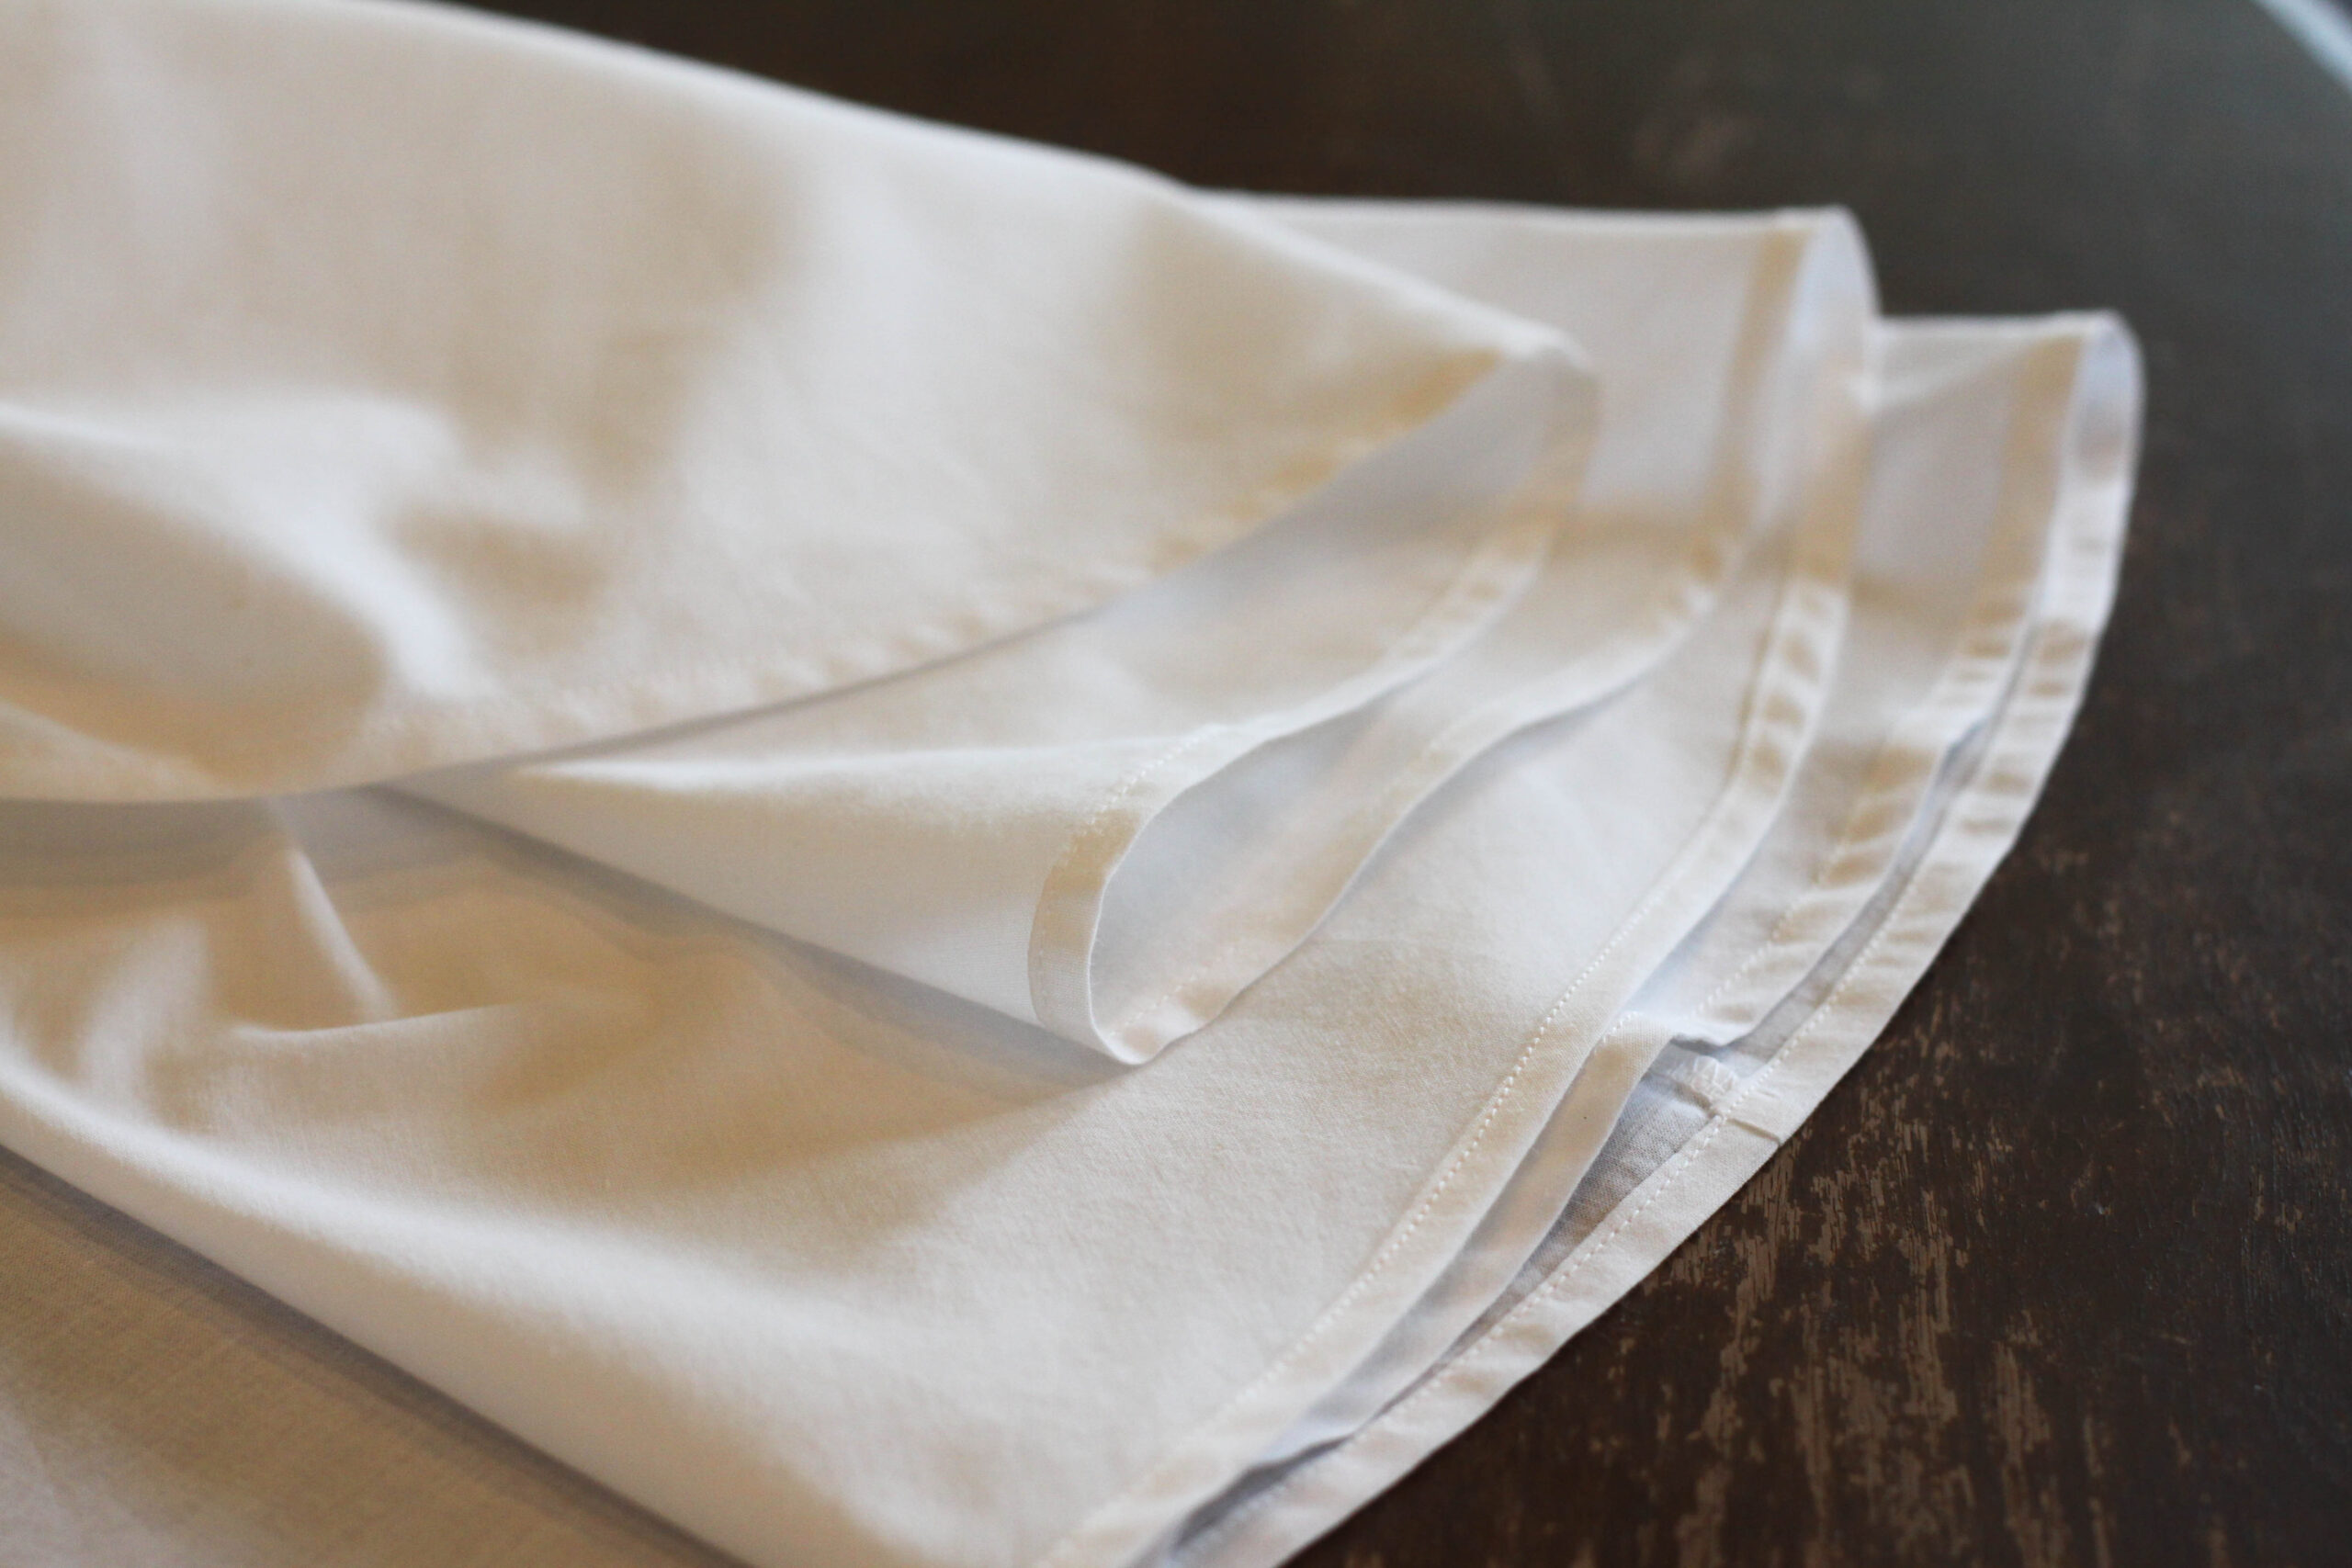

For some reason I decided to make a petticoat with all circle skirts.
Why? I don’t know! They’re absolutely my least favorite thing to hem.
You know, it makes sense when you think about the mathematics involved. Even if it’s only a 1/8″ hem, the circumference is larger on the cut edge then it is a 1/4″ inch in from the edge — where the hem stitches need to be sewn. In order for the hem to be flat and lay nicely, the measurements of edge and the stitch line must be the same.
But that’s impossible (thanks to geometry and math.)
Fortunately for us seamstresses, there’s a element involved with sewing that will never be accepted into the mathematic field… MANIPULATION! Oh, ya! We know how to manipulate! (I should probably add “fabric” to the end of that sentence — outsiders might think we’re actually manipulators.)
I think you get the idea.
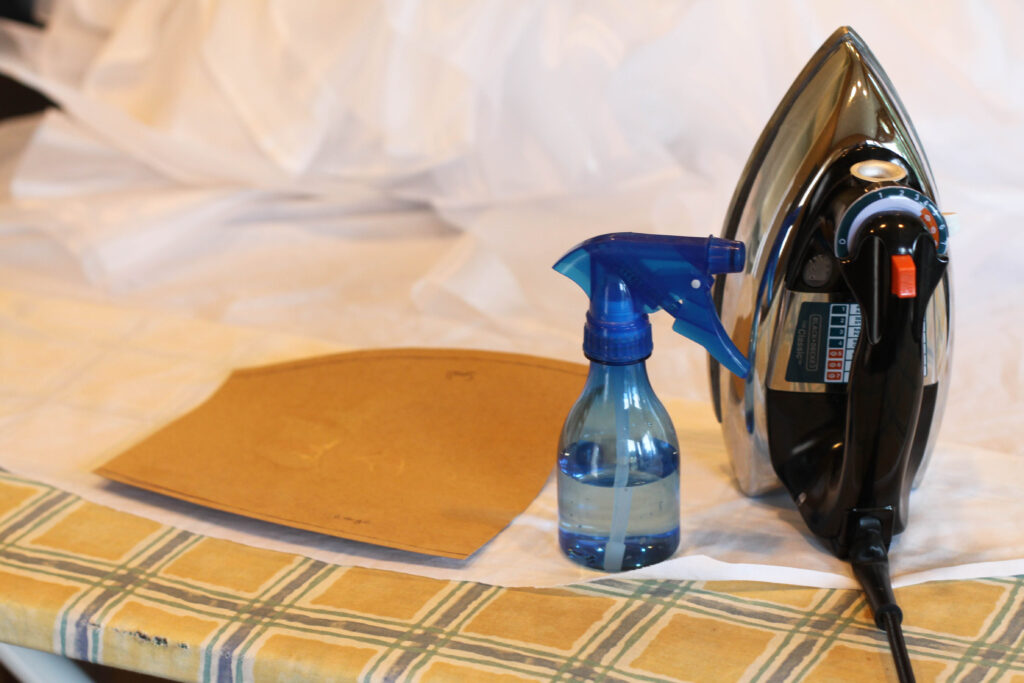
Let’s do some FABRIC manipulation with the help of a steamy iron, a piece of card stock, and a little water!
NOTE: Not all fabrics will work the same — you will run into a fabric that won’t be able to do this manipulation. Natural fibers are the best ones for this method, most synthetics just don’t like it. Also, you’ll get to a point where the curve of the circle skirt is just too tight and this method won’t work as well. So just practice and test with your fabric and curve to see!
I share 5 other ways to hem circles in my ebook, including methods which works for tricky fabrics!
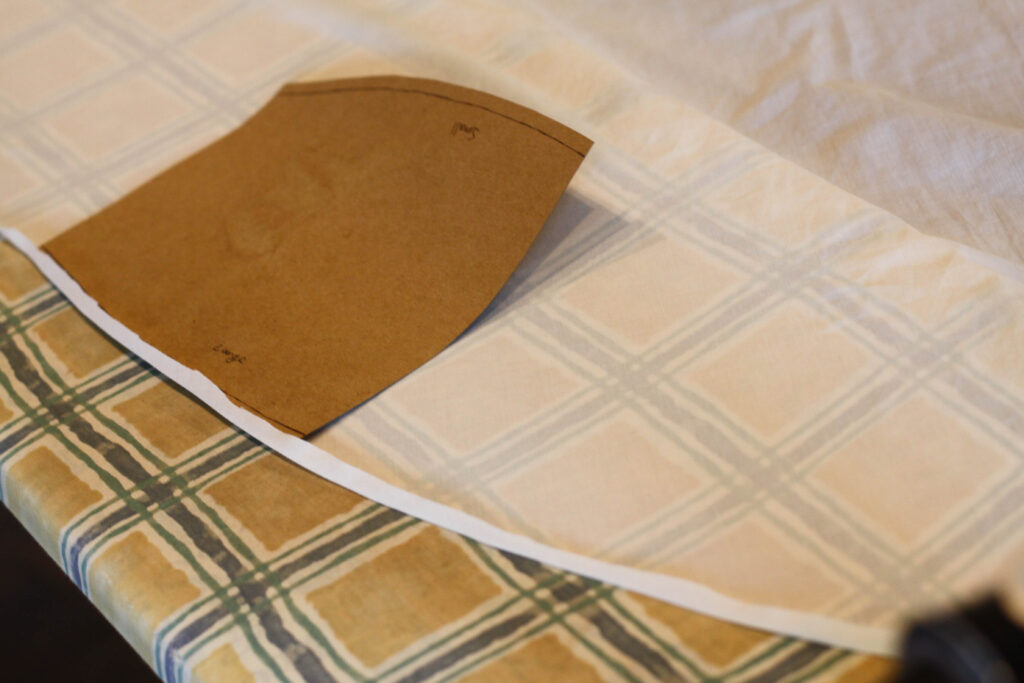
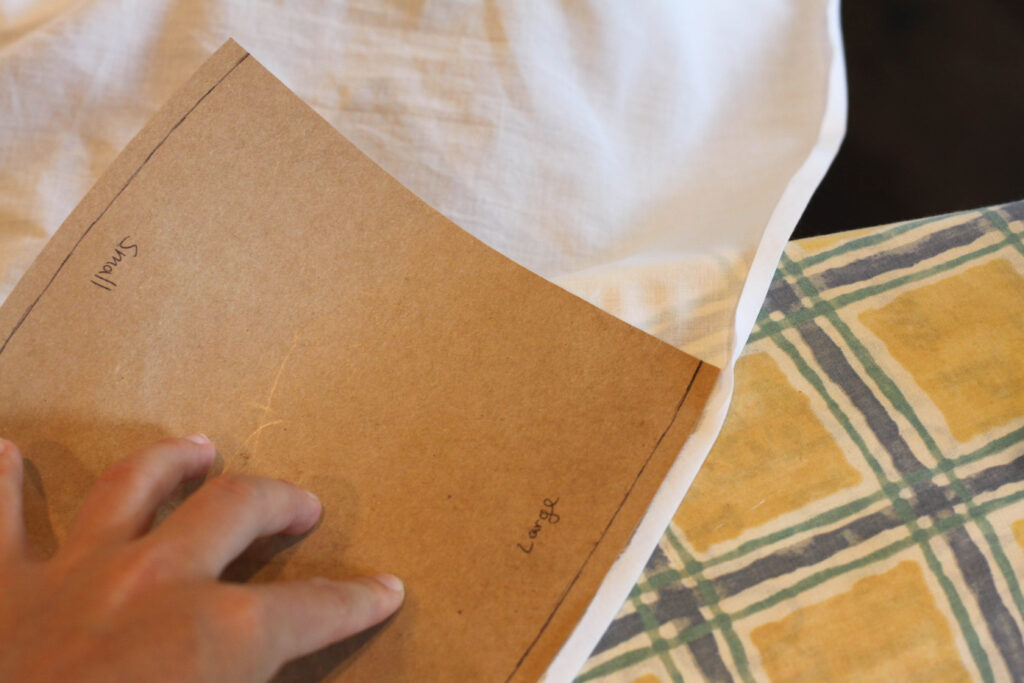
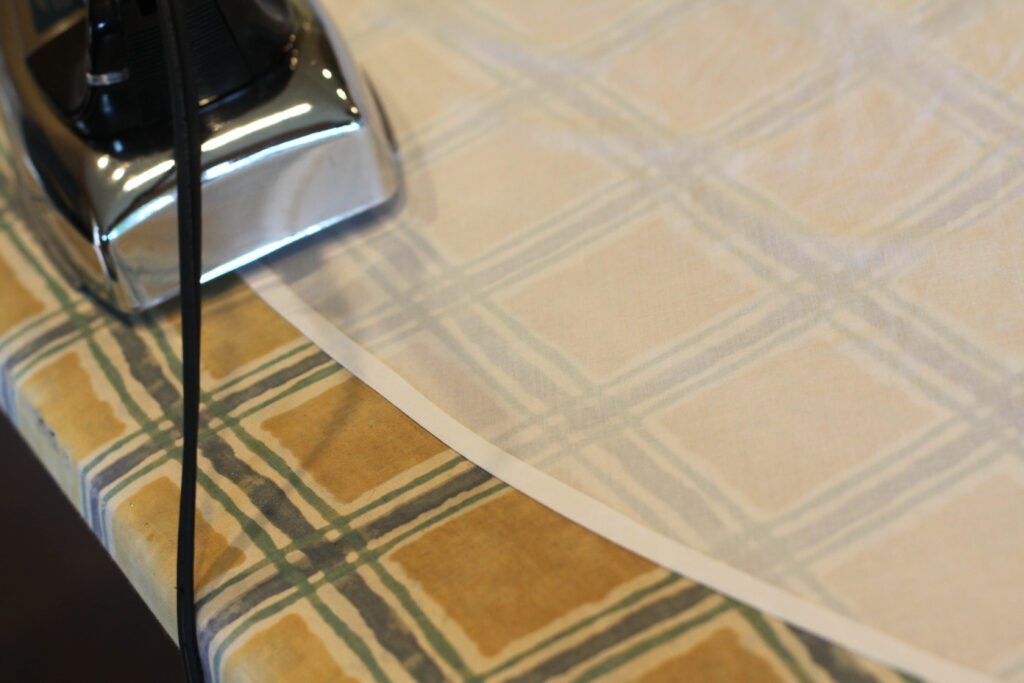
First of all, cut your piece of card stock with a curve similar to your circle skirt. This is the hem template. I’ve made 2 curves on this piece so I can use it for various circle hems in the future.

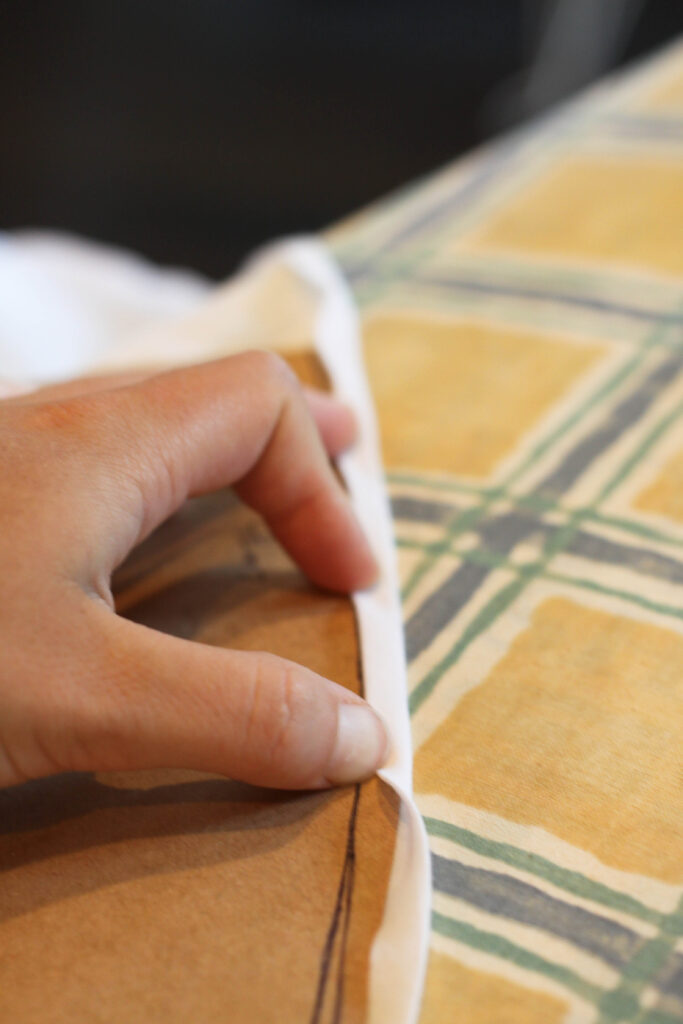
I’m doing a 1/4″ hem so I align my template about a 1/4″ from the edge. Now, using your fingers, roll the fabric over the cardboard. DO NOT STRETCH THE FABRIC EDGEWISE. Fold it directly onto the template. It will be a little loose.
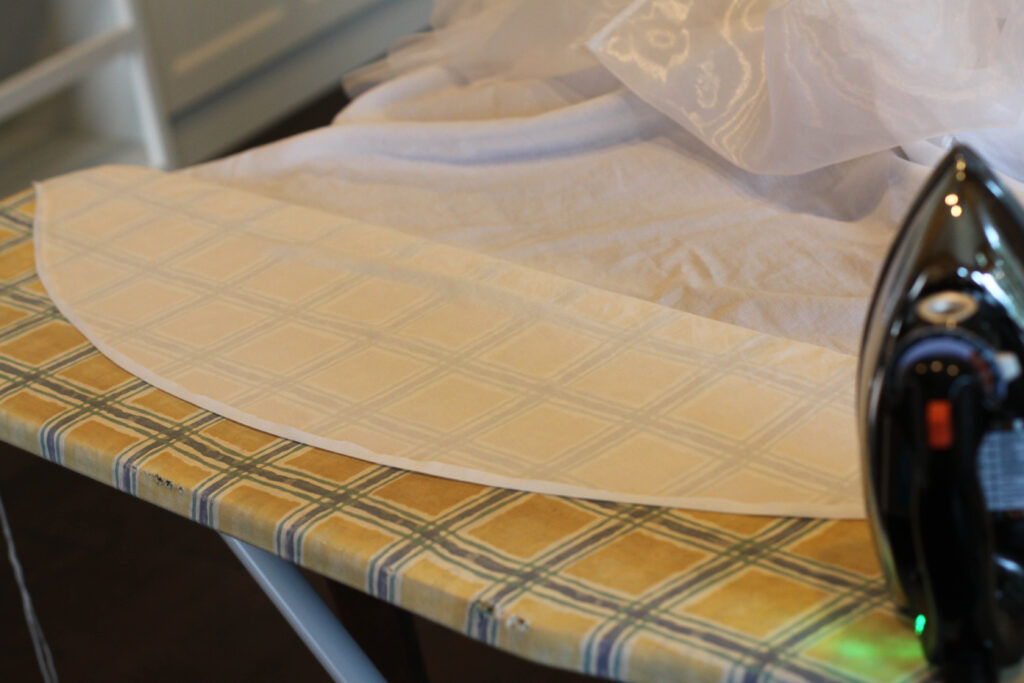
Now use the iron with a perpendicular (to the edge) motion to press the fold, easing in the extra fabric. Don’t slide the iron parallel to the edge; this is another way to stretch it in the wrong direction.
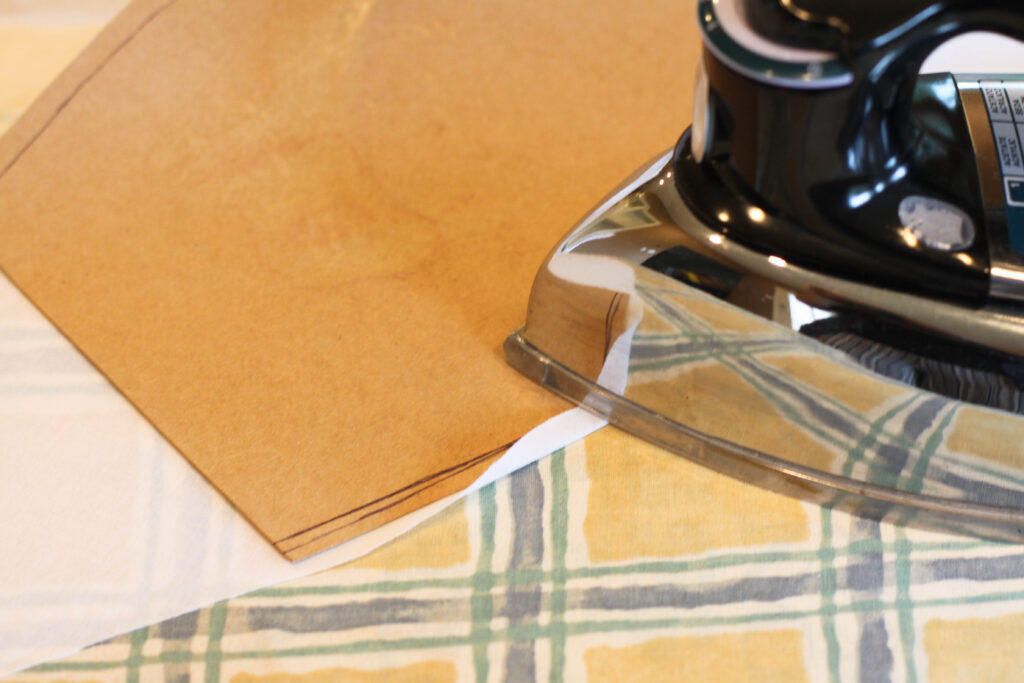
Your using the heat of the iron to “shrink” the extra fabric to match the smaller circumference. The reason for the template is to keep the wrong parts of the fabric from stretching or shrinking. The template’s telling the fabric to go exactly where it needs to go and keeps it from moving the other areas of material out of place.
One other thing; you are NOT making little tucks. You’re simply letting the heat mold the loose fabric edge into the shape of the template.

And now repeat with the second fold. Again, let the heat (and pressure) do the work. NO TUCKS!
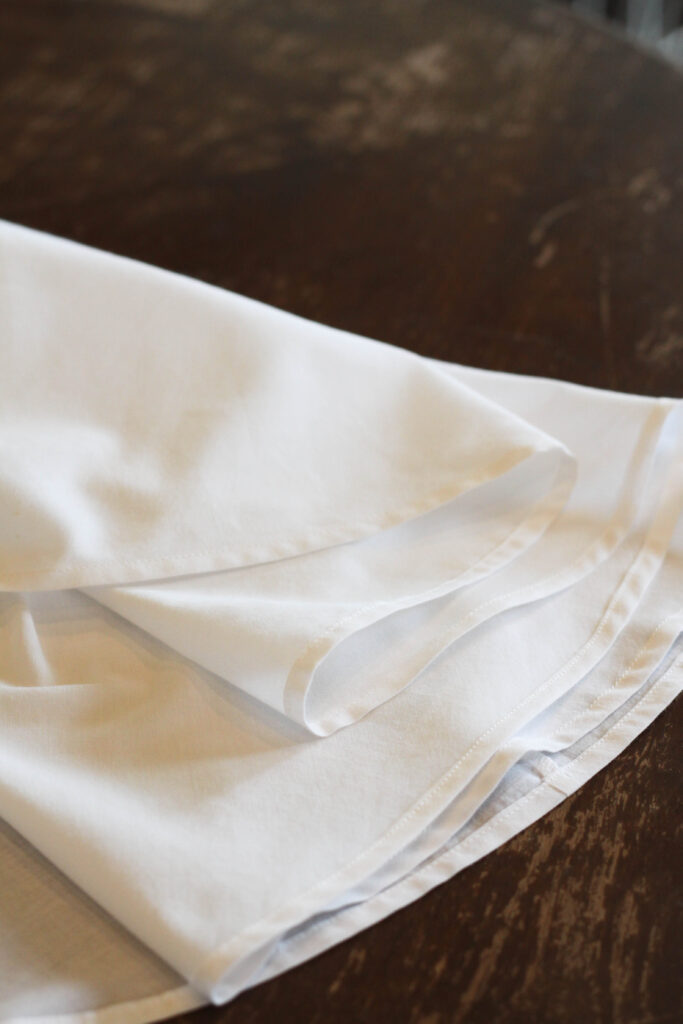
As you can see, there’s still some “looseness” to the hem. It’s not completely gone — at least, not yet!
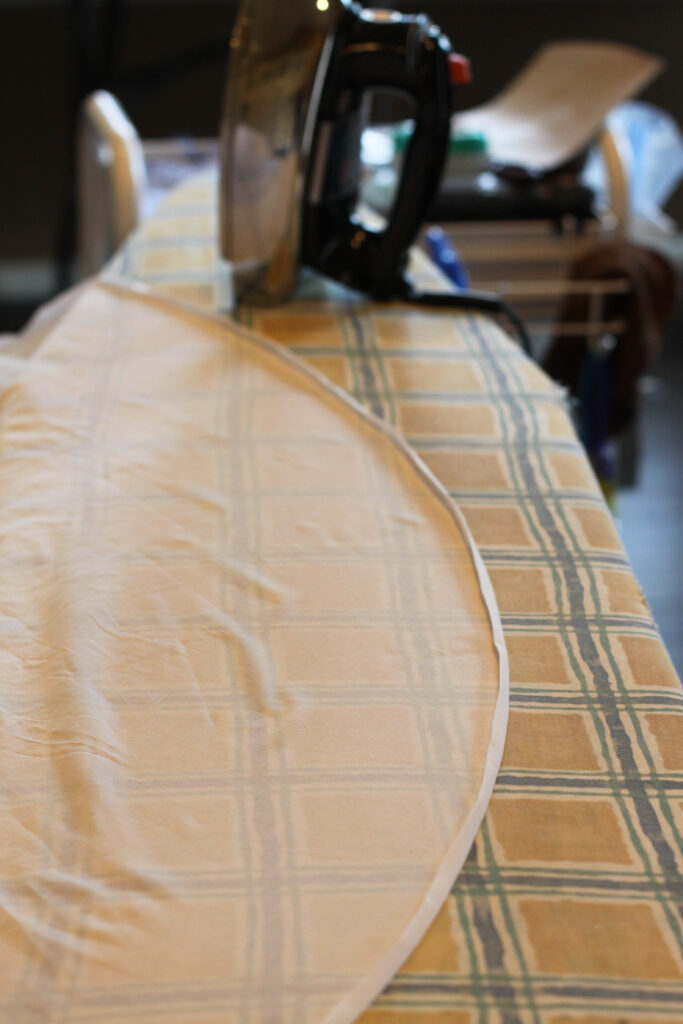
Here’s comes a sprinkling of water!
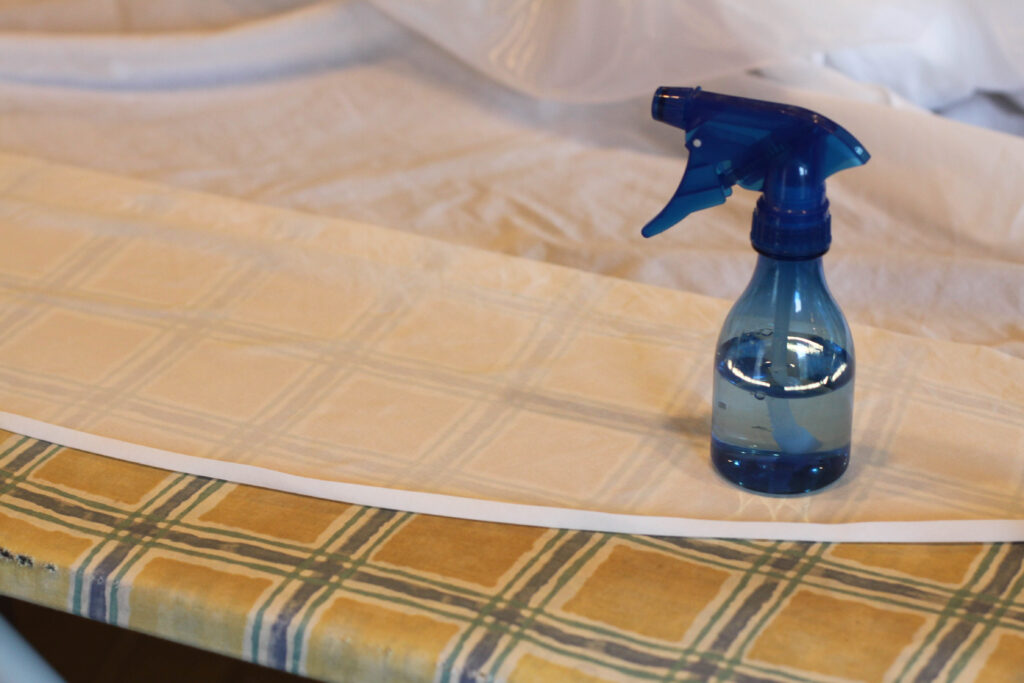
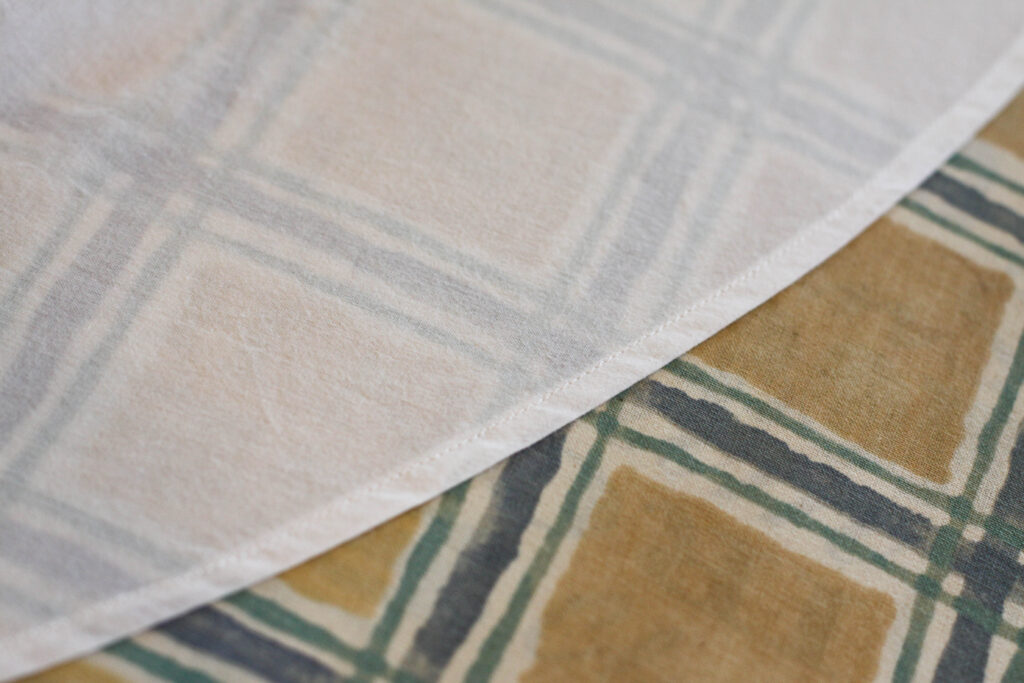
And would you look at that?! It’s lined up. The “looseness” is gone. It has no tucks. And it’s flat!
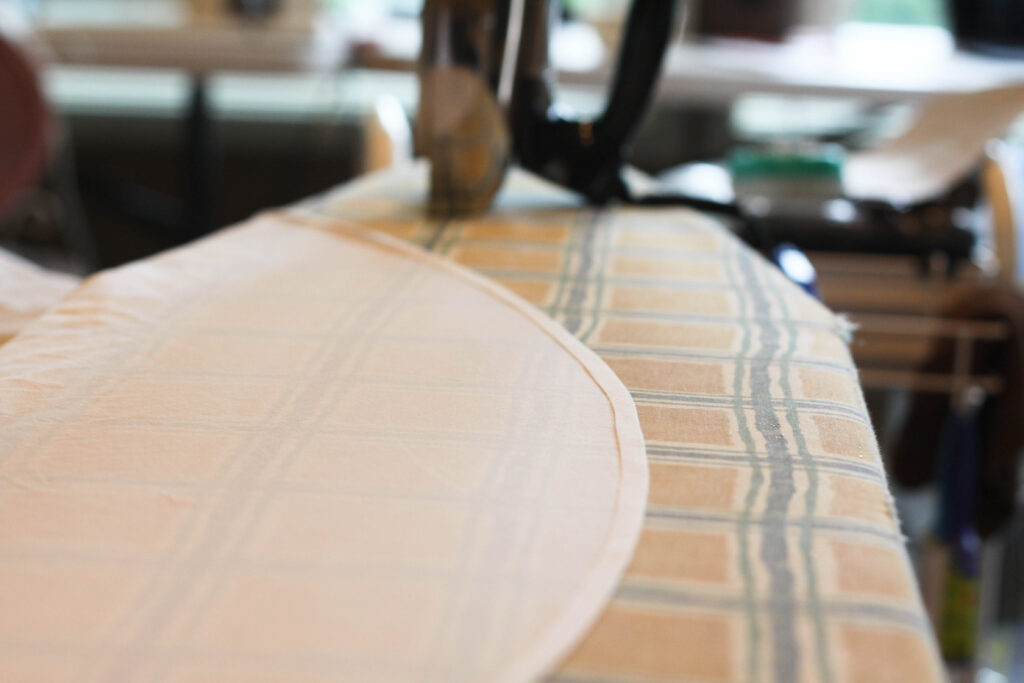
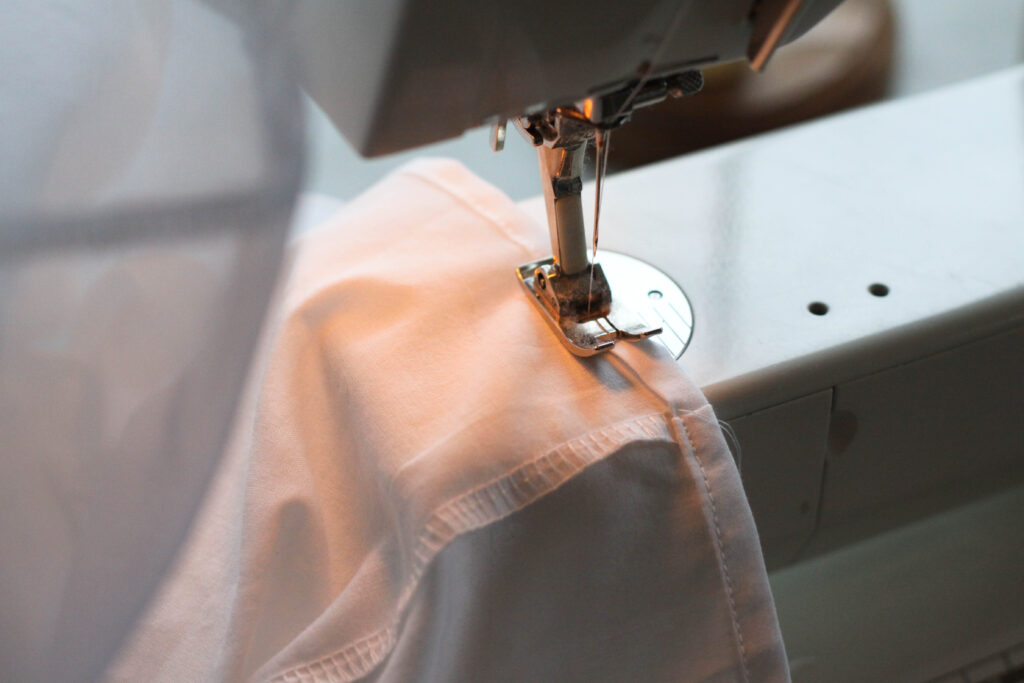
Time to sew!
I’ve now sewn all the way around the circle hem. I haven’t snuck in any tucks — and look! There’s no extra fabric in that folded hem!
Give it one more nice pressing!

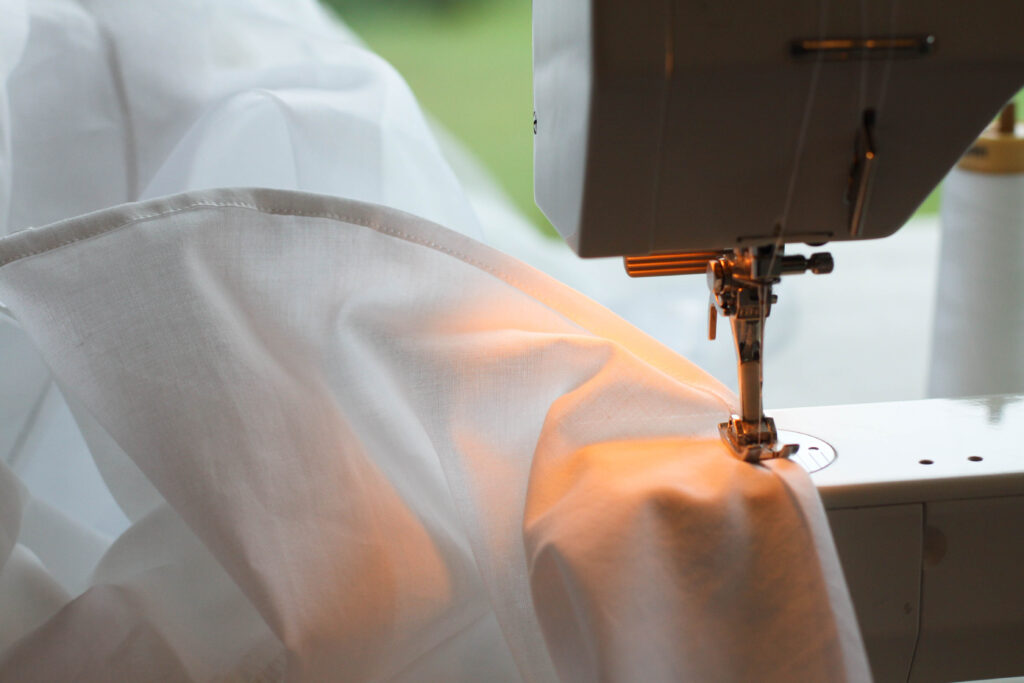
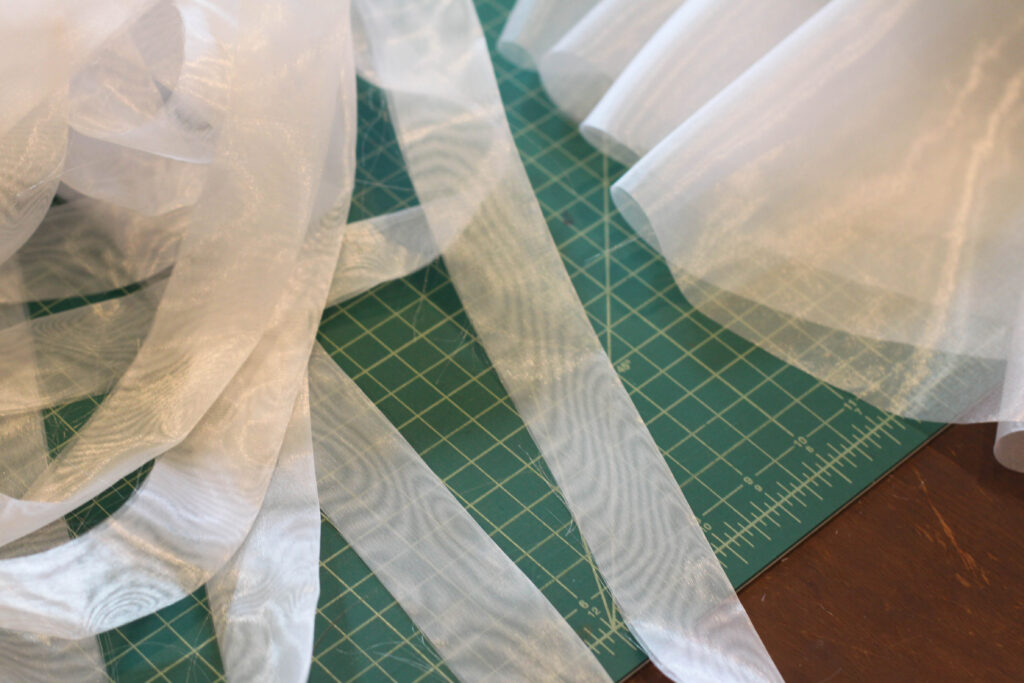
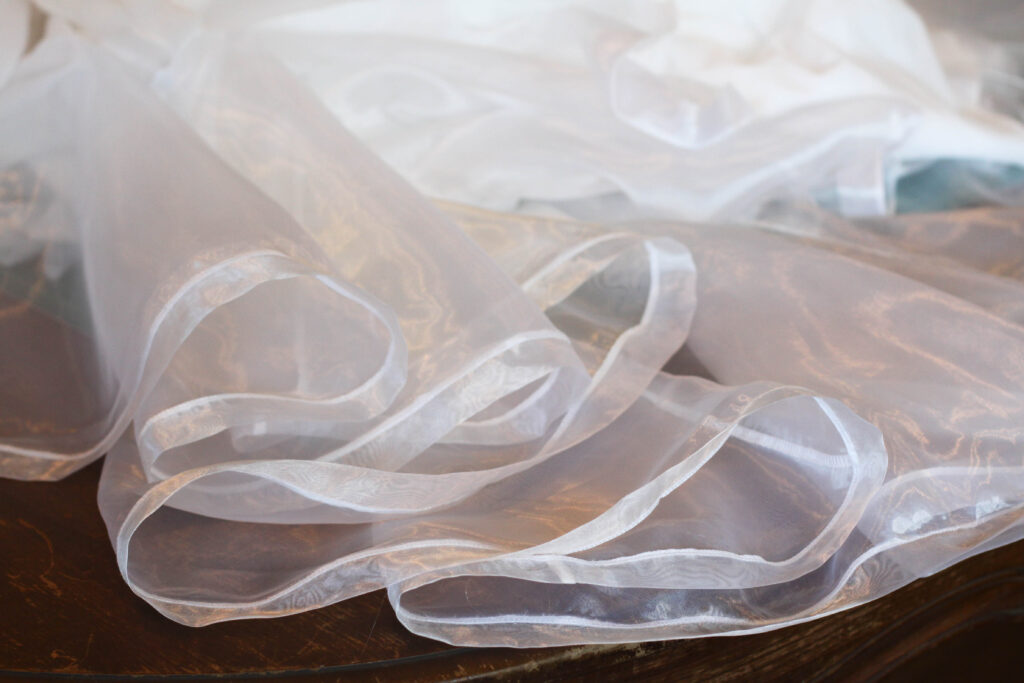
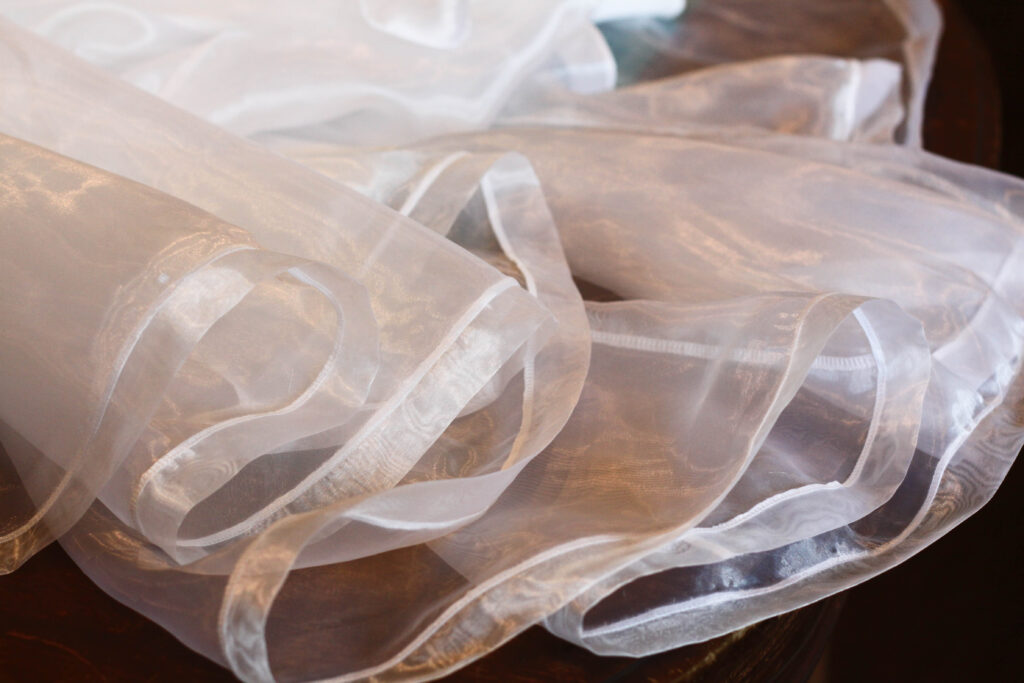
For part of the petticoat, I added a lower flounce. The curves of these flounces (circle cut frills) were just too tight and the method didn’t work. Also, the fabric was poly organza. So, I decided to try a different method. This may not work for the look your trying to achieve, but for a petticoat, I was happy to make the hemming process easier!
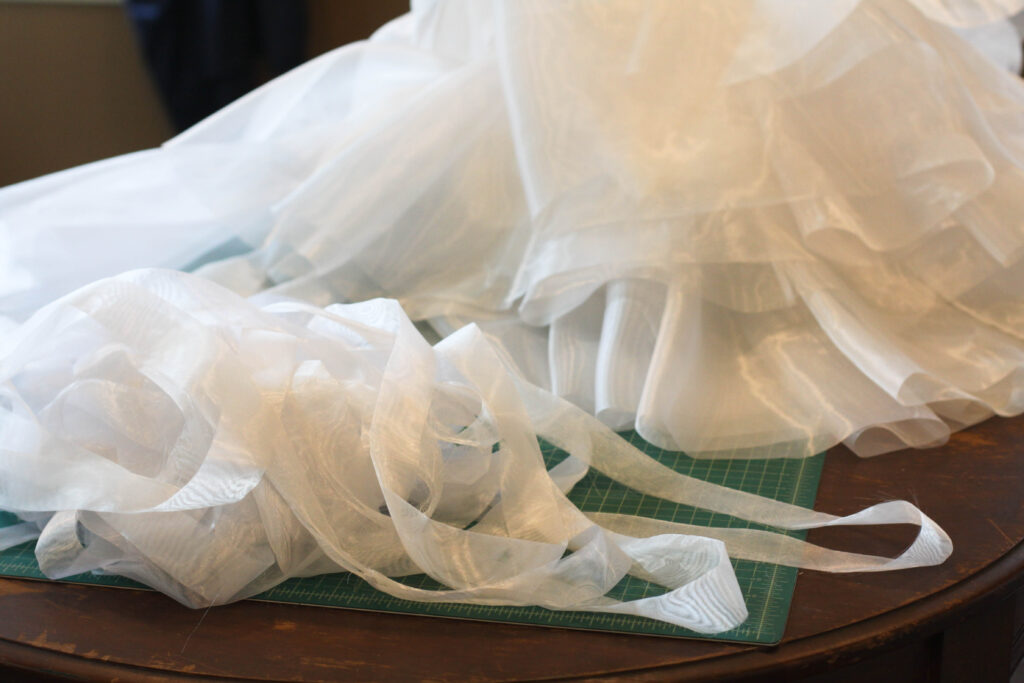
I folded a 3″ piece of organza in half and ironed it. I cut this piece on the straight of grain. Looking back, I would recommend cutting it on the bias.
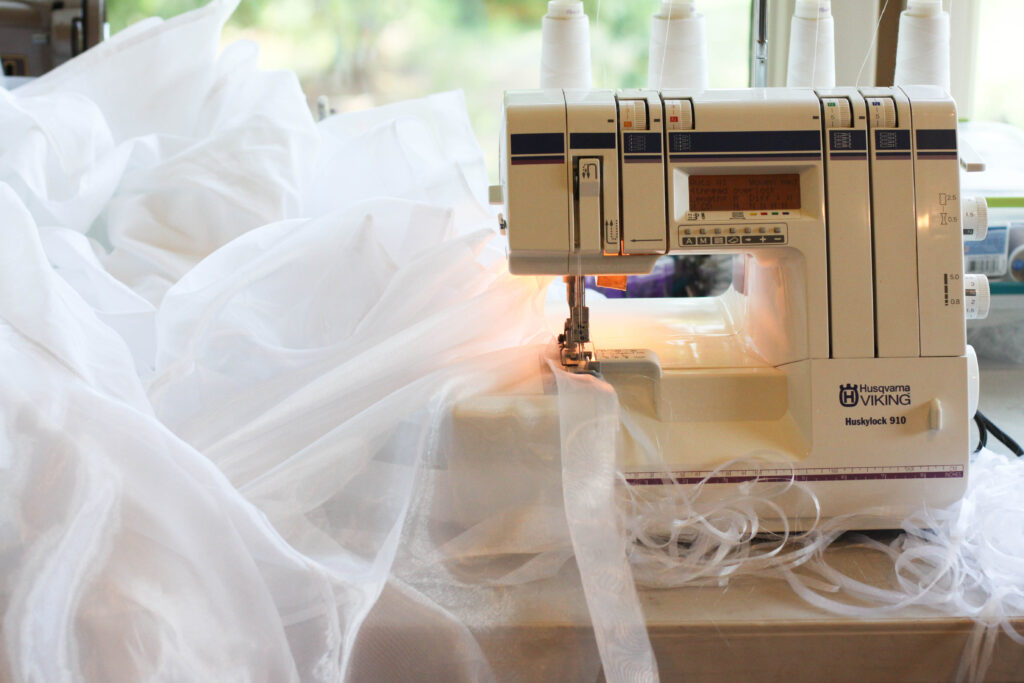
Using a serger, I attached the strip to the edge of the circle flounce — right sides together.
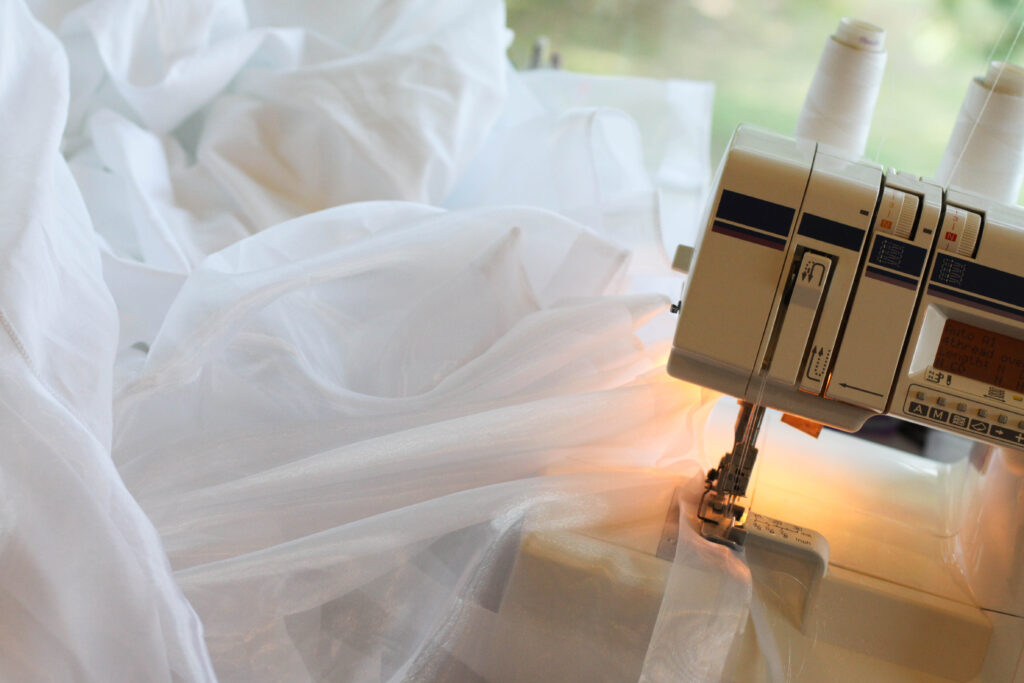
The is them pressed, folding the strip away from the circle edge. This is where having the strip bias cut would have helped the edge layer smoother.
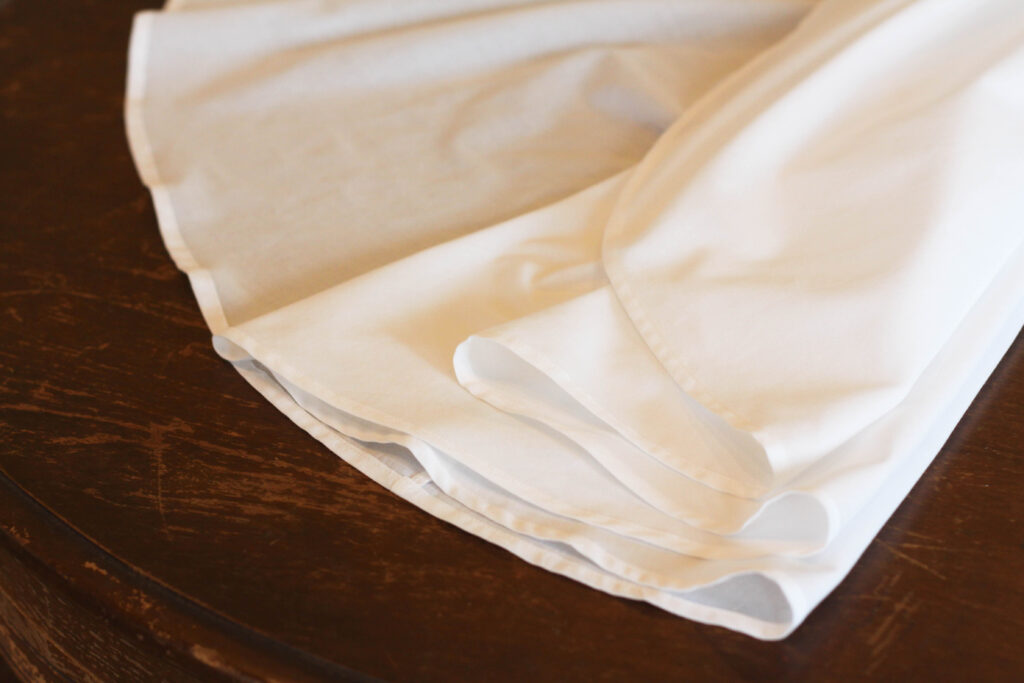
~ The Finished Petticoat
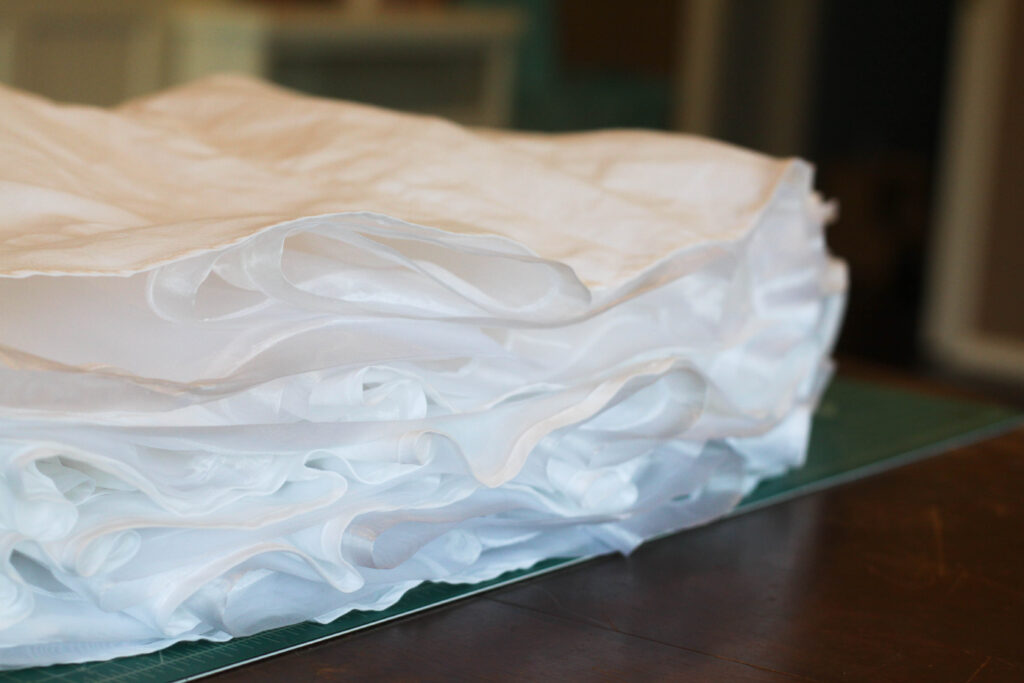
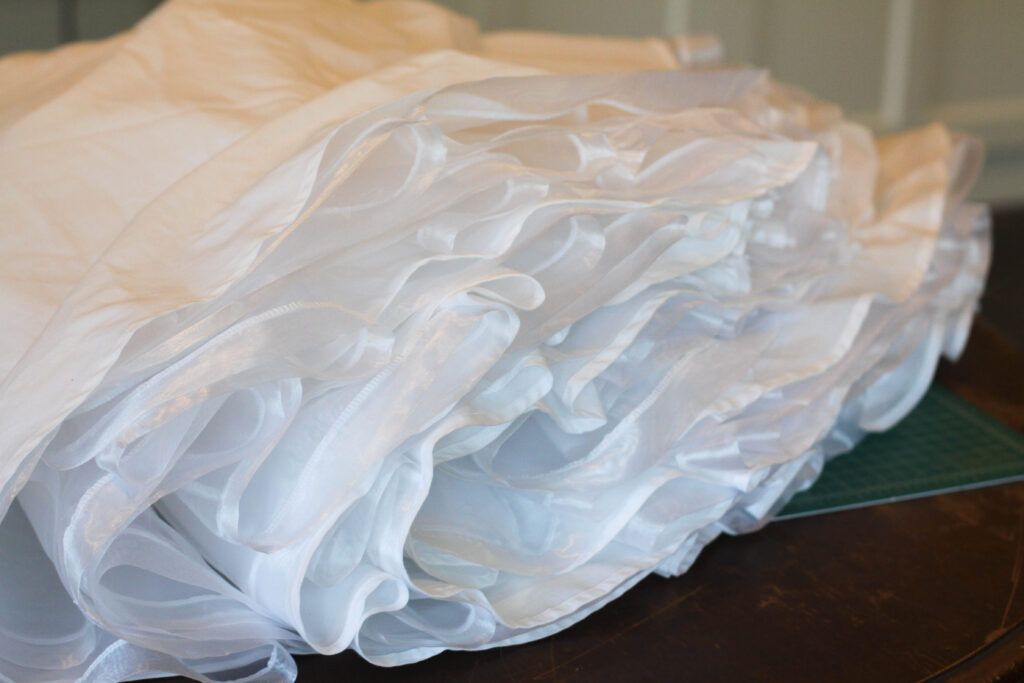
Thanks for looking and learning with me!

Learn other ways to hem circles with my ebook!

Pingback: Disney Park’s Dress Replica – Alice In Wonderland Costume with Extra Embellishment – Bella Maes Sewing Corner
Pingback: Aurora’s Blue Gown – With a Sparkly Twist – Sleeping Beauty Costume Replica – Bella Maes Sewing Corner
Would the method you used on the organza also work on tulle? Thank you!
Yes, I do think that would be a technique that would work on tulle!
Omg, this blog is magic! Thanks for sharing